
 Anna Louise
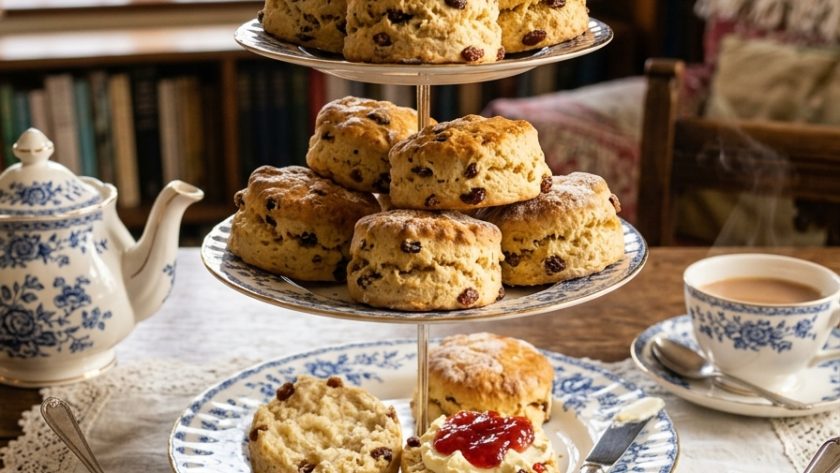
 If the plain scone is the most versatile British scone and the cheese scone is the most savoury, the sultana scone is the most traditional.
Dried fruit in a scone is a practice that goes back centuries in British baking — currants, raisins, sultanas, peel — and the sultana scone in particular has been the standard cream tea scone at village fêtes, tea rooms, and kitchen tables for as long as anyone can remember.
The sultana gives the scone a gentle sweetness and a slight chewiness that plain scones do not have. Every bite contains a plump, sweet sultana alongside the buttery, slightly flaky sponge of the scone itself. It is the combination that defines British cream tea — sultana scone, clotted cream, good strawberry jam, a pot of tea.
Mary Berry’s sultana scone recipe is the reliable, properly calibrated version — the right ratio of fat to flour, the right amount of sultana, cold butter worked in quickly, and a hot oven that gives the dramatic rise that distinguishes a great scone from an average one.
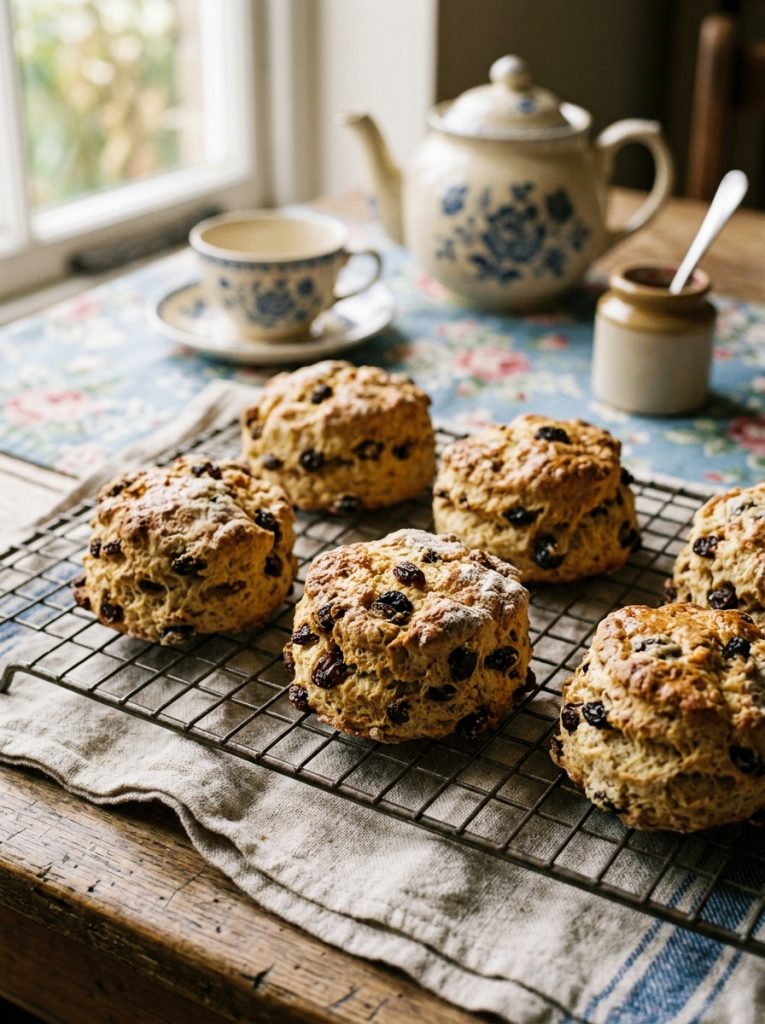
Ingredients for Mary Berry Sultana Scones
For the Scones (Makes about 12)
- 450g self-raising flour, sifted — plus extra for dusting
- 2 tsp baking powder
- ½ tsp fine salt
- 2 tbsp caster sugar
- 100g unsalted butter, cold and cut into small cubes
- 150g sultanas
- 2 large eggs, beaten
- 150ml whole milk — plus extra for brushing
To Serve
- Clotted cream — generous
- Good quality strawberry jam
- A pot of strong tea
How to Make Mary Berry Sultana Scones
Step 1 — Preheat and Prepare
Preheat your oven to 220°C / 200°C fan / Gas 7. Line a large baking tray with baking parchment.
Step 2 — Rub In the Butter
Sift the flour, baking powder, and salt into a large bowl. Add the caster sugar and stir briefly to distribute. Add the cold cubed butter.
Using your fingertips, rub the butter into the flour quickly and lightly — lifting the mixture as you work to keep it cool and aerated. Work until the mixture resembles fine breadcrumbs with a few pea-sized pieces of butter still visible. The whole process should take two to three minutes. If your hands feel warm, refrigerate the bowl for five minutes before continuing.
Step 3 — Add the Sultanas
Add the sultanas to the crumb mixture and toss to distribute evenly throughout.
Step 4 — Add the Liquid
Beat the eggs lightly in a small jug. Add the milk and stir together. Make a well in the centre of the flour mixture. Pour in almost all the egg and milk — hold back about two tablespoons to use for brushing.
Mix quickly with a round-bladed knife in short cutting strokes until the dough just comes together. It will look slightly rough and shaggy — this is correct. Do not work the dough further than is necessary to bring it together. Overworking develops gluten and gives tough, dense scones.
Step 5 — Pat and Cut
Turn the dough out onto a lightly floured surface. Pat gently — not roll — to a thickness of 3cm. Patting rather than rolling is the key distinction — a rolling pin compresses the dough and reduces the rise. The palm of your hand patting gently to an even thickness preserves the layers.
Dip a 6cm round straight-sided cutter in flour. Press straight down and lift straight up — never twist. Twisting seals the cut edges and prevents the scone from rising evenly. Place on the prepared tray with a little space between each.
Gather the trimmings once — pat them gently together and cut again. Do not re-gather more than once.
Step 6 — Glaze and Bake
Brush the tops of the scones with the reserved egg and milk mixture — brush only the tops, not the sides. Glazing the sides seals the edges and prevents the scone from rising freely.
Bake for 12 to 15 minutes until well risen, deeply golden on top, and firm to a gentle press. The sultana scone takes slightly longer than a plain scone because of the moisture in the dried fruit.
Transfer to a wire rack. Serve warm — ideally within thirty minutes of baking.
My Top Tips For Perfect Sultana Scones
Soak the sultanas in warm water for fifteen minutes before using. This is the detail that elevates a good sultana scone to a great one. Soaked sultanas are plumper, juicier, and more flavourful than dry ones straight from the packet. Drain them thoroughly and pat dry before adding to the dough.
Work the butter in quickly with cool hands. The goal is fine crumbs with the butter distributed throughout — not a smooth paste. If the butter melts into the flour during rubbing, the scones will be less well-risen. Work quickly and stop when the crumbs are fine.
Pat to exactly 3cm — measure it. Sultana scone dough is slightly heavier than plain scone dough because of the fruit. Starting at 3cm gives a scone with the right finished height. Less than 3cm gives a flat scone regardless of the leavening.
Brush glaze on the top only. The sides of the scone need to be free to rise. Egg wash on the sides sets the cut edge during baking and restricts the rise. Top only — always.
Eat within thirty minutes of baking. Sultana scones are at their absolute peak — warm, slightly crisp on the outside, soft and slightly steaming inside — within the first thirty minutes. After that they are still good but the peak has passed.
Serving Suggestions
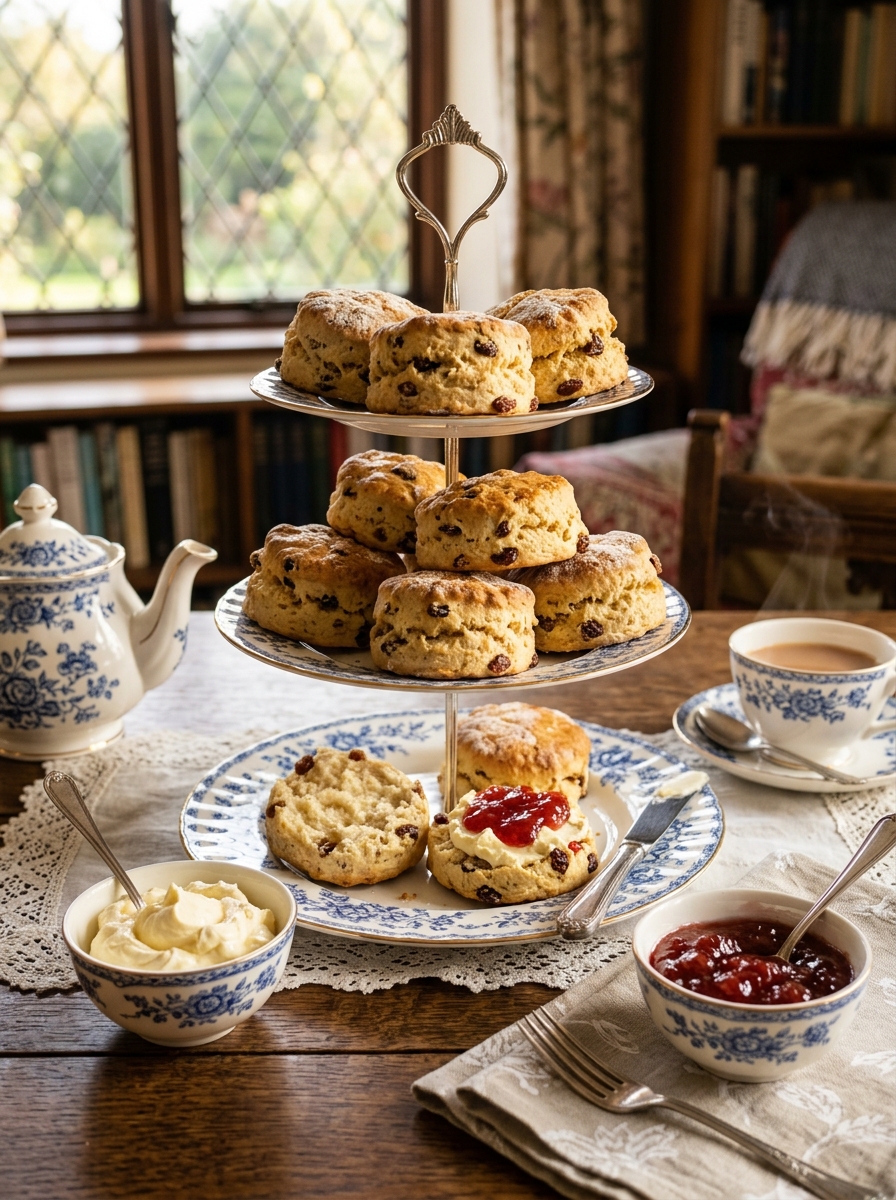
Split in half with fingers — not cut with a knife. Clotted cream first then jam, or jam first then cream — according to your preference and regional tradition. With a proper pot of strong tea. At a cream tea for visiting friends, at a village fête, at any occasion where the words cream tea are appropriate.
How to Store
At room temperature: Best eaten within two hours of baking. Store in an airtight container for up to two days — refresh in a 170°C oven for five minutes.
In the freezer: Freeze raw cut scones on a tray until solid, then transfer to a freezer bag for up to 3 months. Bake from frozen at 220°C for 16 to 18 minutes. This is the best way to have fresh, warm sultana scones whenever they are needed.
Try These Recipes
- Mary Berry Cheese And Chive Scones
- Mary Berry Simple Pancake Mixture
- Mary Berry Drop Scones Pancakes
- Mary Berry 2 Egg Yorkshire Pudding
Mary Berry Sultana Scones Recipe
Ingredients
Method
- Preheat oven to 220°C / 200°C fan / Gas 7. Line a large tray with parchment.
- Sift flour, baking powder, and salt. Add sugar. Rub in cold butter quickly with fingertips — fine breadcrumbs with a few pea-sized pieces. Add drained sultanas — toss to distribute.
- Beat eggs and milk together. Reserve 2 tbsp. Make a well — add almost all the liquid. Mix quickly with a round-bladed knife until just combined and shaggy. Do not overwork.
- Pat gently on a floured surface to exactly 3cm thickness. Dip 6cm cutter in flour. Press straight down — never twist. Gather trimmings once only — pat and cut again.
- Place on tray. Brush tops only with reserved egg and milk. Bake 12–15 minutes until well risen and deeply golden.
- Transfer to wire rack. Serve warm within 30 minutes with clotted cream and jam.
Notes
Frequently Asked Questions
Can I use currants instead of sultanas?
Yes — currants give a slightly smaller, slightly more tart fruit throughout the scone and are the most traditional choice for a British fruit scone. Raisins give a slightly chewier, more intensely sweet result.
Can I add mixed peel?
Yes — 50g of mixed peel alongside 100g of sultanas gives a more traditional fruit scone character that many people prefer.
Should I put cream or jam first?
This is the great British debate. Devon tradition says cream first then jam. Cornwall says jam first then cream. Both are correct for their region and both taste wonderful.
Why are my sultana scones not rising?
The most common causes are baking powder that has passed its use-by date, the dough being patted too thin, the cutter being twisted rather than pressed straight, or the oven not being hot enough. Check all four.
Can I use buttermilk instead of milk?
Yes — replace the milk with the same quantity of buttermilk and add half a teaspoon of bicarbonate of soda to the flour. Buttermilk scones rise more dramatically and have a more tender crumb — see the buttermilk scones recipe on this site.















Leave a Reply