
 Anna Louise
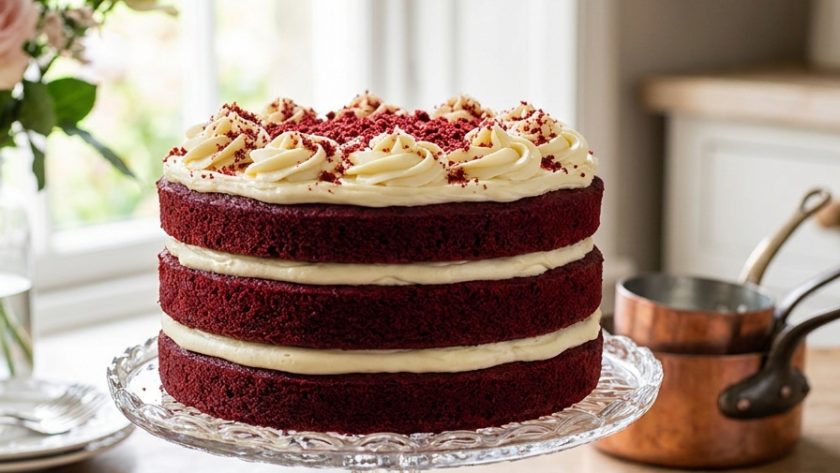
 Red velvet cake is the most dramatic cake in this collection — and I mean that entirely as a compliment. The contrast between the deep crimson sponge and the bright white cream cheese frosting, revealed in every slice as a vivid red interior against white, is one of the most visually striking things a home baker can produce.
Red velvet cake has American origins — it became one of the signature cakes of southern American baking in the mid-twentieth century — and has been adopted enthusiastically by British bakers over the past two decades.
The version I make is a two-layer cake with cream cheese frosting between the layers and generously covering the outside, decorated simply with red velvet cake crumbs pressed onto the sides.
The red colour comes from red food colouring — gel food colouring gives the most vivid, most reliable result. The cocoa and the buttermilk give a slight reaction that deepens the colour slightly during baking, giving a cake that is specifically, unmistakably red velvet in appearance.
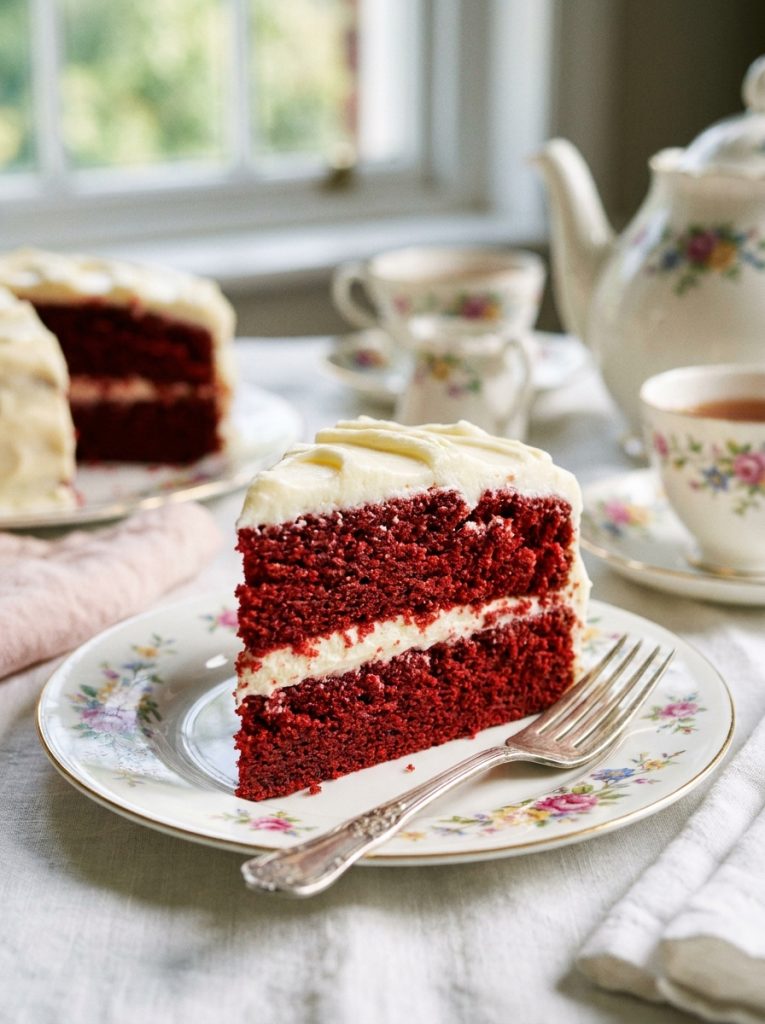
Ingredients for Mary Berry Red Velvet Cake
For the Red Velvet Sponge
- 250g plain flour, sifted
- 2 tbsp good quality cocoa powder, sifted
- 1½ tsp baking powder
- ½ tsp bicarbonate of soda
- ½ tsp fine salt
- 200g golden caster sugar
- 100g soft light brown sugar
- 200ml sunflower oil — gives a moister, more tender crumb than butter
- 2 large eggs, at room temperature
- 200ml buttermilk, at room temperature — essential for the characteristic tangy tenderness
- 2 tsp vanilla extract
- 2 tsp white wine vinegar — reacts with the bicarbonate of soda for additional lift
- 2–3 tbsp red gel food colouring — enough to give a deeply vivid crimson batter
For the Cream Cheese Frosting
- 300g full-fat cream cheese, at room temperature
- 150g unsalted butter, softened
- 500g icing sugar, sifted twice
- 2 tsp vanilla extract
- Juice of ½ lemon — gives brightness and prevents excessive sweetness
- Pinch of fine salt
How to Make Mary Berry Red Velvet Cake
Step 1 — Preheat and Prepare
Preheat your oven to 180°C / 160°C fan / Gas 4. Grease two 20cm round sandwich tins and line the bases with baking parchment.
Step 2 — Make the Red Velvet Batter
Sift the flour, cocoa powder, baking powder, bicarbonate of soda, and salt together into a large bowl. Add both sugars and stir through.
In a separate large jug, whisk together the oil, eggs, buttermilk, vanilla extract, white wine vinegar, and red gel food colouring until well combined and vivid crimson throughout.
Pour the wet ingredients into the dry ingredients. Whisk together until a smooth, deeply red batter forms — no lumps and no unincorporated flour. The batter will be more liquid than a standard butter sponge batter — this is correct and gives the characteristically moist, tender crumb.
Step 3 — Bake
Divide equally between the two prepared tins — weigh the batter for even layers. The batter will be vivid crimson at this point. It will deepen slightly to a darker, more specifically red velvet colour during baking.
Bake for 25 to 30 minutes until the sponges are set, spring back when pressed very lightly in the centre, and a skewer comes out clean.
Cool in the tins for ten minutes. Turn out onto wire racks. Cool completely — at least one hour and a half. The cream cheese frosting must go on completely cooled sponges.
Step 4 — Make the Cream Cheese Frosting
Beat the room-temperature cream cheese and softened butter together for two to three minutes until completely smooth. Add the double-sifted icing sugar in three batches, beating well after each. Add the vanilla, lemon juice, and salt. Beat for one to two minutes until smooth and combined.
Do not overbeat — cream cheese frosting becomes progressively more liquid beyond the point of smoothness. Stop as soon as it is smooth and well combined. Refrigerate for fifteen minutes if it seems too soft to spread.
Step 5 — Assemble
Reserve approximately one tablespoon of cake crumbs from the edges of the cooled sponges — these will be used for the exterior decoration. Place the first sponge on a serving plate. Spread one-third of the frosting generously over the surface.
Place the second sponge on top. Apply a thin crumb coat of frosting all over the cake — top and sides. Refrigerate for fifteen minutes.
Apply a generous final coat of frosting — smoothing the top with a hot palette knife and giving the sides a slight texture with a cake scraper or palette knife.
Press the reserved red velvet cake crumbs gently onto the sides of the frosted cake for the traditional decoration. Or pipe swirls of frosting around the top edge for a more formal finish.
Refrigerate for thirty minutes before slicing.
Serving Suggestions
As a birthday cake — few cakes look as dramatic or as specifically celebratory as a red velvet cake on a stand. As a Valentine’s Day cake — the red and white is completely appropriate. At any occasion where something visually spectacular and specifically delicious is wanted.
How to Store Mary Berry Red Velvet Cake
In the fridge: Store covered for up to 3 days. Bring to room temperature for twenty minutes before serving for the best flavour and texture.
In the freezer: Freeze the unfrosted sponge layers for up to 3 months. Make the cream cheese frosting fresh and assemble on the day of serving.
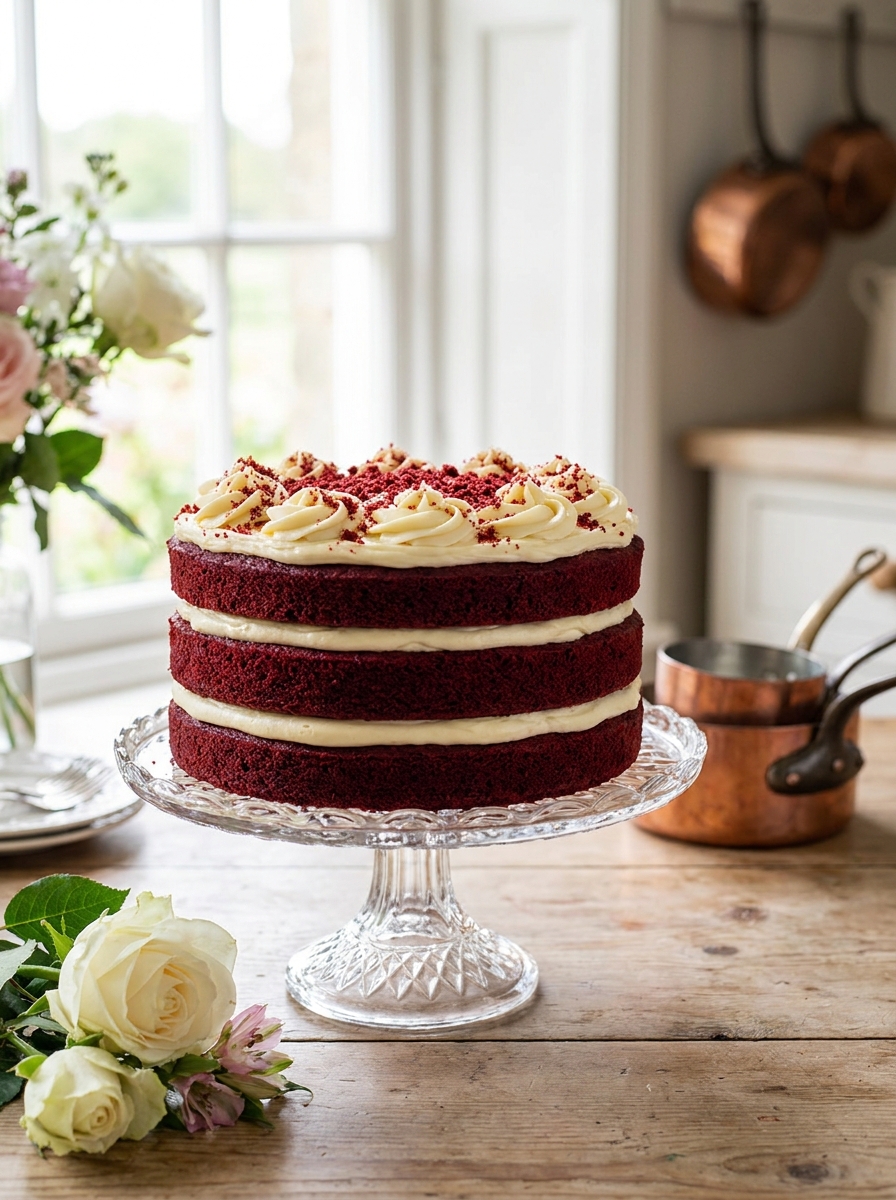
Mary Berry Red Velvet Cake Recipe
Ingredients
Method
- Preheat oven to 180°C / 160°C fan / Gas 4. Grease and line two 20cm tins. Sift flour, cocoa, baking powder, bicarbonate of soda, and salt into a large bowl — add both sugars and stir.
- Whisk oil, eggs, buttermilk, vanilla, vinegar, and red gel colouring until vivid crimson and combined. Pour into dry ingredients — whisk to a smooth crimson batter.
- Divide between tins — weigh for even layers. Bake 25–30 minutes until set and skewer comes out clean. Cool in tins 10 minutes — turn out. Cool completely — 1 hour 30 minutes.
- Beat cream cheese and butter 2–3 minutes until smooth. Add icing sugar in 3 batches. Add vanilla, lemon juice, and salt — beat 1–2 minutes. Stop immediately when smooth. Refrigerate 15 minutes if too soft.
- Reserve cake crumbs. Place first sponge on plate — spread one-third of frosting. Top with second sponge. Apply thin crumb coat — refrigerate 15 minutes. Apply generous final coat — smooth top, texture sides. Press crumbs onto sides. Refrigerate 30 minutes. Slice.
Notes
Frequently Asked Questions
Can I make this as a three-layer cake?
Yes — increase all sponge quantities by half and divide between three 20cm tins. Increase the frosting recipe by one-third. The three-layer red velvet cake is dramatically tall and beautiful.
Can I make red velvet cupcakes with this recipe?
Yes — divide the batter between eighteen to twenty standard cupcake cases. Bake for 18 to 22 minutes. Top each with a swirl of cream cheese frosting.
Why is my red velvet cake not very red?
Either liquid food colouring was used in insufficient quantity, or the gel colouring was not added generously enough. Red gel food colouring gives reliable vivid results — use two to three tablespoons without hesitation.
Can I make this without food colouring?
Yes — without colouring the cake is a slightly reddish-brown from the cocoa and brown sugar. It tastes identical but lacks the visual drama that makes red velvet cake specifically red velvet.
















Leave a Reply