
 Anna Louise
 If you have only ever made scones with regular milk, buttermilk scones will be a revelation. The buttermilk — with its natural acidity — reacts with the bicarbonate of soda in the recipe to give an extra lift that standard milk cannot match.
The result is a scone that is noticeably lighter, slightly more tender, and has a beautiful, clean flavour with a very slight tang that makes it taste more interesting than a plain scone.
Mary Berry’s buttermilk scone recipe uses exactly this principle. The technique is the same as any good scone — cold butter, light handling, hot oven — but the buttermilk elevates the result.
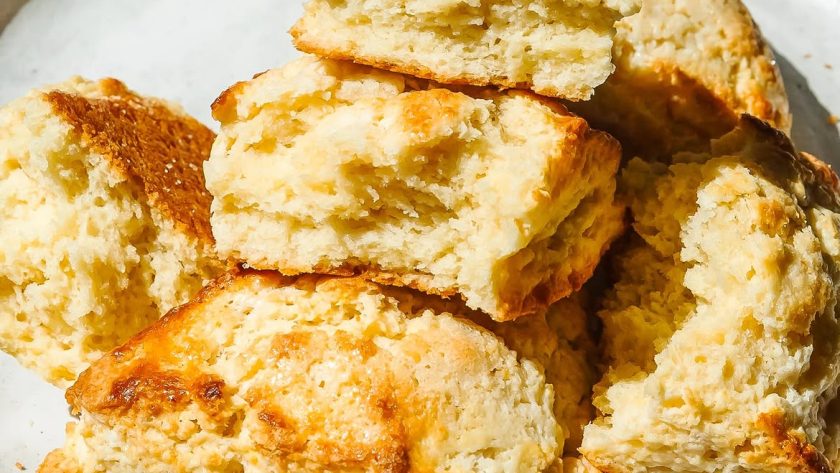
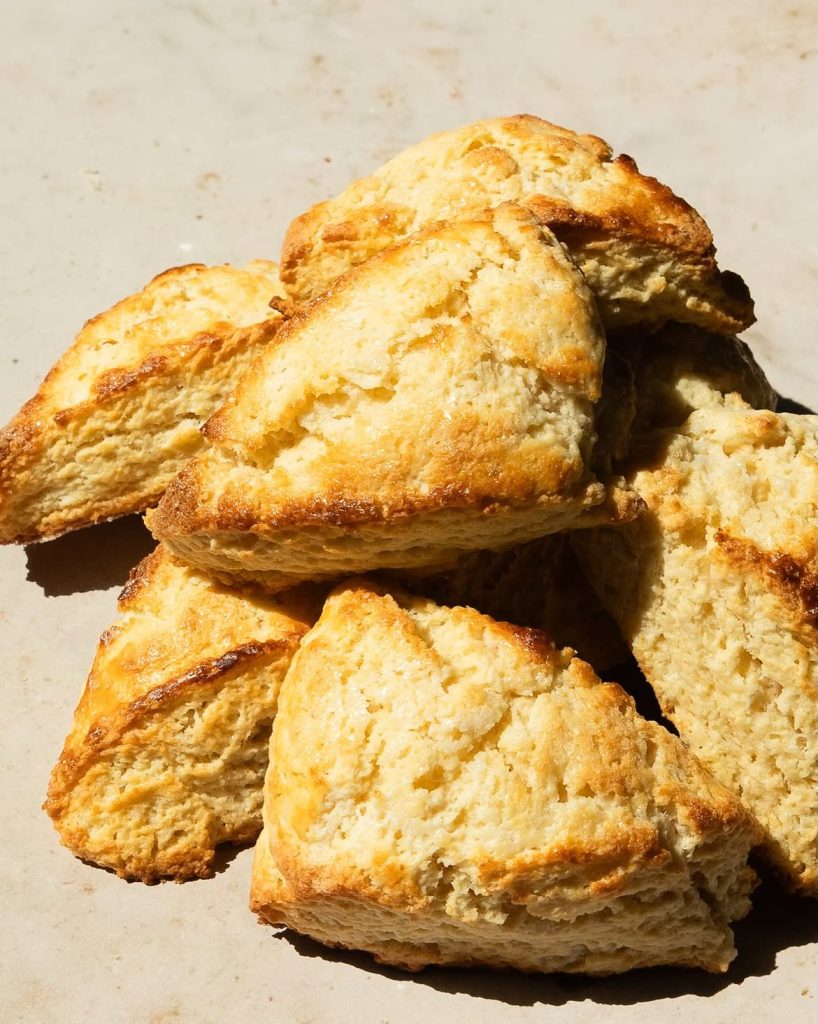
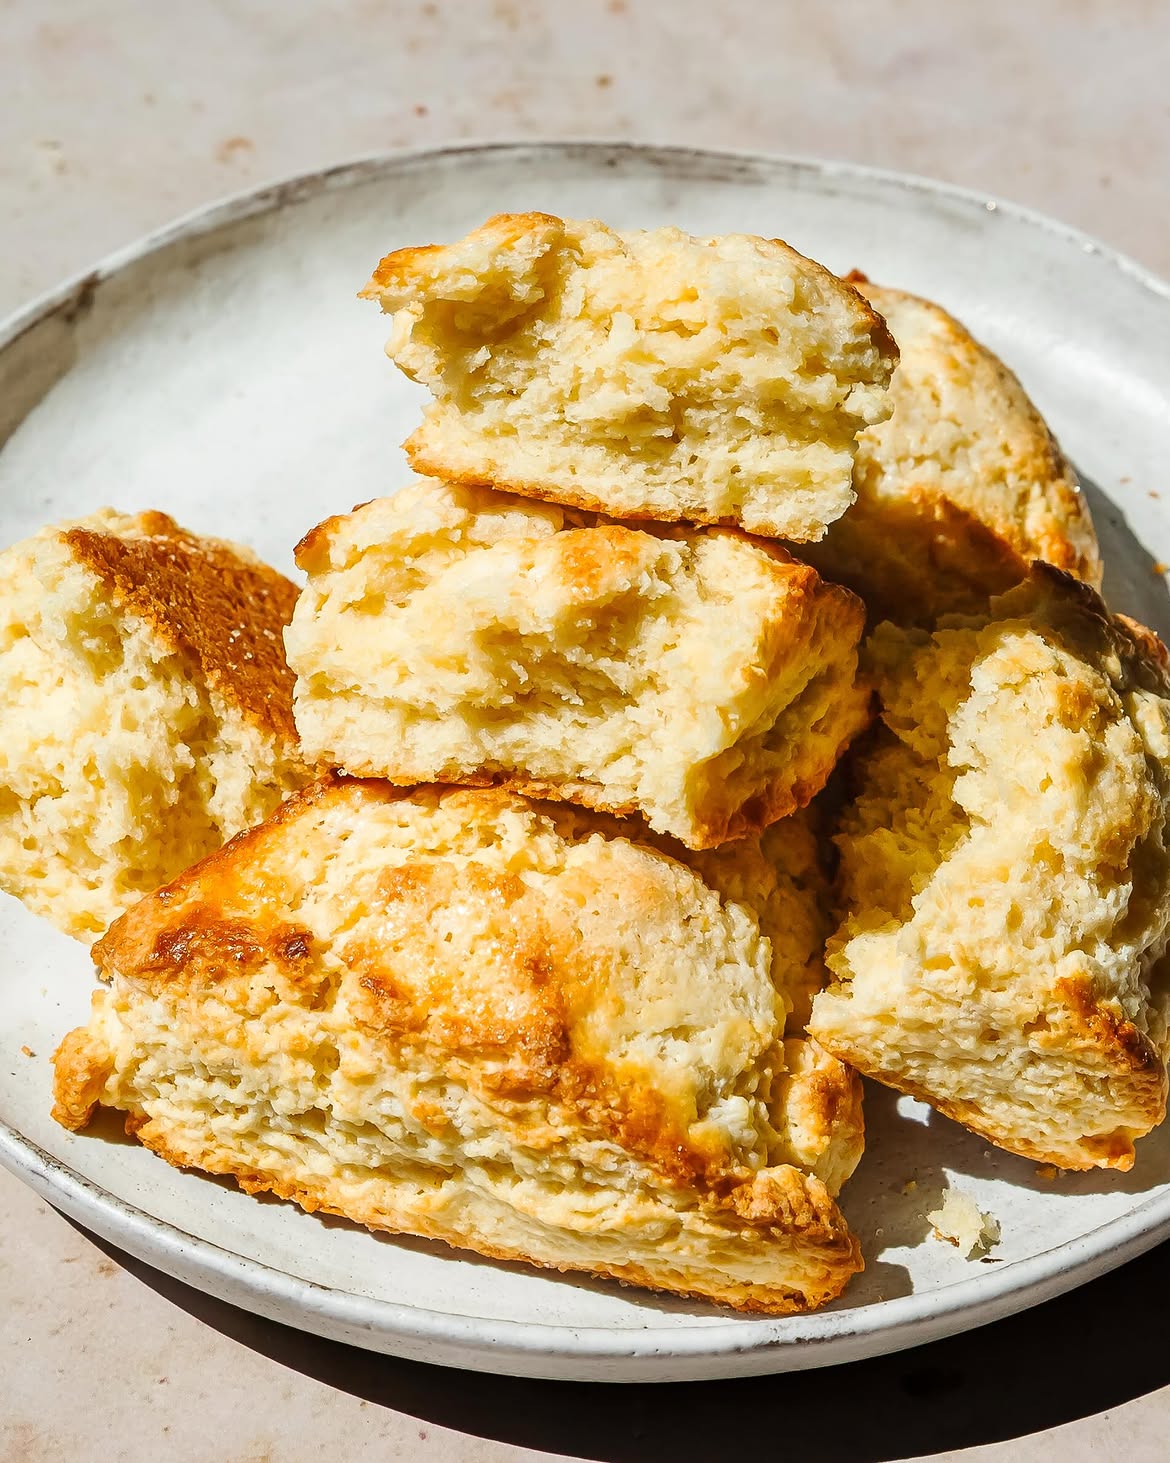
These scones rise higher, stay softer inside, and have a slightly crisp, golden exterior that splits beautifully when you pull them apart.
Serve them the correct way — split, with clotted cream first and then jam — and they are completely wonderful.
Buttermilk Versus Regular Milk — Why It Matters
Regular milk produces a good scone. Buttermilk produces a better one — for two reasons.
The acidity reacts with the raising agents. Buttermilk is acidic, and when it meets the bicarbonate of soda in the recipe, the reaction produces carbon dioxide bubbles that give extra lift. This is the same principle as soda bread, and it is why buttermilk scones rise noticeably higher than milk scones.
The acidity tenderises the dough. The acid in buttermilk partially breaks down the gluten structure, producing a more tender, less chewy crumb. The result is a scone that feels more delicate and soft when you eat it.
If you do not have buttermilk, the substitute is simple — add one tablespoon of lemon juice or white wine vinegar to 240ml of whole milk, stir, and leave for five minutes. It works perfectly.
Ingredients for Mary Berry Buttermilk Scones
For the Scones
- 450g self-raising flour, sifted, plus extra for dusting
- 1 tsp baking powder
- ½ tsp bicarbonate of soda
- ½ tsp fine salt
- 2 tbsp caster sugar
- 100g unsalted butter, cold and cubed
- 240ml buttermilk (or 240ml whole milk with 1 tbsp lemon juice, left 5 minutes)
- 1 large egg, beaten (for brushing)
To Serve
- Clotted cream
- Good quality strawberry or raspberry jam
How to Make Mary Berry Buttermilk Scones — Step by Step
Step 1 — Preheat and Prepare
Preheat your oven to 220°C / 200°C fan / Gas 7. Line a large baking tray with baking parchment.
A very hot oven is essential — the blast of heat causes the butter and buttermilk to create steam quickly, giving the scones their characteristic tall rise in the first few minutes of baking.
Step 2 — Rub in the Butter
Sift the self-raising flour, baking powder, bicarbonate of soda, and salt into a large bowl. Add the caster sugar and stir briefly.
Add the cold cubed butter. Using your fingertips, rub the butter into the flour quickly — lifting the mixture and letting it fall back into the bowl to keep it cool. Work until the mixture resembles fine breadcrumbs with a few pea-sized pieces of butter still visible. These slightly larger pieces of butter create the steam pockets during baking that give scones their lift.
If your hands feel warm, refrigerate the bowl for five minutes before continuing.
Step 3 — Add the Buttermilk
Make a well in the centre of the flour mixture. Pour in almost all the buttermilk and mix quickly with a round-bladed knife — cutting through the mixture rather than stirring — until a soft, slightly sticky dough just comes together. Add the remaining buttermilk only if the dough seems dry.
The dough should be soft and slightly tacky. Stop mixing the moment it coheres. Every extra fold makes the scones tougher.
Step 4 — Shape and Cut
Turn the dough out onto a lightly floured surface. Gently pat it out — do not roll — to a thickness of 2.5 to 3cm. This thickness is non-negotiable for a properly risen scone. Thinner dough means flat scones.
Use a 6cm round straight-sided cutter. Press straight down and lift straight up — do not twist. Twisting seals the cut edges and prevents the scones from rising evenly. Cut as many rounds as you can from the first pat-out.
Gather the remaining dough gently, pat out once more, and cut again. Do not re-roll more than once.
Step 5 — Glaze and Bake
Place the scones on the prepared tray, spaced slightly apart. Brush the tops only with beaten egg — do not let the egg drip down the sides as this seals the edges and prevents even rising.
Bake for 12 to 14 minutes until risen, golden brown, and firm to the touch. The scones should have risen to nearly double their uncooked height.
Step 6 — Serve
Transfer to a wire rack. These are best eaten within 20 to 30 minutes of coming out of the oven — warm, just slightly giving on the inside, with that beautiful crisp top.
Split each scone with your fingers or a knife, add a generous spoonful of clotted cream first, then jam on top. This is the correct order. The cream goes on first.
My Top Tips
Keep everything cold. Cold butter, cold buttermilk, cool hands, cool bowl. The colder everything is when it goes into the oven, the more dramatically the butter melts and creates steam — giving you a taller, lighter scone.
Do not twist the cutter. The most repeated tip in scone making and the most important. Press straight down and lift straight up. Twisting seals the cut edges and you end up with scones that rise unevenly or not at all on one side.
Pat, do not roll. A rolling pin compresses the dough and reduces the rise. Pat the dough to the right thickness with your hands — gently and quickly.
2.5 to 3cm is the minimum thickness. Anything thinner and the scones will bake flat. Measure if you are not sure — the thickness before baking directly determines the height after.
Mix as little as possible. Add the buttermilk and mix only until the dough comes together. Too much mixing means too much gluten development and tough scones. Rough and slightly sticky is correct.
Brush the top only with egg wash. Egg wash on the sides of a scone seals the layers and prevents it from rising fully. Top only, carefully, with a light hand.
Serving Suggestions
Warm from the oven with clotted cream and strawberry jam — this is the correct answer and nothing else competes. At an afternoon tea spread alongside sandwiches and cake. With butter and good quality marmalade for a breakfast version. Alongside a bowl of soup for a savoury option.
How to Store
At room temperature: Best eaten on the day they are made. Store in an airtight container for up to 2 days — refresh in a 170°C oven for 5 minutes before serving.
In the freezer: Freeze in an airtight container for up to 3 months. Warm from frozen in a 180°C oven for 12 to 15 minutes until heated through.
Try These Recipes
Mary Berry Buttermilk Scones Recipe
Ingredients
Method
- Preheat oven to 220°C / 200°C fan / Gas 7. Line a large baking tray with parchment.
- Sift flour, baking powder, bicarbonate of soda, and salt into a large bowl. Add sugar. Add cold cubed butter. Rub in quickly with fingertips until fine breadcrumbs with a few pea-sized pieces remaining.
- Make a well in the centre. Pour in almost all the buttermilk. Mix quickly with a round-bladed knife until a soft, slightly sticky dough just comes together. Add remaining buttermilk only if needed.
- Turn onto a lightly floured surface. Pat gently to 2.5–3cm thickness — do not roll. Cut straight down with a 6cm cutter — do not twist. Gather trimmings once and cut again.
- Place on tray. Brush tops only with beaten egg — do not let it drip down the sides.
- Bake 12–14 minutes until risen, golden, and firm. Cool briefly on a wire rack. Serve warm with clotted cream and jam.
Notes
Frequently Asked Questions
Can I make these without buttermilk?
Yes — add one tablespoon of lemon juice or white wine vinegar to 240ml of whole milk, stir, and leave for five minutes to curdle. This homemade buttermilk substitute works perfectly and produces virtually identical results.
Why did my scones not rise?
The most common causes are: the cutter was twisted rather than pressed straight; the dough was too thin; the baking powder or bicarbonate of soda was old; or the oven was not hot enough. Check all four before your next batch.
Can I add fruit to these scones?
Yes — 75g of sultanas or dried cranberries stirred through the dough after the buttermilk goes in makes a wonderful fruit buttermilk scone. Add them gently with the minimum extra mixing.
Can I make these ahead?
The scones are at their best fresh. However, you can cut the raw scones, place on a lined tray, freeze until solid, then store in a freezer bag. Bake from frozen at the same temperature for 16 to 18 minutes — you get completely fresh scones with almost no preparation time.
Cream or jam first?
Cream first, then jam. This is the Devonian tradition and it is correct — the cream acts as a base and the jam sits beautifully on top. The Cornish tradition (jam first) is also perfectly valid — this is one of those debates where both sides are right.
What is the difference between these and regular scones?
Buttermilk scones are lighter, slightly more tender, and have a subtle tang from the buttermilk. They also rise a little higher because the acidity of the buttermilk reacts with the bicarbonate of soda for extra lift. The technique is identical — the buttermilk is the only meaningful difference.















Leave a Reply