
 Anna Louise
 I have three lemon cheesecake recipes on this site and they are all slightly different things. The plain lemon cheesecake uses fresh lemon juice and zest in the filling.
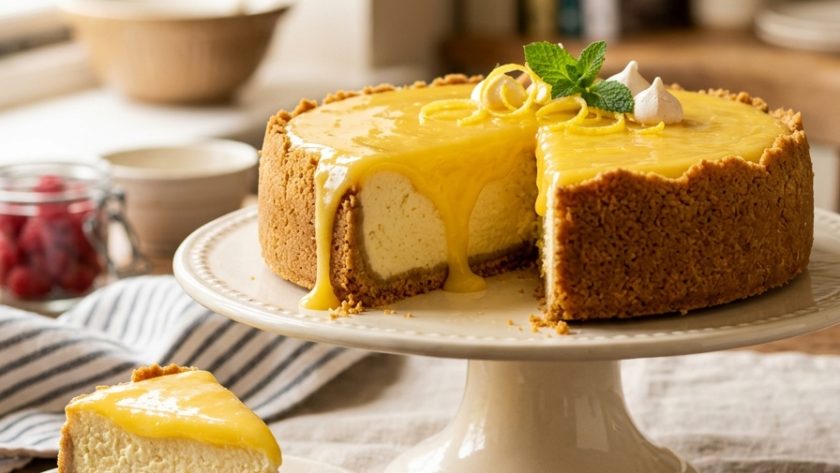
The no-bake lemon cheesecake is written specifically for people who want the simplest possible version. This one — the lemon curd cheesecake — is the most striking of the three and the one I make when I want something that looks genuinely spectacular.
The difference is the lemon curd. Rather than relying solely on lemon juice for the citrus flavour, this version swirls a generous quantity of good lemon curd through the cream cheese filling before setting.
The curd gives a vivid yellow colour in streaks and pockets throughout the pale filling, a more intense and complex lemon flavour than juice alone provides, and a visual drama when the cheesecake is sliced and you see the bright swirls of curd running through the cross section.
You can use the homemade lemon curd from the recipe on this site — and if you have fifteen minutes it is absolutely worth making your own. Or a very good quality shop-bought lemon curd works well too. The key is using enough of it to really taste and see.
Lemon Curd Does Something That Lemon Juice Cannot
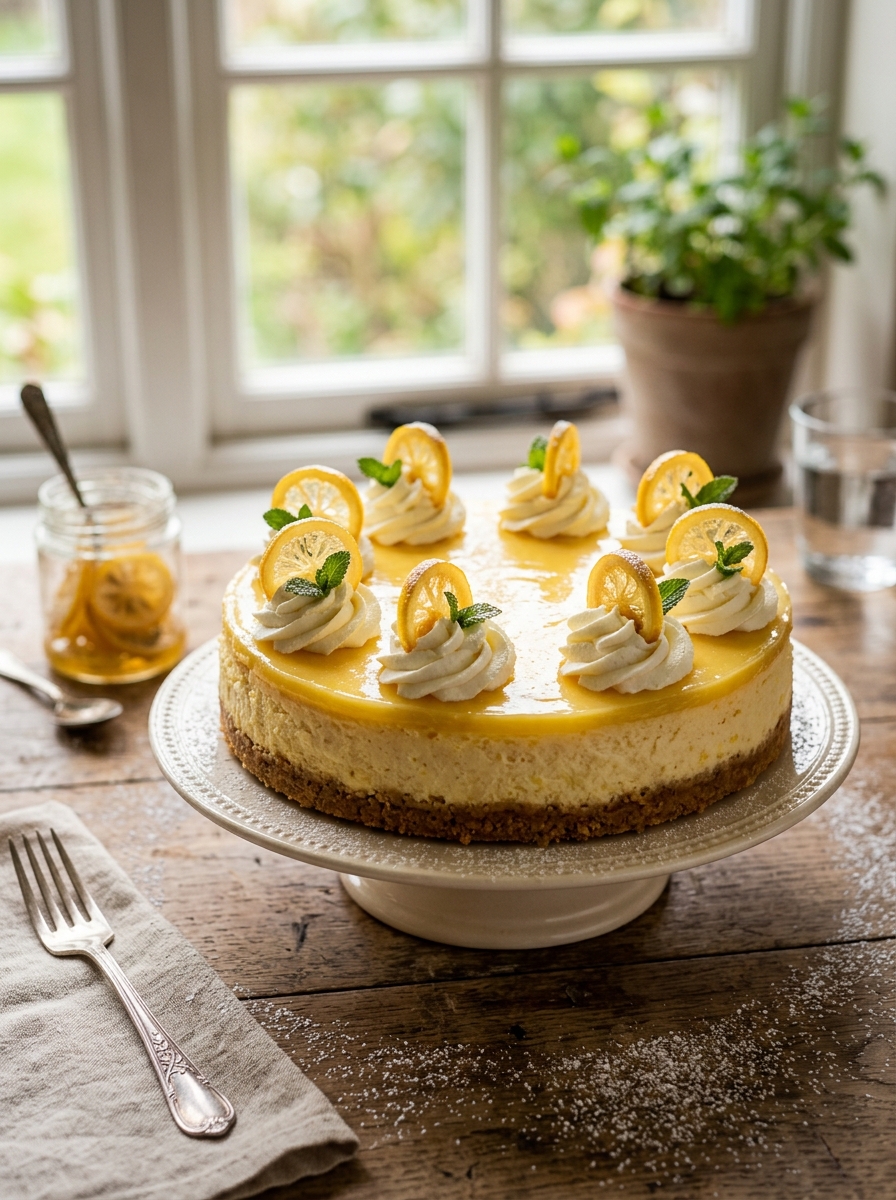
Fresh lemon juice in a cheesecake filling gives sharpness and acidity. Good lemon curd gives all of that plus an egg-and-butter richness that makes the lemon flavour taste rounder, more complex, and more intensely lemony without being simply sharp.
The sugar in the curd also helps — it balances the sharpness so the lemon flavour is vivid rather than merely sour. And the thick consistency of the curd means it swirls beautifully through the cream cheese mixture without being immediately absorbed — you get distinct streaks and pockets rather than an evenly flavoured filling.
Ingredients for Mary Berry Lemon Curd Cheesecake
For the Biscuit Base
- 300g digestive biscuits, crushed to fine crumbs
- 150g unsalted butter, melted
- 1 tbsp caster sugar
For the Lemon Curd Cheesecake Filling
- 600g full-fat cream cheese, at room temperature
- 100g icing sugar, sifted
- 300ml double cream, cold
- 1 tsp vanilla extract
- Juice of 1 large lemon (about 3 tbsp)
- Zest of 2 unwaxed lemons
- 200g good quality lemon curd — homemade or shop-bought
To Decorate
- 3 tbsp extra lemon curd, warmed slightly so it is pourable
- Zest of 1 unwaxed lemon
- Fresh blueberries or raspberries (optional)
- A dusting of icing sugar
How to Make Mary Berry Lemon Curd Cheesecake
Step 1 — Make the Base
Combine the crushed digestive biscuits, melted butter, and caster sugar. Press very firmly into a 23cm round loose-bottomed springform tin using the base of a flat glass. Press particularly firmly at the edges. Refrigerate for 30 minutes.
Step 2 — Make the Cream Cheese Filling
Beat the room-temperature cream cheese and icing sugar together until completely smooth — two to three minutes with an electric hand whisk. Add the vanilla extract, lemon juice, and lemon zest. Beat briefly to combine.
In a separate bowl, whip the cold double cream to soft peaks — billowy and holding a gentle shape but not stiff.
Fold the whipped cream into the cream cheese mixture in two additions using a large spatula and gentle folding motions. Stop the moment no white streaks remain.
Step 3 — Swirl in the Lemon Curd
Spoon the lemon curd onto the cream cheese filling — dotting it in five or six places across the surface. Using a large spoon or spatula, fold through the cream cheese mixture with four or five broad, sweeping folds. You want distinct swirls and streaks of lemon curd rather than an evenly blended filling. Be careful not to overmix — the swirling should look deliberate and beautiful, not muddy.
Step 4 — Fill and Chill
Spoon the swirled filling onto the chilled biscuit base. Spread roughly — you want to preserve the swirls rather than smooth them out completely. A gentle spread with the back of a spoon, rather than a palette knife across the surface, maintains the most dramatic swirl pattern.
Cover loosely with cling film and refrigerate overnight — eight hours minimum. Twelve is better.
Step 5 — Remove and Decorate
Run a thin palette knife carefully around the entire edge. Release the springform sides slowly. Slide onto a serving plate.
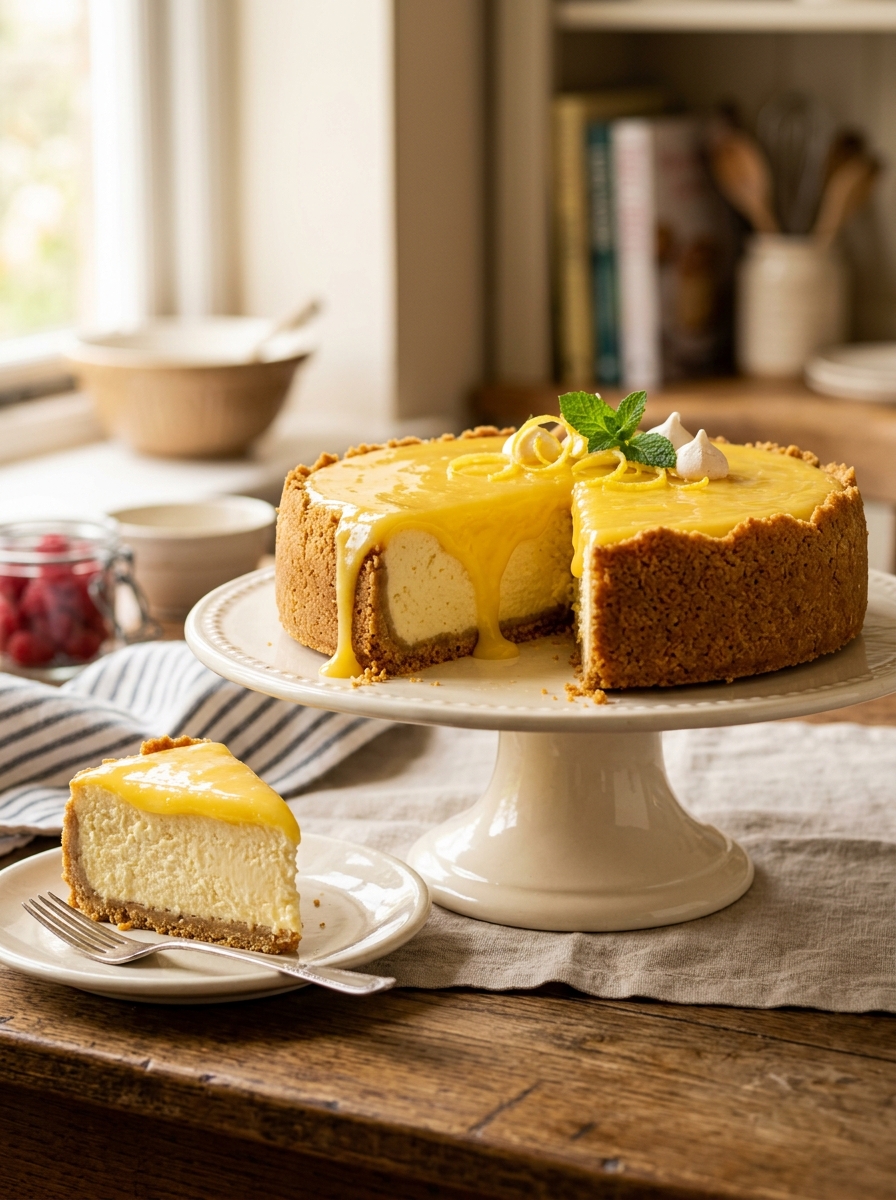
Warm the extra lemon curd very slightly — twenty seconds in the microwave — until it is pourable. Drizzle it over the top of the cheesecake in whatever pattern appeals to you. Scatter lemon zest and fresh berries if using. Dust the edges lightly with icing sugar.
My Top Tips For Perfect Lemon Curd Cheesecake
Fold the lemon curd through with restraint. Four to five broad folds gives beautiful, distinct swirls. Ten folds gives an evenly flavoured but visually less interesting filling. Four to five — then stop.
Use slightly less icing sugar than other cheesecakes. The lemon curd is already sweet — 100g of icing sugar rather than the 150g used in the plain lemon cheesecake gives a better balance in this version.
The lemon curd must be at room temperature for swirling. Cold lemon curd straight from the fridge is too stiff to swirl through a cream cheese filling evenly. Leave it out for thirty minutes or warm it very slightly before using.
Be generous with the lemon curd. Two hundred grams is a meaningful amount. You should be able to taste it clearly and see it clearly in the finished cheesecake. The lemon curd is the reason you are making this version rather than a plain lemon cheesecake — use enough of it.
Refrigerate overnight — always. Eight hours minimum for this cheesecake. The lemon curd adds moisture to the filling and it needs the full overnight set to be firm enough to slice cleanly.
Serving Suggestions
Cold from the fridge at a dinner party — it looks genuinely spectacular when sliced and the swirls are revealed. With extra lemon curd on the side for those who want more lemon. As a birthday dessert for someone who loves lemon. On a summer afternoon in the garden with a glass of something cold and sparkling.
How to Store Lemon Curd Cheesecake
In the fridge: Store covered for up to 3 days. The filling stays creamy and the lemon curd swirls remain vibrant.
In the freezer: Freeze without the decorative lemon curd drizzle for up to 2 months. Wrap tightly. Defrost overnight in the fridge and decorate fresh.
Try These Recipes
- Mary Berry Victoria Sponge With Buttercream
- Mary Berry Traditional Uk Rice Pudding
- Mary Berry 3 Egg Victoria Sponge
- Mary Berry Carrot Cake Tray Bake
Mary Berry Lemon Curd Cheesecake Recipe
Ingredients
Method
- Press biscuit base very firmly into a 23cm springform tin. Refrigerate 30 minutes.
- Beat room-temperature cream cheese and icing sugar until smooth. Add vanilla, lemon juice, and zest — beat briefly.
- Whip cold cream to soft peaks. Fold into cream cheese mixture in two additions until just combined.
- Dot room-temperature lemon curd over filling in 5–6 places. Fold through with 4–5 broad sweeping folds — distinct swirls, not evenly blended.
- Spoon onto base. Spread gently — preserve the swirls. Cover loosely. Refrigerate overnight.
- Release tin. Drizzle warmed lemon curd over top. Scatter lemon zest and berries. Dust with icing sugar.
Notes
Frequently Asked Questions
Can I use lime curd instead of lemon curd?
Yes — lime curd gives a more fragrant, slightly more tropical version of this cheesecake. Make the lime curd from the lemon curd recipe on this site using lime juice and zest in place of lemon. It is exceptional.
Can I make the lemon curd and the cheesecake base the day before and assemble the next day?
Yes — the biscuit base can be made and refrigerated two days ahead. The lemon curd keeps in the fridge for up to four weeks. Assemble the filling and refrigerate on the day before serving.
Can I use a baked cheesecake base for this recipe?
This is a no-bake recipe throughout. For a baked lemon curd cheesecake, see the New York cheesecake recipe on this site and adapt by reducing the lemon juice and adding lemon curd to the filling.
Why is my swirl disappearing into the filling?
The lemon curd was too cold and therefore too thick to swirl evenly, or the cream cheese filling was too soft and the curd sank. Make sure the curd is at room temperature and the cream cheese filling is properly made before swirling.
Can I add a layer of lemon curd between the base and the filling?
Yes — spread three tablespoons of lemon curd over the chilled biscuit base before adding the filling. This gives an extra layer of intense lemon flavour beneath the cream cheese that is completely wonderful.














Leave a Reply