
 Anna Louise
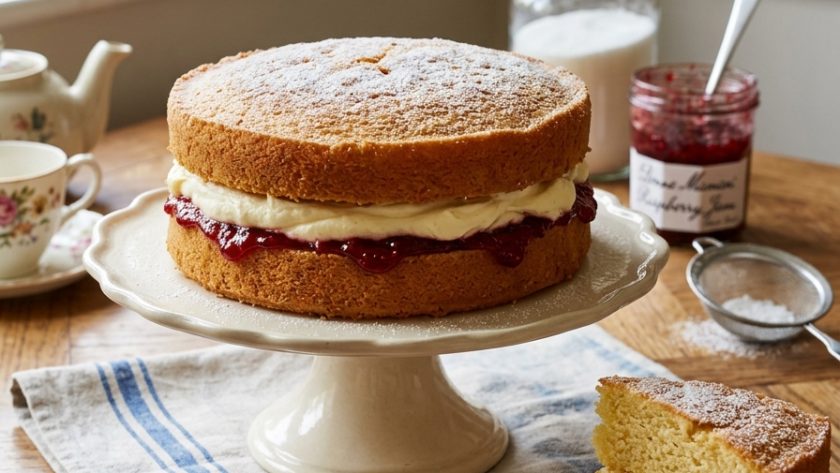
 The classic Victoria sponge on this site uses whipped cream as the filling. This version uses vanilla buttercream — and it is worth having both recipes because they produce genuinely different cakes. The buttercream version is richer, more stable at room temperature, and has a slightly more indulgent character.
It is the version to make when the cake needs to travel, when it needs to sit at room temperature for several hours, or when you want something that looks more elaborate — buttercream can be piped around the edge of the filling layer and around the top of the cake in a way that whipped cream simply cannot.
The sponge is identical to the classic Victoria sponge recipe. The filling replaces the whipped cream with a proper vanilla buttercream — the same recipe used across all the cupcake recipes on this site, applied here as a cake filling and top decoration.
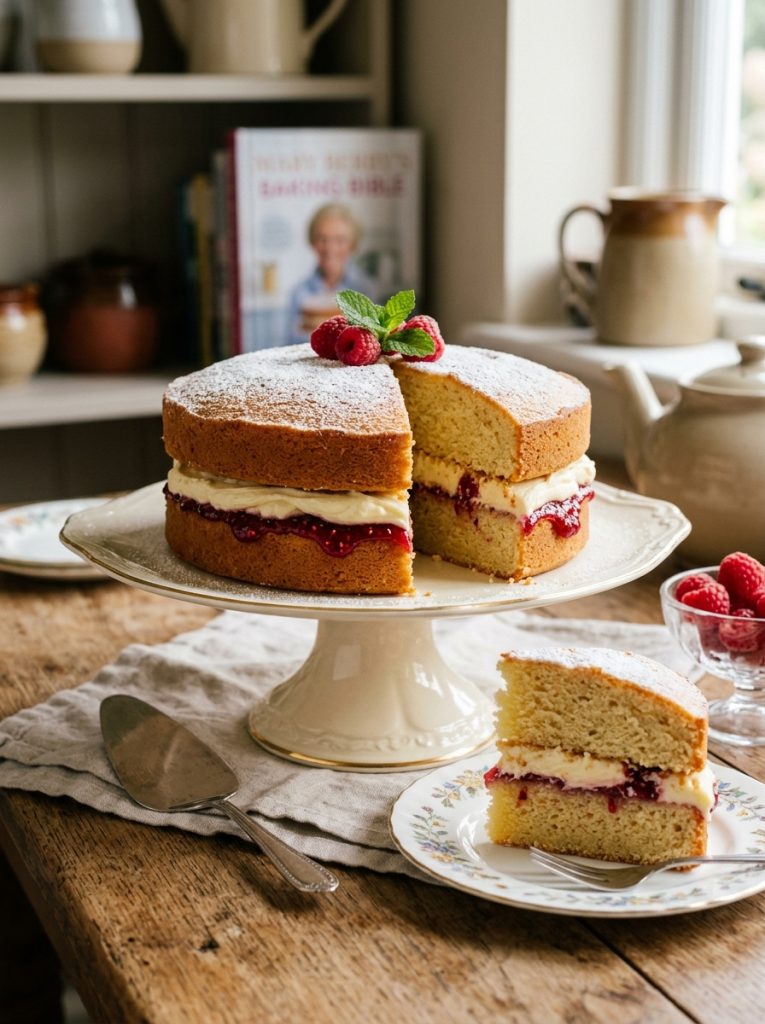
Ingredients for Mary Berry Victoria Sponge with Buttercream
For the Victoria Sponge
- 225g unsalted butter, softened
- 225g caster sugar
- 4 large eggs, at room temperature
- 225g self-raising flour, sifted
- 2 tsp baking powder
- 2 tbsp whole milk
- 2 tsp vanilla extract
For the Vanilla Buttercream
- 200g unsalted butter, softened — genuinely at room temperature
- 400g icing sugar, sifted twice
- 2–3 tbsp whole milk or double cream
- 2 tsp good quality vanilla extract
- Pinch of fine salt
For the Filling
- 4 tbsp good quality strawberry jam
To Finish
- Icing sugar for dusting — or a little extra buttercream piped around the edge
How to Make Mary Berry Victoria Sponge with Buttercream
Step 1 — Make the Sponge
Preheat your oven to 180°C / 160°C fan / Gas 4. Grease two 20cm round sandwich tins and line the bases with baking parchment.
Place the softened butter, caster sugar, eggs, sifted flour, baking powder, milk, and vanilla extract into a large mixing bowl. Beat with an electric hand whisk for two to three minutes until smooth, pale, and well combined. Scrape down the sides once during mixing.
Divide equally between the two prepared tins — weigh for even layers. Smooth the tops. Bake on the middle shelf for 22 to 26 minutes until golden, springy, and a skewer comes out clean.
Cool in the tins for five minutes. Turn out onto a wire rack and cool completely — at least 45 minutes.
Step 2 — Make the Vanilla Buttercream
Beat the softened butter alone with an electric hand whisk for four full minutes until very pale and genuinely fluffy. Add the double-sifted icing sugar in three batches, beating well after each addition. Add the vanilla extract, salt, and enough milk to bring the buttercream to a smooth, spreadable — but not soft — consistency. Beat for two more minutes until completely smooth and light.
The buttercream should hold a firm peak but look silky rather than stiff. If it seems too soft, refrigerate for fifteen minutes.
Step 3 — Assemble
Place one sponge upside down on a serving plate — the flat base becomes a level surface for the filling. Spread the strawberry jam generously over the surface.
Spread or pipe half the vanilla buttercream over the jam — generously, right to the edges.
Place the second sponge on top, right-side up, and press down gently.
Step 4 — Decorate the Top
Spread the remaining buttercream over the top of the cake. For a classic finish — smooth it with a palette knife. For a more decorative finish — pipe rosettes or swirls around the edge using a large star nozzle.
Dust with icing sugar and serve.
Tips For Perfect Victoria Sponge with Buttercream
Beat butter for four minutes before adding icing sugar. The same instruction that appears in every buttercream recipe on this site — because it makes the same difference every time. Four minutes of beating butter alone creates the light, aerated base that makes buttercream silky rather than dense.
Use room temperature butter for both the sponge and the buttercream. Cold butter in the sponge gives an uneven, lumpy batter. Cold butter in the buttercream gives grainy, difficult-to-smooth frosting. Take it out of the fridge at least an hour before you need it.
Weigh the batter between tins. Thirty seconds on a scale. Two perfectly even layers look significantly more professional than two unequal ones.
The buttercream version is more stable than cream. This is the practical advantage of using buttercream — it holds at room temperature for up to eight hours, travels without any problem, and can be made the day before and refrigerated. Bring to room temperature and beat briefly before using if made ahead.
Jam and buttercream together give the right balance. The sharp jam between the sponge and the rich buttercream gives the same balance as jam and cream in the classic version. Do not skip the jam.
Serving Suggestions
On a cake stand as a celebration cake. For a birthday where the cake needs to hold at room temperature for several hours. As an afternoon tea centrepiece that can be made completely the day before.
At any occasion where the classic Victoria sponge is appropriate but extra stability is needed.
How to Store Victoria Sponge with Buttercream
At room temperature: Store in an airtight container for up to 3 days. The buttercream holds its shape and the sponge stays moist.
In the freezer: Freeze the unfilled sponge layers for up to 3 months. Make the buttercream fresh when assembling.
Try These Recipes
- Mary Berry Apple And Rhubarb Crumble
- Mary Berry Lemon Curd Cheesecake
- Mary Berry Traditional Uk Rice Pudding
- Mary Berry 3 Egg Victoria Sponge
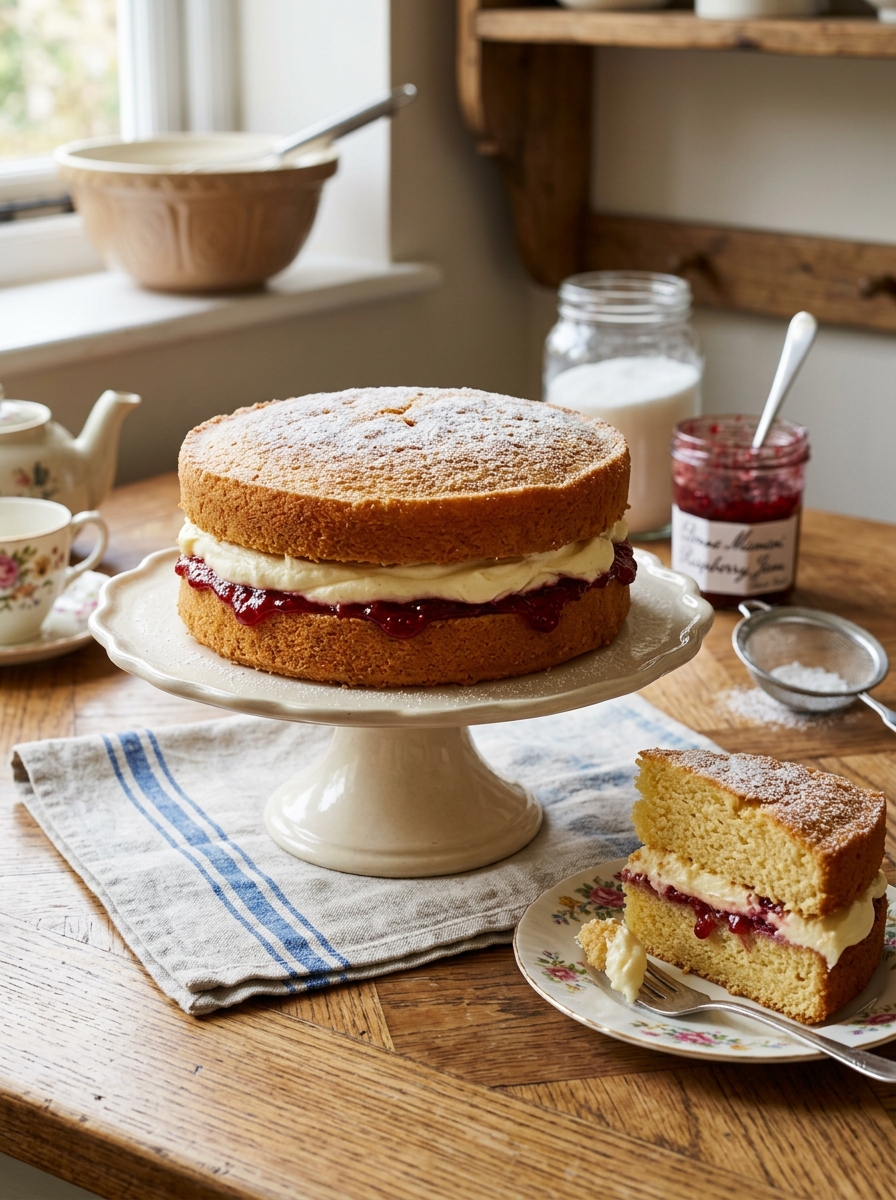
Mary Berry Victoria Sponge with Buttercream Recipe
Ingredients
Method
- Preheat oven to 180°C / 160°C fan / Gas 4. Grease and line two 20cm tins. Place all sponge ingredients in a large bowl — beat 2–3 minutes until smooth. Divide equally between tins — weigh for even layers. Bake 22–26 minutes until golden and skewer comes out clean. Cool completely.
- Beat softened butter alone 4 minutes until very pale. Add icing sugar in 3 batches — beat well after each. Add vanilla, salt, and milk until smooth and spreadable. Beat 2 more minutes.
- Place one sponge upside down on serving plate. Spread jam generously. Spread or pipe half the buttercream over the jam.
- Place second sponge on top right-side up. Spread or pipe remaining buttercream on top. Dust with icing sugar.
Notes
Frequently Asked Questions
What is the difference between this and the classic Victoria sponge recipe?
The sponge is identical. The filling and top use vanilla buttercream rather than whipped cream. Buttercream is more stable, richer, and more suitable for occasions where the cake needs to hold without refrigeration.
Can I use raspberry jam instead of strawberry?
Yes — any good quality jam works. Raspberry gives a slightly sharper flavour that cuts through the rich buttercream beautifully.
Can I colour the buttercream?
Yes — add gel food colouring gradually, beating between additions, until the desired shade is reached. Pastel pink with strawberry jam is a particularly beautiful combination.
Can I pipe a border around the bottom edge of the cake?
Yes — a border of piped buttercream rosettes around the base of the cake using a star nozzle gives a very professional, very attractive finish.














Leave a Reply