
 Anna Louise
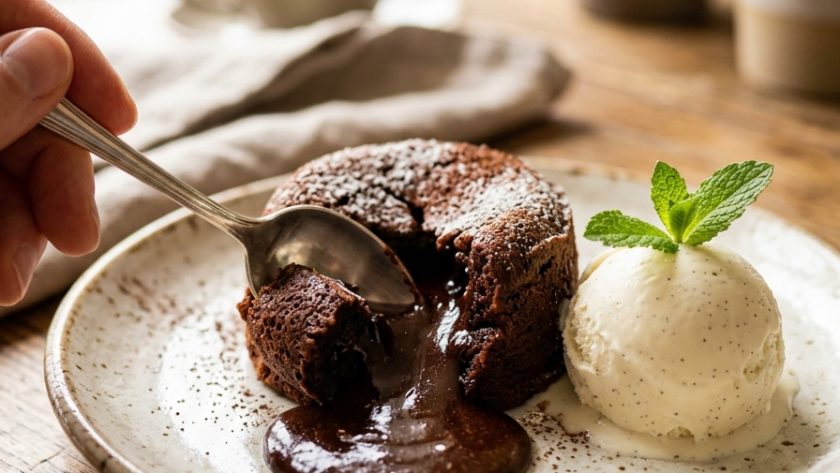
 A chocolate fondant — a moelleux au chocolat — is the dessert that separates confident home cooks from hesitant ones. Not because it is technically difficult, but because it requires trusting yourself to serve something that looks underdone and is exactly right.
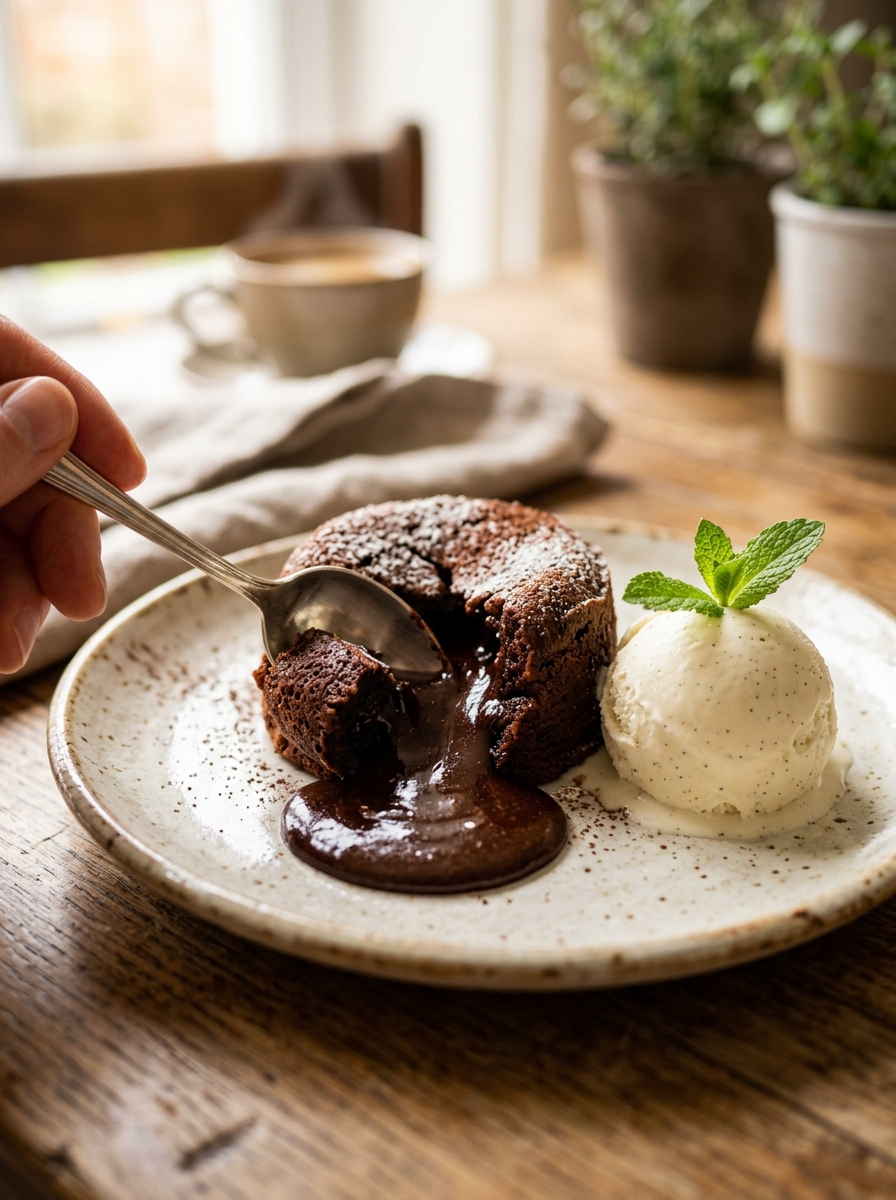
The perfectly set exterior, the slightly wobbly top, the moment when the spoon breaks through and the warm, dark, molten chocolate flows onto the plate — this is one of the finest things a kitchen can produce.
I spent a long time getting this recipe right. The ratio of chocolate to butter to eggs to flour, the size of the ramekin, the oven temperature, the exact number of minutes — all of these matter, and all of them interact. Too much flour gives a set centre. Too little time gives a collapsed exterior.
Too hot an oven gives a cooked exterior with a raw rather than molten centre. The recipe I have settled on gives a chocolate fondant with a completely set, slightly crisp-edged exterior and a warm, flowing, intensely dark molten centre every single time.
The other great virtue of this recipe is that the fondants can be made entirely ahead — filled and refrigerated for up to 24 hours — and baked directly from the fridge when needed. For a dinner party, this means the dessert requires exactly twelve minutes of oven time and zero additional work on the evening itself.
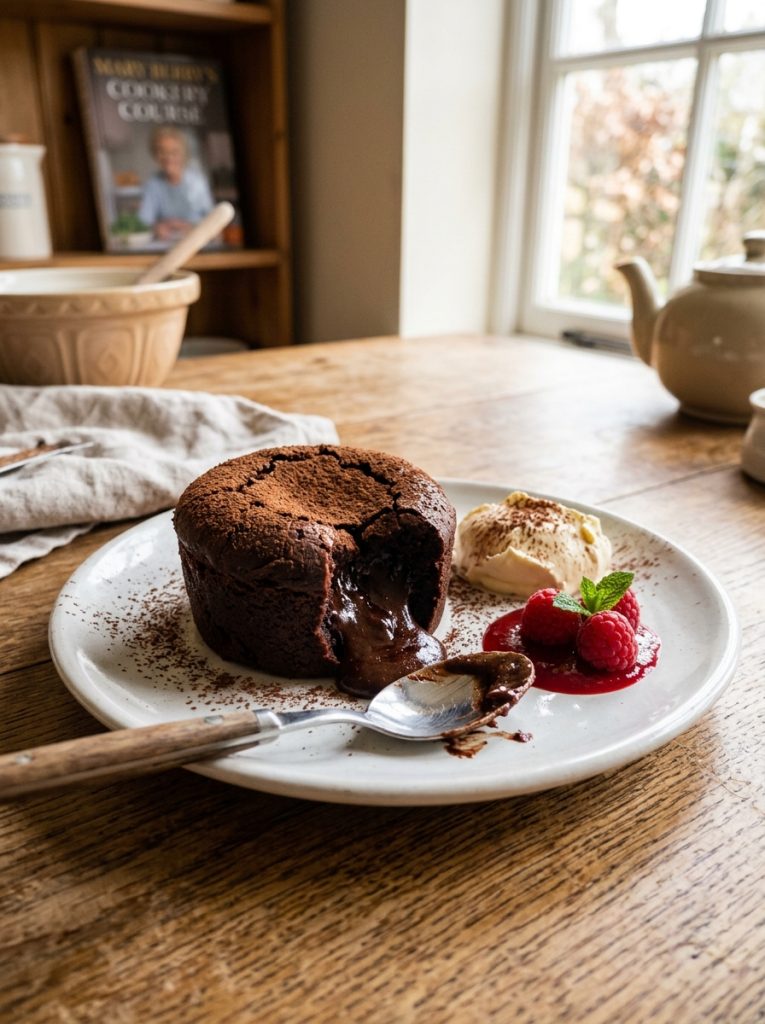
Ingredients for Mary Berry Chocolate Fondant
For the Fondants (Makes 6)
- 200g good quality dark chocolate (70%), finely chopped
- 200g unsalted butter, cut into cubes — plus extra softened butter for greasing
- 4 large eggs plus 4 large egg yolks
- 200g golden caster sugar
- 50g plain flour, sifted
- 1 tsp vanilla extract
- Good quality cocoa powder — for dusting the prepared ramekins
To Serve
- Good quality vanilla ice cream — the cold against the warm fondant is specifically wonderful
- Fresh raspberries — their sharpness cuts through the intense dark chocolate beautifully
- A light dusting of icing sugar
How to Make Mary Berry Chocolate Fondant
Step 1 — Prepare the Ramekins
Brush six 150ml ramekins generously with softened butter — brushing in upward strokes from the base to the rim. Place in the fridge for five minutes to firm the butter. Brush again with a second coat of softened butter in the same upward direction. Dust each buttered ramekin with cocoa powder — tapping to coat every surface evenly and tipping out any excess.
This two-coat butter and cocoa dusting is not optional — it is the preparation that allows the fondant to release cleanly from the ramekin when inverted onto the plate. Any area that is not properly coated will stick and the fondant will tear.
Step 2 — Melt the Chocolate and Butter
Place the finely chopped dark chocolate and cubed butter in a large heatproof bowl over barely simmering water. Stir gently until completely melted and smooth. Remove from the heat and leave to cool for ten minutes. The mixture must be warm but not hot when the eggs go in.
Step 3 — Make the Fondant Batter
In a large bowl, whisk the whole eggs, egg yolks, and golden caster sugar together with an electric hand whisk for three to four minutes until the mixture is pale, thick, and slightly increased in volume. Add the vanilla extract.
Pour the cooled chocolate and butter mixture into the egg and sugar mixture. Fold gently until completely combined — the mixture will be rich, dark, and glossy.
Sift the flour over the surface. Fold in gently until just combined — no more. The flour is what gives the outer layer its set while the centre remains molten. Too much mixing at this stage and the flour develops gluten and gives a slightly tougher exterior.
Step 4 — Fill and Rest
Divide the mixture evenly between the six prepared ramekins — filling each one to about 1cm below the rim.
At this point, cover with cling film and refrigerate for at least two hours — or up to 24 hours. The resting time allows the batter to firm slightly and gives a more defined set exterior when baked. It also means the fondants can be prepared entirely ahead for a dinner party.
Step 5 — Bake
Preheat your oven to 200°C / 180°C fan / Gas 6.
Place the chilled ramekins on a baking tray. Bake for 11 to 12 minutes if baking from chilled. The fondants should be set around the edges and the top should be just set — slightly puffed and no longer liquid-looking. The surface will have a very slight wobble when the tray is shaken gently. This is correct.
Do not be tempted to give them another minute. The difference between a molten centre and a fully set centre is sixty seconds at this temperature. Trust the timing.
Step 6 — Turn Out and Serve
Leave the fondants to stand in the ramekins for exactly one minute. Run a thin palette knife around the edge of each one. Place a warm serving plate upside down on top of each ramekin. Invert confidently in one movement. Give the ramekin a gentle shake — the fondant should drop cleanly onto the plate.
Serve immediately — a chocolate fondant waits for nobody.
Dust lightly with icing sugar. Place two or three raspberries alongside. Add a scoop of vanilla ice cream.
My Top Tips For Best Chocolate Fondant
The double-coat butter and cocoa dusting is essential. I have made fondants that stuck to the ramekin and have made fondants that released perfectly. The difference is always the preparation of the ramekin. Two coats of softened butter, each coat chilled before the next, and a thorough cocoa dusting gives a fondant that releases cleanly every time.
Cool the chocolate and butter before adding the eggs. Warm chocolate added to eggs partially scrambles them. The mixture must be warm — still fluid and workable — but not hot. Ten minutes of cooling after melting gives the right temperature.
The resting time in the fridge is not just convenient — it actively improves the fondant. Cold batter baked in a hot oven gives a more defined contrast between the set exterior and the molten interior. Room temperature batter gives a more gradual gradient. The chilled fondant is the better fondant.
Do one test fondant. If this is your first time making chocolate fondants, bake one as a test while the others remain in the fridge. This tells you exactly how your oven behaves and gives you complete confidence for the others. A test fondant that is slightly overcooked is not a failure — it is information.
Serve immediately from the oven. A chocolate fondant held for five minutes continues to cook in the residual heat of the ramekin and the molten centre sets. The window for serving a perfect fondant is approximately two minutes after it comes out of the oven. Have the plates warm, the accompaniments ready, and serve the moment the ramekins are turned out.
Serving Suggestions
With vanilla ice cream alongside — the cold ice cream against the warm fondant and the molten chocolate centre is one of the finest flavour combinations I know. With fresh raspberries — their acidity is specifically designed to cut through the richness of the dark chocolate. At a dinner party as the dessert course — it requires no work on the evening and produces extraordinary results.
How to Store Mary Berry Chocolate Fondant
Unbaked, filled ramekins: Refrigerate covered with cling film for up to 24 hours. Bake as directed, adding one to two minutes if baking from very cold.
Baked fondants: Best eaten immediately. A baked fondant that has been stored and reheated will have a set rather than molten centre — it becomes a very good chocolate cake rather than a fondant.
Mary Berry Chocolate Fondant Recipe
Ingredients
Method
- Brush ramekins with 2 coats softened butter — chill between coats. Dust thoroughly with cocoa powder — tap out excess.
- Melt chocolate and butter over barely simmering water until smooth. Cool 10 minutes.
- Whisk whole eggs, yolks, and sugar 3–4 minutes until pale and slightly thickened. Add vanilla. Fold in cooled chocolate mixture until combined. Sift flour over surface — fold in gently until just combined.
- Divide between ramekins — fill to 1cm below rim. Cover with cling film. Refrigerate 2 hours minimum — up to 24 hours.
- Preheat oven to 200°C / 180°C fan / Gas 6. Place chilled ramekins on a baking tray. Bake 11–12 minutes until set at edges with a very slight wobble on top.
- Stand 1 minute. Run palette knife around edges. Invert onto warm serving plates. Dust with icing sugar. Add raspberries and ice cream. Serve immediately.
Notes
Frequently Asked Questions
Can I make these gluten free?
Yes — replace the plain flour with the same quantity of gluten free plain flour blend. The result is virtually identical. Ensure the cocoa powder used for dusting the ramekins is also certified gluten free.
Can I use milk chocolate instead of dark?
Milk chocolate gives a sweeter, less intense result. Reduce the sugar to 150g to compensate for the milk chocolate’s sweetness. The centre will be molten but less dramatically flavoured.
What if my fondants come out fully set?
They were baked for too long or the oven temperature was too high. Reduce the baking time by one minute next time and trust the wobble test rather than the clock.
Can I freeze the unbaked fondants?
Yes — cover tightly and freeze for up to 1 month. Bake directly from frozen at 200°C for 14 to 15 minutes.















Leave a Reply