
 Anna Louise
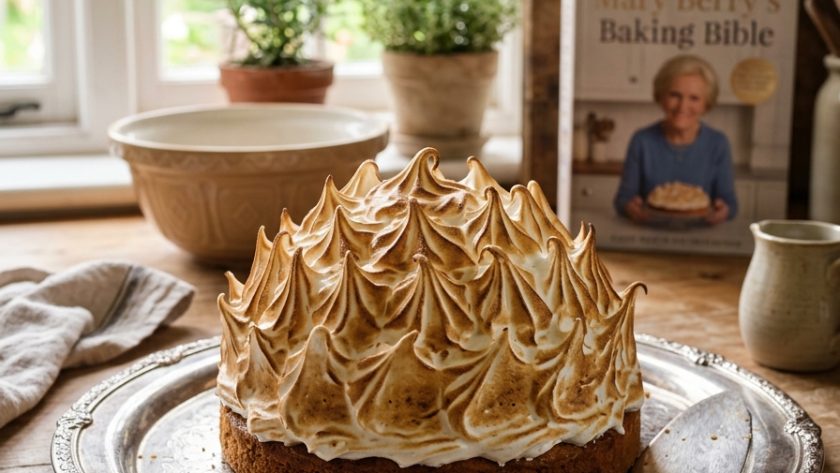
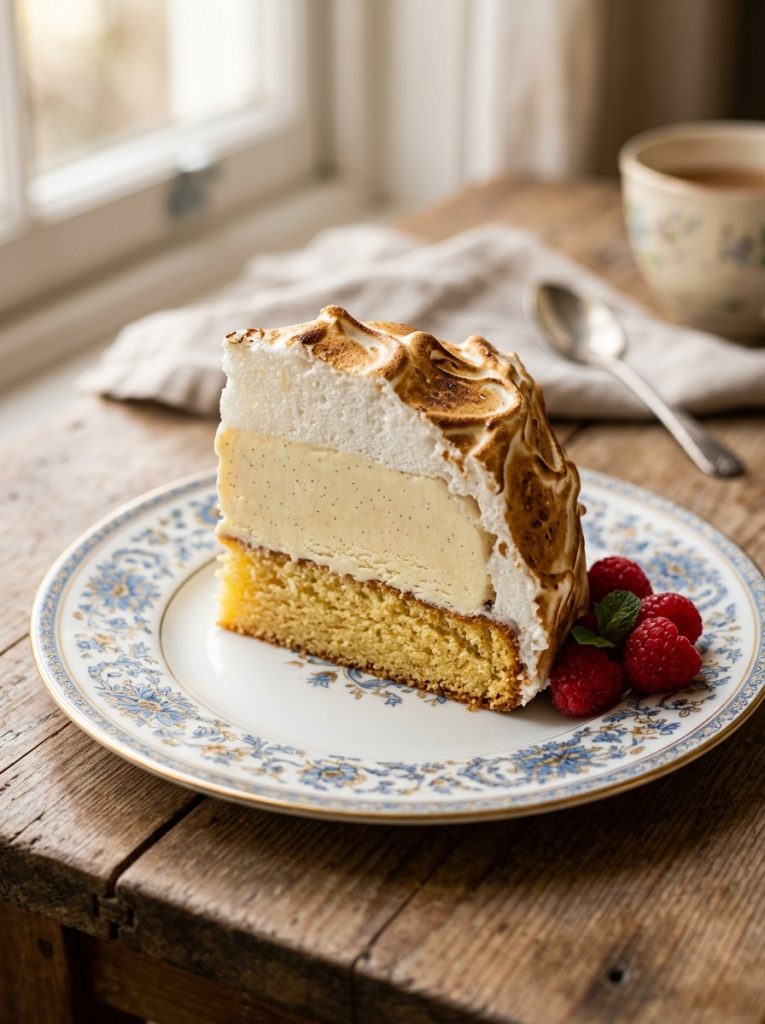
 A baked Alaska is one of those desserts that sounds like a magic trick and is, in effect, exactly that. Ice cream — which should melt when exposed to heat — surrounded by meringue and placed in a very hot oven for five minutes, emerging golden, slightly toasted, and with the ice cream still perfectly frozen inside.
The science is straightforward — the meringue acts as an insulator — but the drama of cutting through the golden meringue to reveal frozen ice cream beneath is something that never fails to produce a reaction at the table.
I have made baked Alaska many times and the version I have settled on uses a proper Victoria sponge base — more substantial and more flavourful than a simple biscuit base — a generous layer of good quality vanilla ice cream, and a proper Swiss meringue that is far more stable and far more glossy than a standard meringue.
The Swiss meringue — made by whisking the egg whites and sugar together over heat before taking off and whisking to full volume — gives a meringue with a beautiful, satiny sheen and enough stability to withstand the blast of the hot oven without weeping.
Ingredients for Mary Berry Baked Alaska
For the Sponge Base
- 3 large eggs, at room temperature
- 90g golden caster sugar
- 90g self-raising flour, sifted
- 1 tbsp hot water
- 1 tsp vanilla extract
For the Ice Cream Filling
- 1 litre good quality vanilla ice cream — slightly softened
- Optional: 200g fresh raspberries or strawberries — pressed into the softened ice cream for colour and flavour
For the Swiss Meringue
- 4 large egg whites
- 225g golden caster sugar
- ½ tsp cream of tartar
- 1 tsp vanilla extract
How to Make Mary Berry Baked Alaska
Step 1 — Make the Sponge Base
Preheat your oven to 180°C / 160°C fan / Gas 4. Grease a 20cm round sandwich tin and line the base with baking parchment.
Whisk the eggs and golden caster sugar together with an electric hand whisk for five to six minutes until the mixture is very pale, very thick, and has at least tripled in volume — the whisk should leave a thick trail on the surface that holds for three to four seconds before sinking back. This is the fatless sponge method — no butter, no baking powder, just eggs and sugar whisked to a foam that the flour is gently folded into.
Sift the flour over the surface of the egg foam. Add the hot water and vanilla extract. Fold with a large metal spoon in broad, confident sweeping motions — stopping the moment the flour is just incorporated. Fold out any pools of flour from the bottom of the bowl.
Pour into the prepared tin. Bake for 18 to 20 minutes until golden, springy, and a skewer comes out clean.
Cool completely in the tin. This sponge base can be made the day before.
Step 2 — Shape the Ice Cream Dome
Line a 1 litre pudding basin with cling film, leaving overhang all around. Allow the ice cream to soften at room temperature for ten to fifteen minutes — enough to be workable but not melted.
If adding fruit, press the fresh raspberries or strawberries into the softened ice cream and stir briefly to distribute.
Spoon the softened ice cream into the lined basin, pressing firmly to remove air pockets. The ice cream should fill the basin and give a smooth, domed surface. Fold the cling film over the top to seal. Freeze for at least four hours — overnight is better. The ice cream dome must be completely solid before the meringue goes on.
Step 3 — Assemble the Base and Dome
Place the completely cooled sponge base on a baking sheet lined with baking parchment.
Unwrap the frozen ice cream dome and invert it centrally onto the sponge base. The dome should be slightly smaller than the sponge base — leaving a 2cm border of sponge visible all around. Return to the freezer while the meringue is made.
Step 4 — Make the Swiss Meringue
Place the egg whites, golden caster sugar, and cream of tartar in a large heatproof bowl set over a pan of barely simmering water. Whisk continuously over the heat for five to six minutes until the sugar has completely dissolved — test by rubbing a little between your fingers, it should feel completely smooth — and the mixture has reached 60°C if you have a thermometer, or feels very warm to the touch.
Remove from the heat. Add the vanilla extract. Whisk with an electric hand whisk on high speed for five to six minutes until the meringue is very thick, very glossy, and completely cool. The bowl should feel cool to the touch.
Step 5 — Cover and Return to Freezer
Working quickly, remove the ice cream dome from the freezer. Cover the entire assembly — ice cream dome and sponge base — completely with the Swiss meringue, using a palette knife or the back of a spoon. Cover every millimetre of the ice cream and sponge with meringue — any gaps will allow the heat to reach the ice cream during baking.
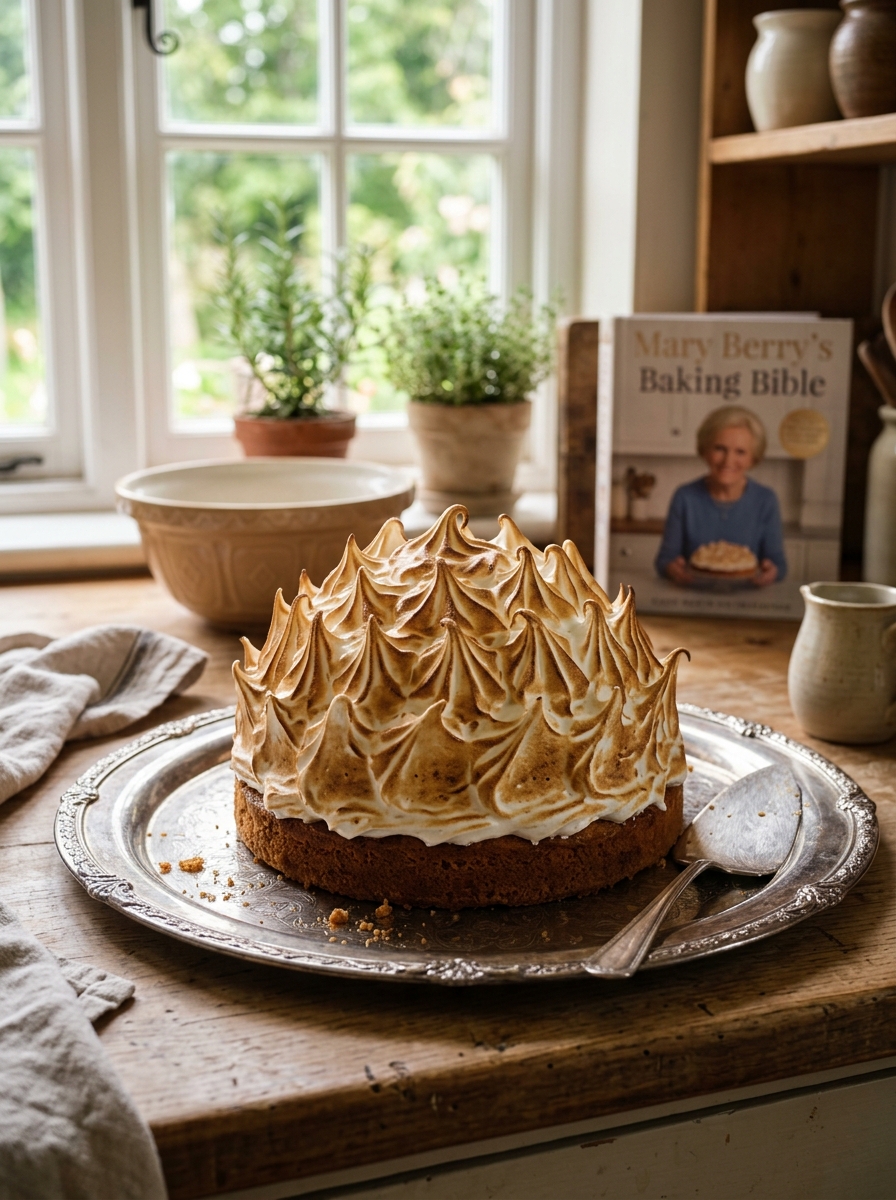
Create peaks and swirls in the meringue surface with the back of a spoon — these brown beautifully and give a dramatic, professional appearance.
Return the meringue-covered Alaska to the freezer for at least thirty minutes — one hour is better. This firms the meringue and means the brief baking time produces a golden surface without melting the ice cream.
Step 6 — Bake and Serve
Preheat your oven to 220°C / 200°C fan / Gas 7 — the highest standard oven temperature.
Remove the Alaska from the freezer. Bake for five to six minutes until the meringue surface is golden and the peaks are lightly toasted. Watch it constantly — the difference between golden and burnt is approximately ninety seconds at this temperature.
Serve immediately — the drama of the baked Alaska diminishes rapidly as the meringue cools and the ice cream begins to soften.
Tips For Perfect Baked Alaska
The Swiss meringue is worth making over a standard meringue. Swiss meringue — where the egg whites and sugar are heated together before whisking — gives a meringue with a beautiful, satiny sheen, exceptional stability, and a much more reliable coverage of the ice cream dome. Standard meringue works but is more prone to weeping and slightly less stable at the high oven temperature.
The ice cream dome must be completely solid before the meringue goes on. A dome that is at all soft gives a baked Alaska where the ice cream begins to melt before the meringue is golden. Four hours of freezing is the minimum — overnight gives complete solidity.
Cover every millimetre of ice cream and sponge with meringue. The meringue is the insulator. Any gap — however small — allows heat to reach the ice cream during baking and creates a local melt point. Check carefully before returning to the freezer and fill any gaps.
Return to the freezer after covering with meringue. The thirty-minute minimum freeze time after the meringue has been applied gives the meringue itself time to chill and gives an extra buffer between the brief baking and the ice cream inside. It also means the meringue surface is cold when it goes into the hot oven, giving the most dramatic contrast between golden exterior and frozen interior.
Bake at maximum temperature for minimum time and watch constantly. Six minutes at 220°C gives a golden surface. Seven or eight minutes at 220°C can give a scorched surface and a significantly warmed interior. The difference between perfect and disappointing is one minute. Watch it every second from the five-minute mark.
Serving Suggestions
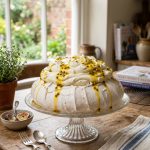
Brought to the table immediately — the visual impact of a baked Alaska is greatest the moment it emerges from the oven, golden, peaked, and slightly smoking where the meringue has caught. Cut through with a large sharp knife at the table for maximum drama. Serve with extra fresh raspberries alongside.
How to Store Mary Berry Baked Alaska
The assembled, uncooked Alaska (before the final bake): Can be kept in the freezer for up to 2 weeks once the meringue is applied. Bake directly from the freezer — add one minute to the baking time.
Leftover baked Alaska: Refrigerate covered for up to 1 day. The meringue softens and the ice cream is no longer frozen but it is still very pleasant to eat cold. It does not reheat.
Mary Berry Baked Alaska Recipe
Ingredients
Method
- Preheat oven to 180°C / 160°C fan / Gas 4. Grease and line a 20cm sandwich tin. Whisk eggs and sugar 5–6 minutes until very pale, thick, and tripled. Sift flour over surface — add hot water and vanilla. Fold gently until just incorporated. Bake 18–20 minutes. Cool completely.
- Line a 1 litre pudding basin with cling film. Fill with slightly softened ice cream — press firmly. Fold cling film over to seal. Freeze 4 hours minimum — overnight ideal.
- Place sponge on a lined baking sheet. Invert frozen ice cream dome centrally onto the sponge. Return to freezer.
- Whisk egg whites, sugar, and cream of tartar in a heatproof bowl over barely simmering water 5–6 minutes until sugar dissolved and warm. Remove from heat. Add vanilla. Whisk on high speed 5–6 minutes until very thick, very glossy, and cool.
- Cover entire assembly with Swiss meringue — every millimetre. Create peaks and swirls. Return to freezer 30 minutes minimum.
- Preheat oven to 220°C / 200°C fan / Gas 7. Bake 5–6 minutes until golden. Watch constantly from 5 minutes. Serve immediately.
Notes
Frequently Asked Questions
Can I use a different flavour of ice cream?
Yes — chocolate ice cream gives a chocolate and meringue combination. Raspberry sorbet gives a more vivid, more sharply flavoured centre. Salted caramel ice cream is completely extraordinary inside a vanilla meringue.
Can I use a bought sponge base?
Yes — a plain Madeira sponge cut to a 20cm circle gives a good result with considerably less work.
Can I flambe the Alaska with brandy?
Yes — warm two tablespoons of brandy in a small saucepan, pour over the baked Alaska, and ignite with a long match at the table. The brief blue flames are dramatically beautiful and add a slight alcoholic warmth to the meringue.
Why is the meringue weeping?
The Swiss meringue technique usually prevents weeping entirely. If the meringue is weeping, the egg whites were not heated sufficiently before whisking — the sugar must be completely dissolved and the mixture properly warm before the bowl comes off the heat.














Leave a Reply