
 Anna Louise
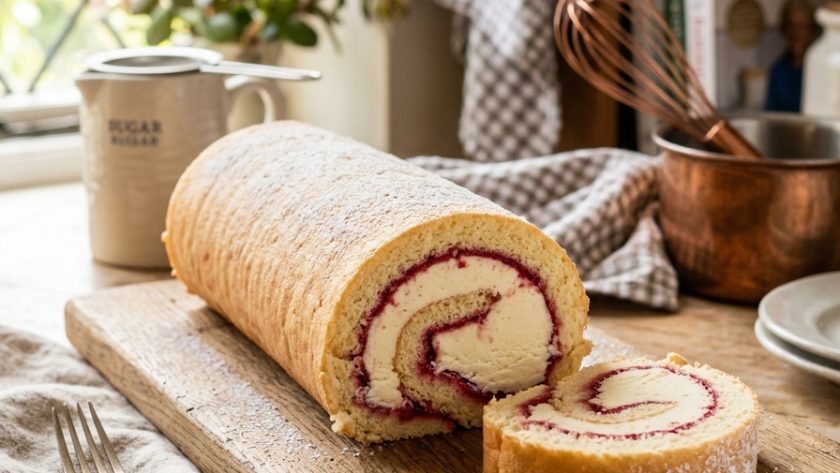
 The arctic roll is one of those recipes that exists in a specific place in British culinary memory — the dessert served at children’s birthday parties and school dinners in the 1970s and 1980s, wrapped in plastic, slightly too sweet, the jam inevitably thicker on one side than the other.
Made properly at home — a light, vanilla Swiss roll sponge, a generous spreading of good raspberry jam, wrapped tightly around a cylinder of excellent vanilla ice cream and frozen until ready to slice — the arctic roll is genuinely wonderful.
The contrast between the tender, slightly yielding sponge and the cold, creamy ice cream inside is specifically and completely delightful. It is retro in character but not remotely dated in flavour.
I make this when I want something for a party that can be prepared entirely ahead and that will produce a smile the moment it appears on the table. It always does.
Ingredients for Mary Berry Arctic Roll
For the Swiss Roll Sponge
- 3 large eggs, at room temperature
- 90g golden caster sugar — plus extra for sprinkling
- 90g self-raising flour, sifted
- 1 tbsp hot water
- 1 tsp vanilla extract
For the Filling
- 4 tbsp good quality raspberry jam — warmed slightly for easier spreading
- 1 litre good quality vanilla ice cream — softened at room temperature for 15 minutes
How to Make Mary Berry Arctic Roll
Step 1 — Make the Swiss Roll Sponge
Preheat your oven to 200°C / 180°C fan / Gas 6. Line a 33x23cm Swiss roll tin with baking parchment — cut the parchment slightly larger than the tin and snip the corners so it sits neatly.
Whisk the eggs and golden caster sugar together with an electric hand whisk for five to six minutes until the mixture is very pale, very thick, and has at least tripled in volume. The whisk should leave a ribbon trail on the surface that holds for three to four seconds before sinking back. This stage cannot be rushed — the air whisked in here is all the rise the sponge has, and the more air the better.
Sift the flour over the surface of the egg foam. Add the hot water and vanilla extract. Fold with a large metal spoon in broad, confident sweeping motions — stopping the moment the flour is just incorporated. Move swiftly — every fold after the last streak of flour has disappeared deflates the sponge.
Pour into the prepared tin. Tilt gently to spread the batter into the corners. Bake for 9 to 11 minutes until the sponge is golden, springy, and just beginning to pull away from the edges of the tin.
Step 2 — Roll the Sponge
While the sponge bakes, lay a clean sheet of baking parchment on the work surface. Sprinkle generously with golden caster sugar.
As soon as the sponge comes out of the oven — immediately, while still hot — turn it out onto the sugared parchment. Peel away the lining parchment from the base of the sponge.
Using the sugared parchment underneath, roll the hot sponge up tightly from one of the short ends — rolling with the parchment inside to prevent the sponge sticking to itself. Leave rolled and wrapped in the parchment to cool completely. Rolling while hot trains the sponge into its rolled shape — attempting to roll a cold sponge will crack it dramatically.
Step 3 — Shape the Ice Cream Cylinder
Line a 33cm length of the cardboard roll from a piece of cling film with cling film — or simply use a piece of cling film shaped on the bench. Alternatively, use a length of foil shaped into a cylinder approximately 6cm in diameter and 28cm long.
Scoop the softened ice cream into the cling-film-lined cylinder, pressing firmly and rolling to give a tight, even cylinder. Twist the ends of the cling film to seal. Freeze for at least four hours — overnight is ideal. The ice cream cylinder must be completely solid before assembling.
Step 4 — Assemble the Arctic Roll
Unroll the completely cooled sponge. Spread the warmed raspberry jam evenly over the entire surface — right to all four edges.
Remove the frozen ice cream cylinder from the freezer. Unwrap it and place it along the near short edge of the jam-covered sponge — the ice cream cylinder should run the full length of the sponge.
Roll the sponge tightly around the ice cream cylinder — rolling away from you, pressing firmly to make a compact, tight roll. The sponge should completely encase the ice cream with the seam at the bottom.
Wrap tightly in cling film. Freeze for at least two hours — or until ready to serve.
Step 5 — Slice and Serve
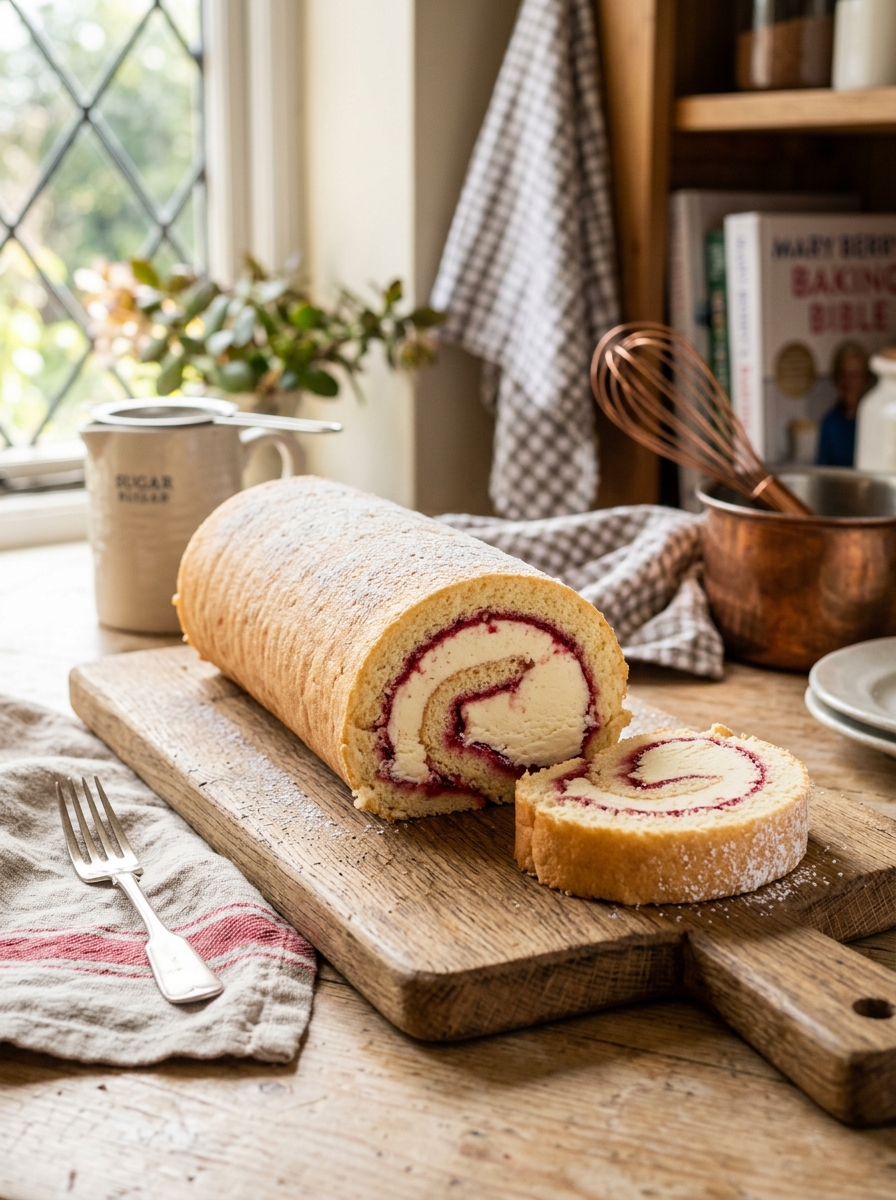
Remove the arctic roll from the freezer ten minutes before serving. Unwrap. Place on a serving board seam-side down.
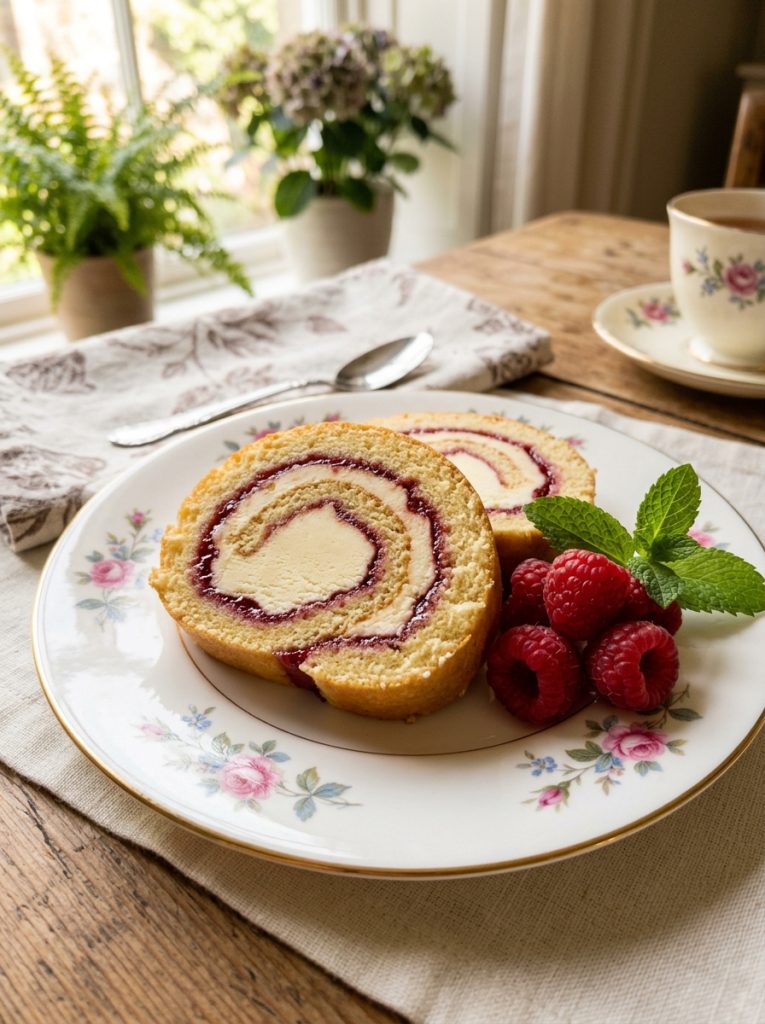
Using a large, sharp knife dipped in hot water and wiped dry between each cut, slice into generous rounds approximately 3cm thick. The cut surface should reveal the golden sponge spiral and the white ice cream centre.
Serve immediately.
Top Tips For Best Mary Berry Arctic Roll
Roll the sponge while it is still hot. This is the most critical instruction in the entire recipe. A hot sponge is flexible and will roll without cracking. A cooled sponge will crack dramatically the moment it is rolled. Turn it out, peel away the paper, and roll it immediately — within thirty seconds of leaving the oven.
Roll with the parchment inside. Rolling the sponge with a layer of sugared parchment inside prevents the sponge sticking to itself and makes unrolling to apply the filling a straightforward, clean operation.
The ice cream cylinder must be solid before assembly. A soft ice cream cylinder will be squeezed and deformed when the sponge is rolled around it. A solid cylinder maintains its shape perfectly and gives clean, defined circular slices.
Use a hot knife for slicing. The sponge and ice cream have very different textures and a cold knife tends to drag and compress the sponge as it cuts. A knife dipped briefly in hot water and wiped dry cuts through both cleanly and gives the neat, circular slice that makes an arctic roll worth the effort.
Good quality vanilla ice cream is not optional here. The ice cream is visible — literally — in every slice. A pale, flavourless ice cream gives an arctic roll that looks beautiful and tastes flat. A genuinely good vanilla ice cream, with real vanilla flavour and a rich, creamy character, gives one that is completely and specifically wonderful.
Serving Suggestions
Sliced at the table — the reveal of the golden sponge wrapped around white ice cream never fails to produce appreciation. With fresh raspberries alongside — the raspberry jam in the roll and the fresh raspberries outside give a coherent, vivid fruit character. At a children’s party where retro is the theme.
How to Store Mary Berry Arctic Roll
In the freezer: The assembled, uncut arctic roll keeps in the freezer for up to 1 month. Slice directly from frozen — allow to soften for ten minutes first.
Mary Berry Arctic Roll Recipe
Ingredients
Method
- Preheat oven to 200°C / 180°C fan / Gas 6. Line a 33x23cm Swiss roll tin with parchment.
- Whisk eggs and sugar 5–6 minutes until very pale, thick, and tripled. Sift flour over surface — add hot water and vanilla. Fold gently until just incorporated.
- Pour into tin — tilt gently to the corners. Bake 9–11 minutes until golden and springy.
- While sponge bakes, lay sugared parchment on work surface. Turn hot sponge out immediately — peel away baking parchment. Roll up tightly from a short end with the sugared parchment inside. Leave to cool completely.
- Shape softened ice cream into a tight cylinder in cling film — 6cm diameter, 28cm long. Seal and freeze 4 hours minimum.
- Unroll cooled sponge. Spread warmed jam evenly to all edges. Unwrap frozen ice cream cylinder — place along near short edge. Roll sponge tightly around ice cream. Wrap in cling film — freeze 2 hours minimum.
- Remove 10 minutes before serving. Slice with a hot, clean knife into 3cm rounds. Serve immediately.
Notes
Frequently Asked Questions
Can I use a different flavour of ice cream?
Yes — strawberry ice cream gives a particularly vivid, beautiful cross section. Chocolate ice cream gives a more dramatic contrast against the golden sponge. Any good quality ice cream works.
Can I use lemon curd instead of raspberry jam?
Yes — lemon curd gives a sharp, vivid alternative to the raspberry jam that is completely wonderful. Use the same quantity.
Can I make the sponge without a Swiss roll tin?
A Swiss roll tin is the correct tool — it gives the right thickness of sponge for rolling. A standard baking tray of similar dimensions works as a substitute.
Why did my sponge crack when I rolled it?
It was not rolled immediately while hot. The hot sponge must be rolled within thirty seconds of leaving the oven — it cannot be left to cool even slightly before rolling.
















Leave a Reply