
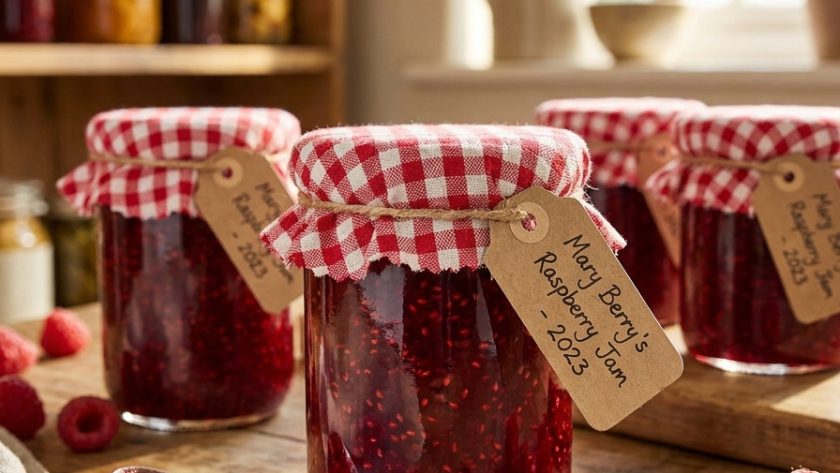
 Anna Louise
 Raspberry jam is the preserve that I think of first and most fondly when I think of homemade jam. The vivid, almost luminous red of good raspberry jam in a jar held up to the light is one of the most beautiful things a kitchen produces.
The flavour — intensely fruity, slightly sharp, with the characteristic raspberry fragrance that is unlike any other soft fruit — gives a jam that transforms toast, scones, sponge cakes, and Swiss rolls into something specifically wonderful.
Raspberries are one of the highest-pectin soft fruits — considerably higher in pectin than strawberries — which means raspberry jam sets quickly and reliably with a minimum of additional lemon juice.
The short boiling time that this allows is what gives raspberry jam its specifically vivid colour and its fresh, vibrant flavour. Over-boiled raspberry jam becomes darker, less vivid, and more caramelised in flavour — it is still very good but it is not the thing at its best.
I make this from fresh raspberries in July and August and from frozen raspberries throughout the rest of the year. Frozen raspberries give a completely excellent jam — vivid, well-set, perfectly flavoured — and I would rather make a jar of frozen raspberry jam in January than wait until summer.
Ingredients for Mary Berry Raspberry Jam
For the Raspberry Jam (Makes approximately 4 x 450g jars)
- 1kg fresh or frozen raspberries — if frozen, do not defrost
- 800g granulated sugar — warmed in a low oven for 15 minutes
- Juice of 1 large unwaxed lemon — gives a slight additional set without dominating the raspberry flavour
How to Make Mary Berry Raspberry Jam
Step 1 — Cook the Raspberries
Place the raspberries and lemon juice in a large preserving pan. If using frozen raspberries, place them in the pan straight from the freezer.
Heat over a medium heat, stirring gently, until the raspberries have completely broken down and released all their juice — approximately ten minutes. The pan will be filled with a vivid, slightly seedy, deeply coloured raspberry purée.
Step 2 — Add the Warm Sugar
Add the warm granulated sugar. Stir continuously over a medium heat until every grain has completely dissolved — this is essential and cannot be rushed. Test by running a spoon along the base of the pan — it should feel completely smooth with no graininess whatsoever.
Step 3 — Boil to Setting Point
Increase the heat to high. Bring to a vigorous rolling boil. Boil for 5 to 10 minutes only — begin testing at 5 minutes.
Wrinkle test: Place a teaspoon of jam on a cold plate from the freezer. Leave one minute. Push with your finger — if the surface wrinkles and does not flood back, setting point is reached.
Sugar thermometer: Setting point is 104–105°C.
Raspberry jam reaches setting point quickly — the high natural pectin content means it can set in as few as five minutes of hard boiling. Test early and often. Over-boiling is the most common mistake with raspberry jam and gives a darker, less vivid result.
Step 4 — Pot and Seal
Remove from the heat. Skim any foam from the surface.
Because raspberries are a small, light fruit, the jam can be ladled directly into jars without a standing period — the seeds and pieces distribute reasonably evenly without floating.
Ladle into warm sterilised jars immediately. Seal immediately. Label and store in a cool, dark place.
My Top Tips For Perfect Mary Berry Raspberry Jam
Test for setting point from five minutes — not later. Raspberry jam has high natural pectin and reaches setting point considerably faster than strawberry or apricot jam. I have had batches set in five minutes of hard boiling. Starting the wrinkle test at five minutes prevents over-boiling and preserves the vivid colour and fresh flavour.
The sugar must be completely dissolved before boiling. Undissolved sugar grains can cause crystallisation in the finished jam — grainy patches throughout that are visually unappealing and texturally disappointing. Stir patiently over medium heat until completely smooth before increasing the heat.
Warm the sugar before adding. As in every jam recipe on this site — fifteen minutes in a low oven gives sugar that dissolves in the pan in a fraction of the time, reducing the total cooking time and preserving more of the fresh raspberry flavour.
Do not strain the seeds. Raspberry seeds are small and soft — very different from the larger, harder seeds of blackberries or blackcurrants. In raspberry jam they give texture and are part of the character of the preserve. Straining gives a seedless jelly that is beautiful but a different product. This recipe gives classic seeded raspberry jam.
Use minimal lemon juice — raspberries have high pectin. The juice of one lemon rather than the two required for blackberry or strawberry jam is sufficient for raspberry jam. Too much lemon juice dominates the delicate raspberry flavour. One lemon gives just enough additional pectin and acidity without being detectable.
Serving Suggestions
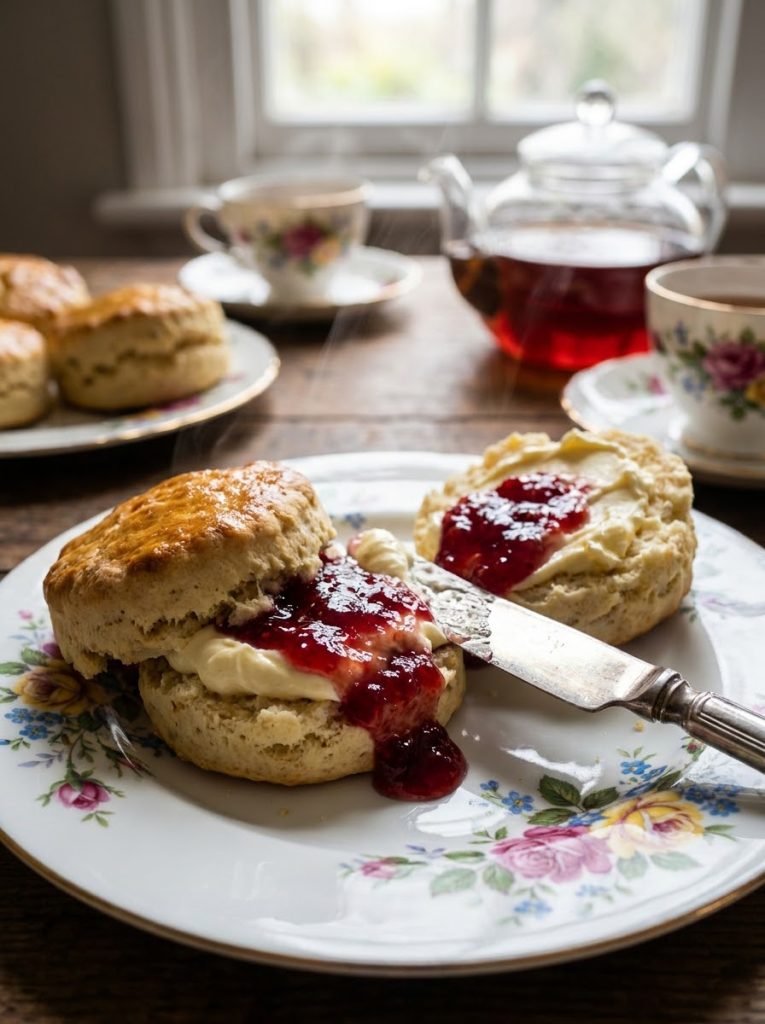
Spread on warm scones with clotted cream — the most specifically correct use of raspberry jam. As a filling in a Victoria sponge with whipped cream — see the Victoria sponge recipe on this site.
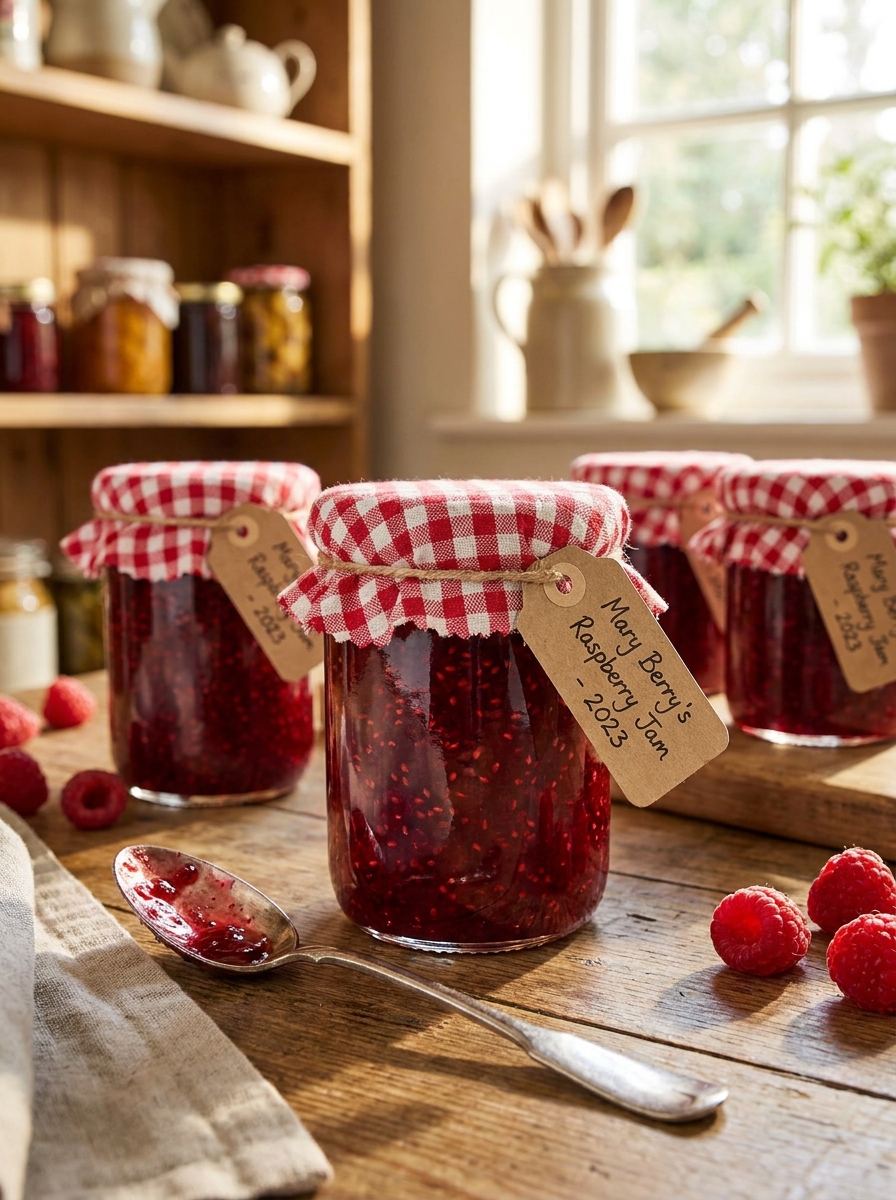
As a filling in a Swiss roll — see the Swiss roll recipe immediately below this one. Stirred into natural yoghurt. Drizzled over vanilla ice cream. As a gift — raspberry jam in a labelled jar is one of the most valued homemade gifts possible.
How to Store Mary Berry Raspberry Jam
Sealed, unopened jars: Store in a cool, dark place for up to 12 months.
Opened jar: Refrigerate and use within 6 weeks.
Mary Berry Raspberry Jam Recipe
Ingredients
Method
- Place raspberries (straight from frozen if using frozen) and lemon juice in a large preserving pan. Heat over medium heat 10 minutes until completely broken down and all juice released.
- Add warm sugar — stir continuously over medium heat until every grain completely dissolved. No graininess on the base.
- Increase heat — bring to vigorous rolling boil. Boil 5–10 minutes. Test for set at 5 minutes using wrinkle test or thermometer (104–105°C). Boil and test until setting point reached.
- Remove from heat. Skim foam. Ladle immediately into warm sterilised jars. Seal immediately. Label and store.
Notes
Frequently Asked Questions
Can I use all frozen raspberries?
Yes — completely. Frozen raspberries give a virtually identical jam to fresh — vivid, well-flavoured, perfectly set. They release their juice quickly from frozen and give an excellent result.
My jam did not set — what do I do?
Return to the pan, add the juice of one more lemon, boil hard for five minutes, and test again. This almost always rescues a loose set. Alternatively, use the loose jam as a fruit coulis — it is delicious even without a set.
Can I make seedless raspberry jam?
Yes — after the initial cooking of the raspberries, pass the entire quantity through a fine sieve or jelly bag. Return the strained juice to the pan, add the warm sugar, and continue as directed. The result is a clear, vivid raspberry jelly rather than a seeded jam.
Can I use jam sugar instead of granulated?
Yes — jam sugar gives a very reliable, very firm set. The boiling time reduces to three to five minutes — test very carefully. Jam sugar can give an overly firm, almost jelly-like result if boiled even slightly too long.














Leave a Reply