
 Anna Louise
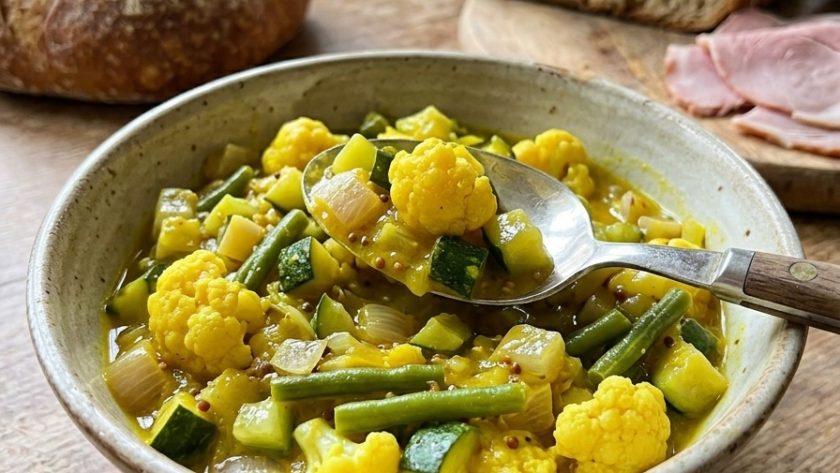
 Piccalilli divides opinion in a way that few condiments manage. You either love it — that sharp, mustardy, turmeric-yellow pickle with its crisp vegetables and punchy flavour — or you have not tried a properly made version yet.
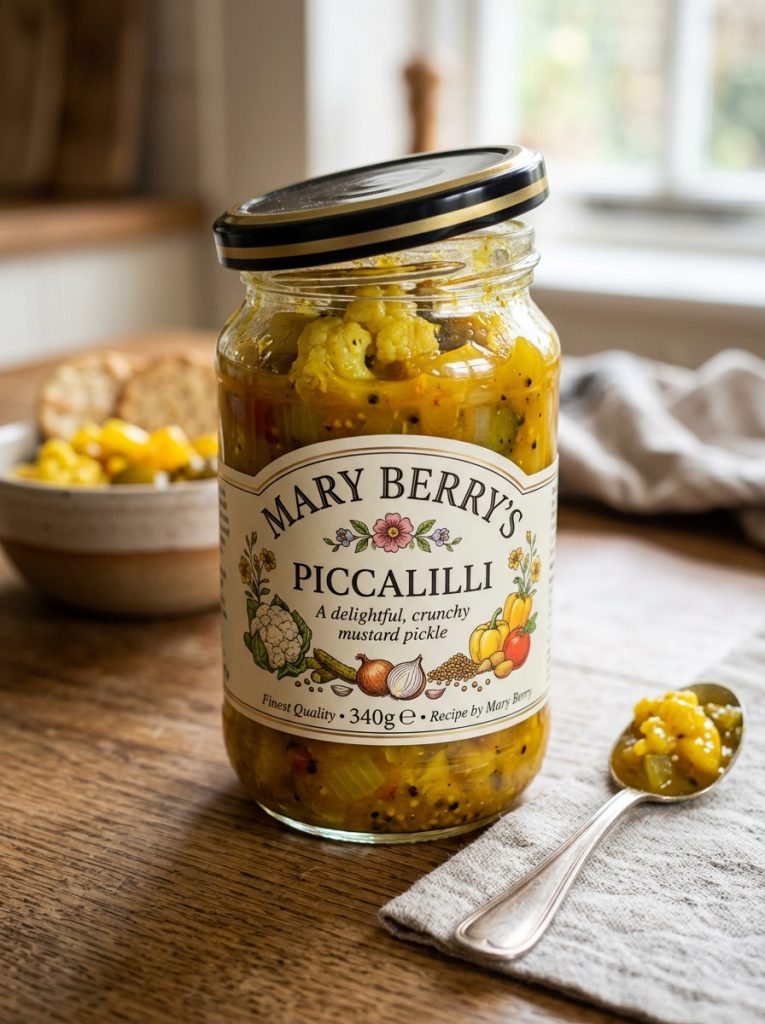
Homemade piccalilli is a completely different thing from the commercial variety. The vegetables retain their crunch. The sauce is sharp and mustard-forward without being harsh. The turmeric gives a vivid yellow that looks beautiful in the jar.
Mary Berry’s piccalilli recipe is the version I make every summer when courgettes, cauliflower, and green beans are at their most plentiful and cheap. The brining overnight draws moisture from the vegetables, keeping them crisp during cooking.
The mustardy sauce is made separately and everything comes together in one final cook that takes no more than five minutes. The result is a piccalilli that improves over four to six weeks in the jar and keeps for a year.
It is wonderful with a cold meat platter. It is magnificent in a cheese and ham sandwich. And a jar of it given at Christmas, tied with a ribbon alongside some good Cheddar, is one of the most thoughtful food gifts you can offer.
What Makes Piccalilli Different From Other Pickles?
Piccalilli is a British interpretation of Indian pickles — the name is thought to derive from the word “pickle” combined with “chilli.” It is distinguished from other British pickles by three things.
The mustard sauce. Unlike straightforward vinegar-based pickles, piccalilli has a thick, mustardy sauce made with mustard powder, mustard seeds, turmeric, and a little flour or cornflour to thicken. This sauce coats the vegetables rather than just surrounding them.
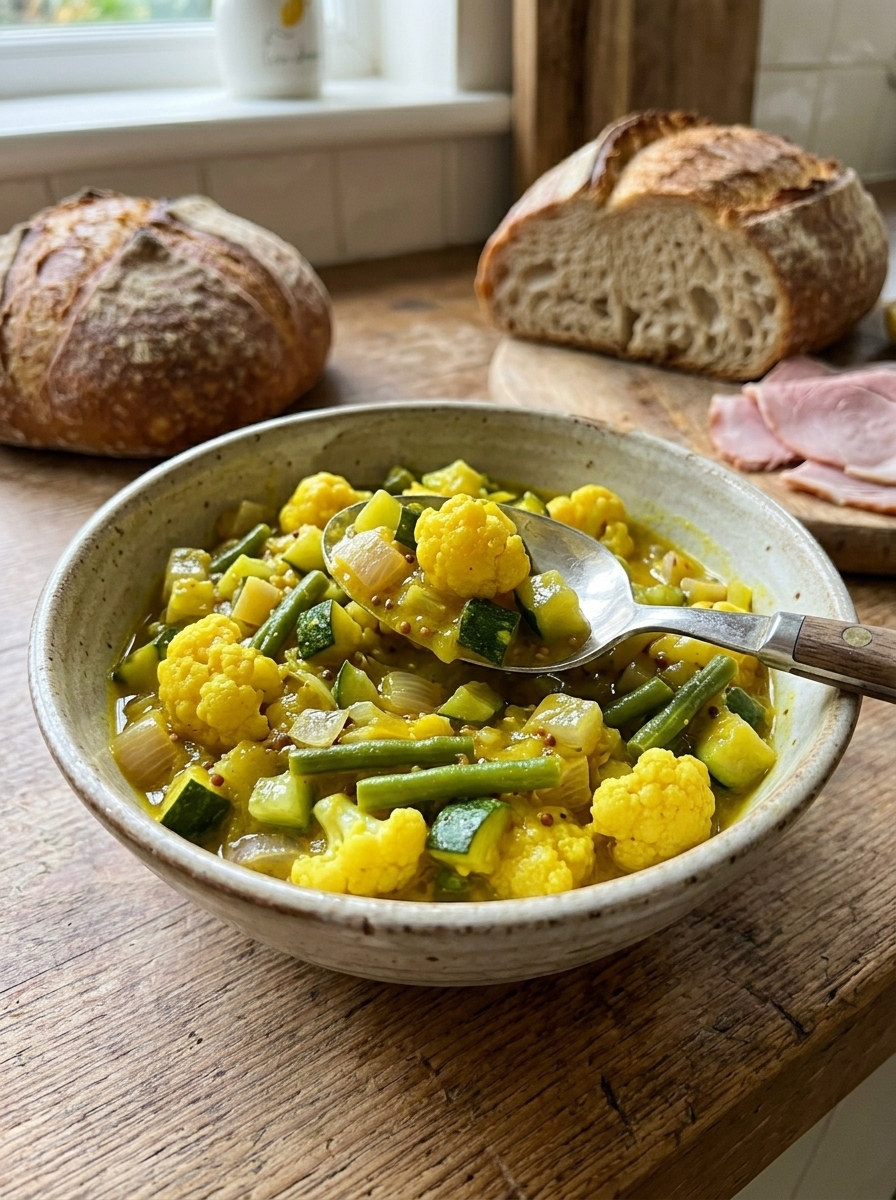
The mixed vegetables. Traditional piccalilli contains a mixture of vegetables rather than a single one — cauliflower, courgette or cucumber, onion, and green beans are the classic combination. The variety of textures is part of what makes piccalilli so good.
The overnight salt brine. The vegetables are salted overnight before cooking, which draws out excess moisture and keeps them crisp in the finished pickle. This step cannot be skipped — un-brined vegetables release their moisture during the brief cooking and make the piccalilli sauce watery.
Ingredients for Mary Berry Piccalilli
For the Vegetable Brine (Night Before)
- 1 small cauliflower, broken into small florets
- 2 courgettes, cut into 1cm dice
- 1 cucumber, deseeded and cut into 1cm dice
- 200g shallots or small onions, roughly chopped
- 150g fine green beans, cut into 2cm lengths
- 75g fine salt
For the Mustard Sauce
- 600ml white wine vinegar or malt vinegar
- 150g caster sugar
- 2 tbsp English mustard powder
- 1 tbsp mustard seeds
- 2 tsp ground turmeric
- 1 tsp ground ginger
- 1 tsp ground coriander
- ½ tsp cayenne pepper
- 3 tbsp cornflour
Equipment
- Large bowl for brining
- Large saucepan or preserving pan
- 4 to 5 sterilised jars with vinegar-proof lids
How to Make Mary Berry Piccalilli — Step by Step
Step 1 — Brine the Vegetables (Night Before)
Place all the prepared vegetables in a very large bowl. Sprinkle over the fine salt and toss well so every piece of vegetable is coated. Cover with a clean tea towel and leave at room temperature overnight — at least 12 hours, up to 18.
The salt draws a surprising amount of moisture from the vegetables. The next morning you will find a pool of liquid in the bottom of the bowl — this is exactly what you want.
Step 2 — Rinse and Dry the Vegetables
Tip the brined vegetables into a colander. Rinse thoroughly under cold running water — several times — to remove the salt. Taste a piece of vegetable — it should taste very slightly seasoned but not salty. If it still tastes very salty, rinse again.
Spread the rinsed vegetables on a clean tea towel and pat dry as thoroughly as possible. The drier the vegetables, the better the finished piccalilli.
Step 3 — Sterilise the Jars
Wash jars in hot soapy water, rinse, and place upside down in a 140°C oven for 15 minutes. Leave in the oven until needed.
Step 4 — Make the Mustard Sauce
In a large saucepan, combine 500ml of the vinegar with the caster sugar, mustard powder, mustard seeds, turmeric, ginger, ground coriander, and cayenne. Bring to a gentle simmer, stirring until the sugar has dissolved.
In a small bowl, mix the cornflour with the remaining 100ml of cold vinegar until completely smooth — no lumps. Pour this into the simmering vinegar mixture, stirring constantly. Cook for 3 to 4 minutes, stirring continuously, until the sauce has thickened to a glossy, pourable consistency that coats the back of a spoon.
Step 5 — Add the Vegetables and Cook Briefly
Add the dried brined vegetables to the mustard sauce and stir well to coat everything evenly. Cook over a medium heat for just three to four minutes — stirring constantly. You want to warm the vegetables through and ensure they are coated in the sauce, but not cook them so long that they lose their crunch.
This brief cooking time is important. Piccalilli should have vegetables with a distinct bite — not soft or mushy. Four minutes maximum.
Step 6 — Pot Immediately
Working quickly while everything is still hot, ladle the piccalilli into the hot sterilised jars using a jam funnel. Pack the vegetables in tightly and make sure each jar has a good ratio of sauce to vegetables. Fill to within 1cm of the top.
Seal immediately with vinegar-proof lids. Label with the date. Leave for at least four weeks before opening — six weeks gives an even better result.
My Top Tips For Mary Berry Piccalilli
Do not skip the overnight brine. This is the step that keeps piccalilli vegetables crisp in the finished jar. Without it, the vegetables release their moisture into the sauce during cooking and you end up with something watery and soft. Salt overnight — always.
Rinse the vegetables thoroughly. Three good rinses under cold water. Taste a piece after rinsing — it should taste very lightly seasoned, not salty. Insufficient rinsing produces a piccalilli that is unpleasantly salty.
Keep the final cooking time short. Three to four minutes maximum once the vegetables go into the sauce. The heat sterilises and integrates everything but the vegetables must retain their crunch. Soft piccalilli is a disappointment.
Mix the cornflour with cold vinegar before adding. Adding cornflour directly to hot liquid causes it to clump instantly. Mix it to a smooth paste with cold vinegar first, then pour into the hot sauce while stirring continuously for a perfectly smooth, glossy result.
Use vinegar-proof lids. The vinegar in piccalilli will corrode standard metal lids within weeks. Use specifically vinegar-proof lids, or place a square of baking parchment between jar and lid.
Leave for at least four weeks. Fresh piccalilli is sharp and slightly harsh. After four weeks the flavours have melded and mellowed into something balanced and genuinely wonderful. After six weeks it is at its best.
Serving Suggestions
With a cold meat platter — ham, roast beef, chicken — as part of a Boxing Day spread or summer picnic. In a cheese and ham sandwich on thick white bread.
On a ploughman’s lunch alongside a wedge of mature Cheddar and pickled onions. As a gift tied with ribbon alongside a good piece of cheese.
How to Store Mary Berry Piccalilli
Unopened: Cool, dark place for up to 1 year.
Once opened: Refrigerate and use within 6 to 8 weeks.
Try These Recipes
- Mary Berry Plum Chutney
- Mary Berry Seville Orange Marmalade
- Mary Berry Quince Jam
- Mary Berry Blackcurrant Jam
Mary Berry Piccalilli Recipe
Ingredients
Method
- Night before: toss vegetables with salt in a large bowl. Cover and leave overnight. Rinse thoroughly next day — taste to check not too salty. Pat completely dry.
- Sterilise jars in a 140°C oven for 15 minutes.
- Combine 500ml vinegar, sugar, mustard powder, mustard seeds, turmeric, ginger, coriander, and cayenne in a large pan. Bring to a gentle simmer, stirring until sugar dissolves.
- Mix cornflour with remaining 100ml cold vinegar until smooth. Pour into simmering sauce, stirring constantly. Cook 3–4 minutes until thickened and glossy.
- Add dried vegetables. Stir to coat. Cook over medium heat for 3–4 minutes only — no longer. Vegetables must retain their crunch.
- Ladle immediately into hot jars. Pack tightly. Seal with vinegar-proof lids. Label. Leave 4 weeks minimum before opening.
Notes
Frequently Asked Questions
Can I use different vegetables?
Yes — piccalilli is adaptable. Peppers, sweetcorn, carrots, and baby onions all work well. Keep the total weight of vegetables at approximately 1kg after trimming and the recipe works with any combination.
Why are my vegetables soft rather than crisp?
Either the brining was skipped or the cooking time was too long. Brine overnight without fail, and keep the final cooking step to four minutes maximum.
Can I make piccalilli without mustard powder?
Mustard is the defining flavour of piccalilli — without it you have a turmeric-yellow vegetable pickle, but it is not piccalilli. If you genuinely dislike mustard, reduce it rather than omitting entirely. Two teaspoons of mustard powder rather than two tablespoons gives a much milder result.
Why is my piccalilli sauce watery?
Either the vegetables were not dried properly after rinsing, or the cornflour was not added correctly. Make sure the vegetables are as dry as possible before adding to the sauce, and make sure the cornflour paste is stirred into the hot vinegar continuously until the sauce thickens properly.
Can I make piccalilli with white wine vinegar for a milder flavour?
Yes — white wine vinegar gives a slightly more delicate, less harsh result than malt vinegar. Either works perfectly well. I slightly prefer malt vinegar for a more traditional British piccalilli character.
How do I know when piccalilli is ready to eat?
After four weeks minimum. The label tells you when you made it — count forward four weeks. The sauce will have deepened in colour and the flavours will have mellowed and integrated beautifully.













Leave a Reply