
 Anna Louise
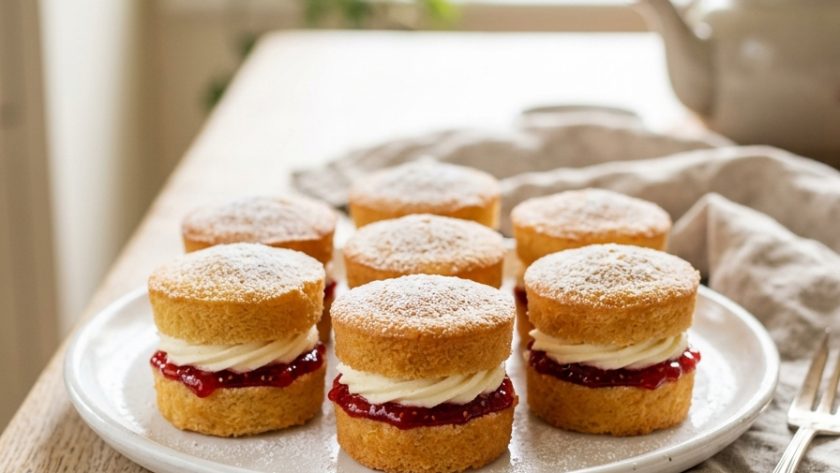
 I make mini Victoria sponges when I want the classic to feel genuinely special rather than simply familiar. There is something about an individual cake — your own perfectly formed little sponge, your own layer of jam and cream, your own dusting of icing sugar — that makes the experience considerably more personal and considerably more charming than a slice cut from a larger cake.
They are also the perfect solution for an afternoon tea where presentation matters. A tiered stand of mini Victoria sponges looks completely beautiful.
They require no cutting, no serving, no plates — each person picks up their own cake and the whole thing feels effortless in a way that serving slices from a large cake never quite does.
The recipe is identical to the standard Victoria sponge — the same all-in-one method, the same jam and cream filling, the same icing sugar dusting. The difference is scale and presentation.
Baked in a deep muffin tin or individual 10cm round tins, each mini sponge is the perfect two to three bite portion.
Ingredients for Mary Berry Mini Victoria Sponge
For the Mini Sponges (Makes 12 mini sponges)
- 225g unsalted butter, softened
- 225g caster sugar
- 4 large eggs, at room temperature
- 225g self-raising flour, sifted
- 2 tsp baking powder
- 2 tbsp whole milk
- 2 tsp vanilla extract
For the Filling
- 6 tbsp good quality strawberry jam
- 300ml double cream, cold
- 2 tbsp icing sugar
- 1 tsp vanilla extract
To Finish
- Icing sugar for dusting — generous
- Fresh strawberries, halved — one per cake
How to Make Mary Berry Mini Victoria Sponge
Step 1 — Preheat and Prepare
Preheat your oven to 180°C / 160°C fan / Gas 4. Grease two 12-hole deep muffin tins very generously with butter — every surface of each hole. Line the base of each hole with a small circle of baking parchment. The parchment circles are essential — without them the base of each mini sponge sticks and tears when unmoulded.
Step 2 — Make the Sponge Batter
Place the softened butter, caster sugar, eggs, sifted flour, baking powder, milk, and vanilla extract into a large mixing bowl. Beat with an electric hand whisk for two to three minutes until smooth, pale, and well combined. Scrape down the sides once during mixing.
Step 3 — Fill and Bake
Divide the batter evenly between 24 muffin holes — filling each one approximately halfway. I use an ice cream scoop for consistent, even filling. Each hole should be no more than half full — the sponge rises significantly and a half-filled hole gives the right mini sponge proportion.
Bake for 14 to 16 minutes until golden, springy when pressed lightly in the centre, and a skewer comes out clean.
Leave in the tins for five minutes. Run a thin palette knife carefully around the edge of each mini sponge. Turn out onto a wire rack. Peel away the parchment circles. Cool completely — at least thirty minutes.
Step 4 — Split and Fill
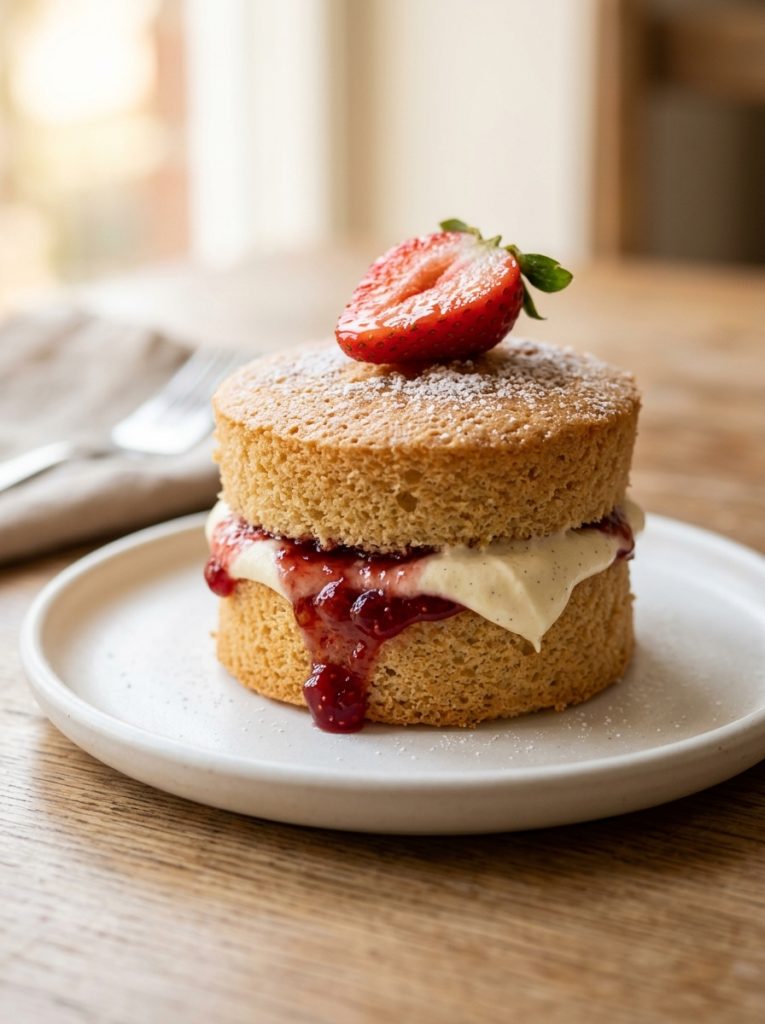
Using a sharp serrated knife, split each mini sponge horizontally through the centre — giving a base and a top for each individual cake. Take your time with this step. An even split gives a more balanced mini Victoria sponge.
Whip the cold double cream, icing sugar, and vanilla extract to soft peaks.
Place all the base halves cut-side up on a board. Spread a small amount of jam — about half a teaspoon — over each base. Spoon or pipe a small mound of whipped cream over the jam.
Place the top halves on each filled base, pressing down very gently.
Step 5 — Dust and Decorate
Dust each mini Victoria sponge very generously with icing sugar. Place a halved fresh strawberry on top of each one. Serve within two hours of assembly.
My Top Tips For Best Mini Victoria Sponge
Grease the muffin tin very generously and use parchment circles in the base. Mini sponges that stick to the tin tear when unmoulded and cannot be split cleanly. Generous butter on every surface and a parchment circle in the base of every hole gives clean, intact mini sponges every time.
Fill each hole no more than halfway. Victoria sponge batter rises significantly — a half-filled hole gives a properly proportioned mini sponge with a domed top. More than half and they overflow. Less than half and they are too thin to split cleanly.
Cool completely before splitting. Warm sponge tears when a knife is run through it. Completely cool sponge splits cleanly and evenly. Thirty minutes on a wire rack is the minimum.
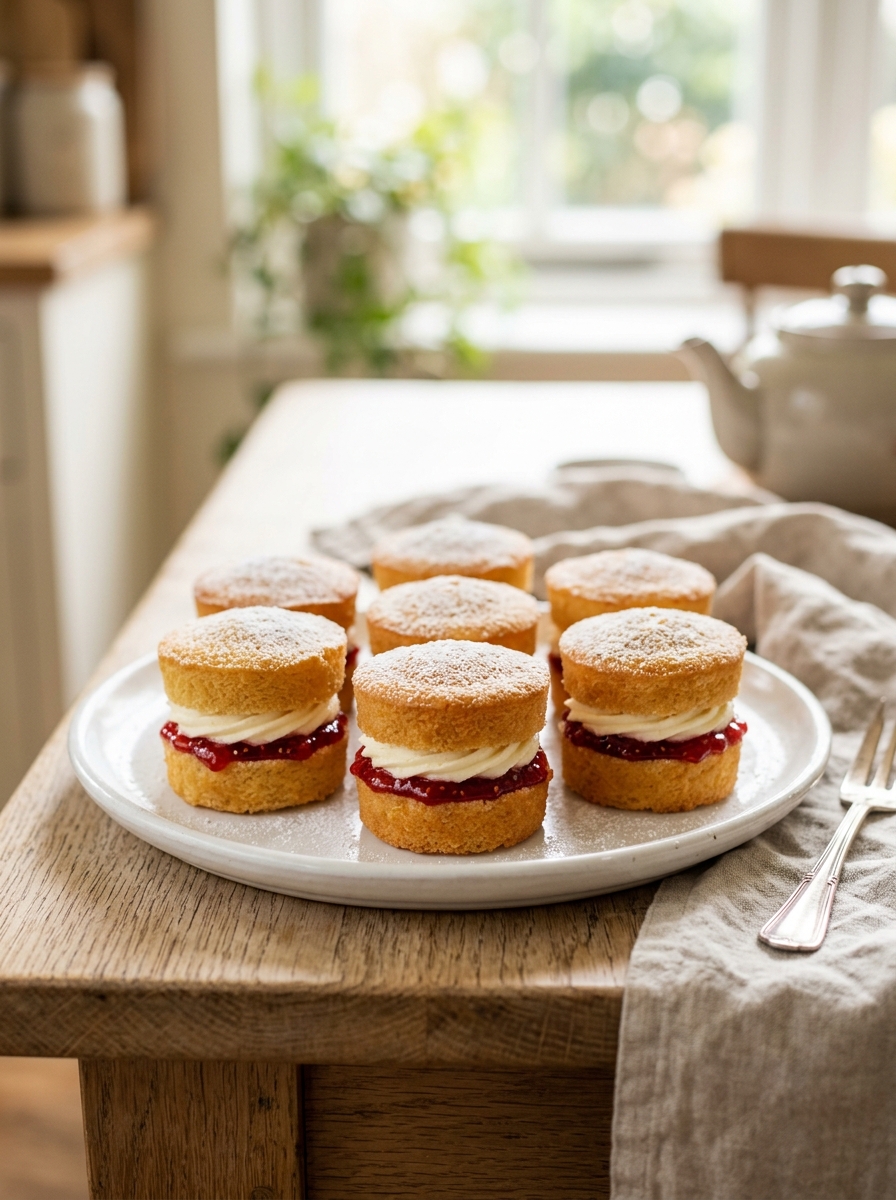
Pipe the cream for a more elegant finish. A small star nozzle and a piping bag give a rosette of cream on each mini sponge base that looks considerably more professional than a spooned mound. It takes an extra five minutes and is worth it for a special occasion.
Assemble within two hours of serving. The whipped cream starts to soften the sponge slightly after assembly. Made too far ahead, the mini sponges become slightly soggy. Assembly close to serving gives the best texture and the cleanest appearance.
Serving Suggestions
On a tiered stand for afternoon tea — the most natural and most beautiful presentation. As individual desserts at a dinner party. At a birthday tea where individual cakes feel more personal than slices from a large one.
How to Store Mini Victoria Sponge
Unfilled sponges: Store in an airtight container at room temperature for up to 2 days. Fill fresh when needed.
Assembled mini Victoria sponges: Best eaten within 2 hours of assembly. The cream softens the sponge over time.
In the freezer: Freeze unfilled sponges individually wrapped for up to 3 months. Defrost at room temperature and fill fresh.
Mary Berry Mini Victoria Sponge Recipe
Ingredients
Method
- Preheat oven to 180°C / 160°C fan / Gas 4. Grease two 12-hole deep muffin tins very generously. Place parchment circles in each base.
- Place all sponge ingredients in a large bowl. Beat 2–3 minutes until smooth and pale.
- Divide between 24 muffin holes — halfway full each. Bake 14–16 minutes until golden and skewer comes out clean. Cool in tins 5 minutes. Run palette knife around edges — turn out. Peel parchment. Cool completely.
- Whip cream, icing sugar, and vanilla to soft peaks.
- Split each mini sponge horizontally. Place bases cut-side up. Spread half a teaspoon of jam on each. Pipe or spoon cream over jam. Top with second half — press very gently.
- Dust generously with icing sugar. Top with a halved strawberry. Serve within 2 hours.
Notes
Frequently Asked Questions
Can I use buttercream instead of whipped cream?
Yes — vanilla buttercream is more stable than whipped cream and holds well at room temperature for several hours. This makes it a better choice for occasions where the mini sponges need to be assembled in advance. Use the buttercream recipe from the buttercream icing for cupcakes recipe on this site.
Can I use individual 10cm round tins instead of a muffin tin?
Yes — individual round tins give a more traditionally shaped mini Victoria sponge. Bake at the same temperature for 18 to 22 minutes. Line the bases with parchment circles.
Can I use raspberry jam instead of strawberry?
Yes — raspberry gives a slightly sharper, more vivid result. Any good quality fruit jam works.
Why are my mini sponges uneven in size?
The batter was not divided consistently between the holes. Using an ice cream scoop or weighing the batter into each hole gives perfectly consistent, evenly sized mini sponges.














Leave a Reply