
 Anna Louise
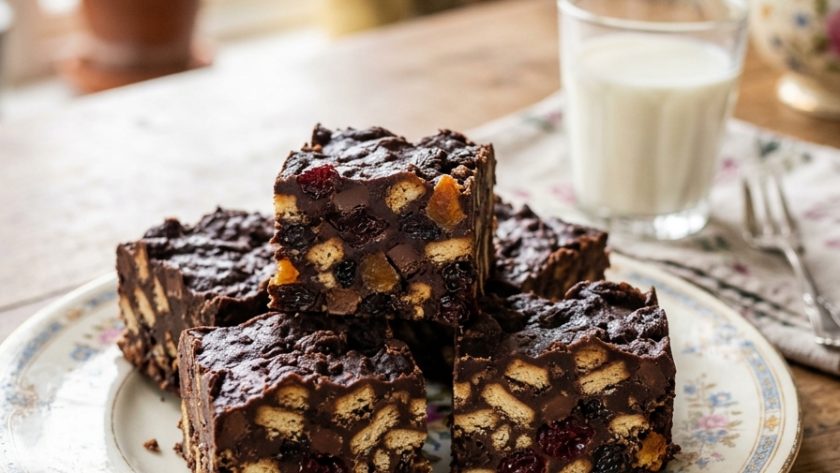
 A chocolate refrigerator cake is one of those recipes that feels almost too simple to produce something genuinely wonderful — and then produces something genuinely wonderful every single time. No oven required. No creaming, no folding, no rising.
Dark chocolate melted with butter and golden syrup, poured over crushed digestives, dried fruit, nuts, and whatever else I happen to have in the cupboard that belongs in a chocolate context, pressed into a tin, refrigerated overnight, and sliced the following day into squares that are dense, intensely chocolatey, and completely irresistible.
The refrigerator cake is the thing I make when I need something for a bake sale the following morning and have run out of time for anything that requires an oven.
It is also the thing I make for children who want to bake but are not old enough for hot ovens — the technique is entirely safe, entirely simple, and the result is something they are genuinely proud of.
Mary Berry has made versions of this throughout her career and the principle is always the same — very good chocolate, a little butter and syrup, and the best possible combination of textures folded through. This version is mine, refined over many years of making.
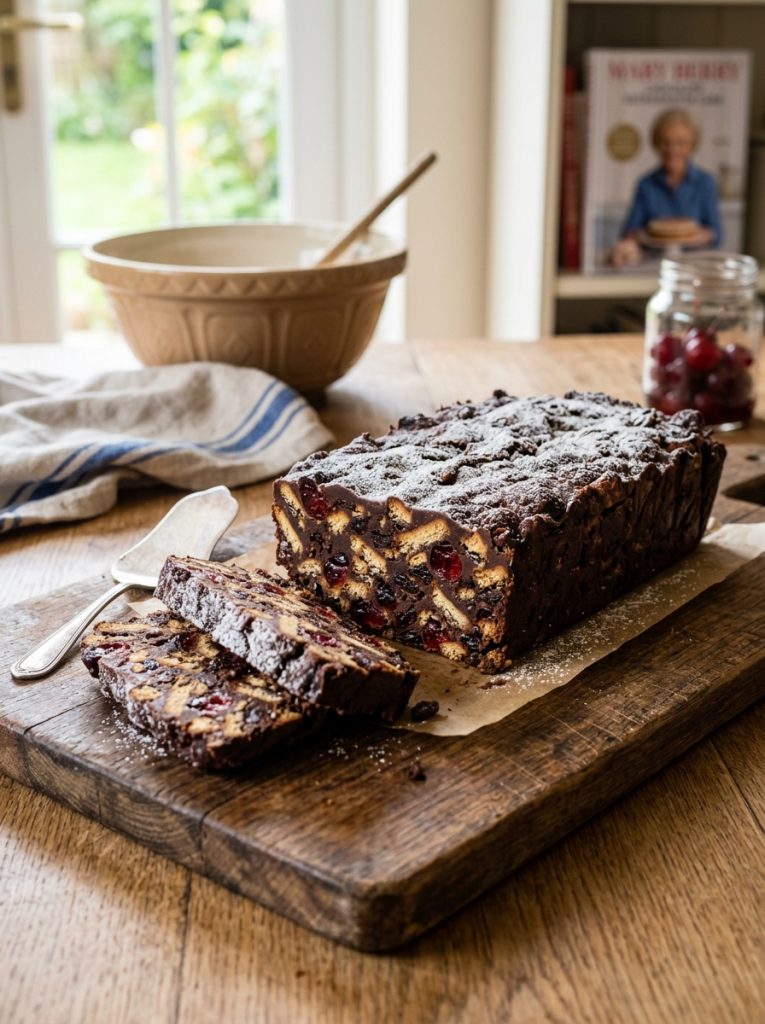
Ingredients for Mary Berry Chocolate Refrigerator Cake
For the Refrigerator Cake
- 300g good quality dark chocolate (70%), finely chopped
- 150g unsalted butter, cut into cubes
- 3 tbsp golden syrup
- 1 tbsp cocoa powder, sifted
- 250g digestive biscuits — broken into rough pieces, not crushed to crumbs
- 75g glacé cherries, halved and rinsed
- 75g sultanas or raisins
- 75g roasted hazelnuts or blanched almonds, roughly chopped
- 50g mini marshmallows (optional — gives a classic rocky road quality)
- 50g white chocolate chips (optional — gives visual appeal and flavour contrast)
To Finish
- 100g dark chocolate (70%), melted — for the top coating
- 1 tbsp golden syrup — stirred into the melted chocolate for gloss
- A dusting of icing sugar or cocoa powder
- Crushed pistachios or edible gold sprinkles (optional)
How to Make Mary Berry Chocolate Refrigerator Cake
Step 1 — Prepare the Tin
Line a 20x20cm square tin — or a 20x30cm traybake tin for thinner squares — with baking parchment, leaving overhang on all sides. The overhang is essential for lifting the set cake cleanly from the tin.
Step 2 — Melt the Chocolate Base
Place the finely chopped dark chocolate, butter cubes, golden syrup, and cocoa powder in a large heatproof bowl over barely simmering water. Stir gently until the chocolate and butter have completely melted and the mixture is glossy and smooth. Remove from the heat and leave to cool for ten minutes.
I always use a bowl over barely simmering water rather than the microwave for this — the gentle, even heat gives a perfectly smooth chocolate mixture. Microwave chocolate can be slightly grainy if overheated.
Step 3 — Add the Fillings
Add the broken digestive pieces to the cooled chocolate mixture and stir to coat. Add the glacé cherries, sultanas, chopped hazelnuts or almonds, mini marshmallows if using, and white chocolate chips if using. Stir everything together until evenly distributed and completely coated in the dark chocolate.
The biscuit pieces should be roughly broken — some pea-sized, some larger — rather than crushed to crumbs. The varied size gives the most interesting texture in the finished slice.
Step 4 — Press and Refrigerate
Spoon the mixture into the prepared tin. Press it firmly and evenly into the corners using the back of a spoon or a palette knife — the surface should be relatively flat and compacted. The denser the pressing, the cleaner the slices.
Refrigerate for at least two hours. Overnight is better — the chocolate sets completely firm and slices much more cleanly the following day.
Step 5 — Apply the Chocolate Top Coating
Stir the tablespoon of golden syrup into the 100g of melted dark chocolate until smooth. Pour over the completely set refrigerator cake and spread evenly with a palette knife to cover the entire surface in a thin, glossy layer.
Refrigerate for a further thirty minutes until the coating has set completely.
Step 6 — Lift Out and Slice
Use the parchment overhang to lift the entire slab from the tin onto a board. Dust lightly with icing sugar or cocoa powder. Scatter crushed pistachios or gold sprinkles if using.
Cut into squares using a large, sharp knife dipped in hot water and wiped clean between each cut. Hot water keeps the chocolate from cracking as the knife passes through — each square will have clean, defined edges.
Tips For Best Mary Berry Chocolate Refrigerator Cake
Break the biscuits by hand into rough, irregular pieces — not crushed. Crushed digestives give something closer to a chocolate truffle than a refrigerator cake. Rough, irregular pieces give the most satisfying texture — some larger crunchy sections, some smaller, all coated in dark chocolate. The varied texture is one of the great pleasures of a good refrigerator cake.
Use 70% dark chocolate. This is a recipe where the chocolate is the only real flavour — the biscuits and dried fruit are texture rather than character. Good quality 70% gives a richness and a slight bitterness that makes everything taste properly grown-up. Milk chocolate gives something sweeter and much less interesting.
Cool the chocolate mixture before adding the fillings. Warm chocolate added to marshmallows melts them completely. Warm chocolate added to white chocolate chips melts those too. Ten minutes of cooling gives chocolate that is still liquid and stirrable but cool enough that the fillings go in intact.
Press the mixture firmly into the tin. Dense, well-pressed refrigerator cake cuts into clean, compact squares. Loosely pressed cake crumbles when sliced. Press firmly — almost compacting it — and the slices will be neat and defined.
A hot knife between each cut gives professional-looking slices. Dip the knife in a mug of hot water, wipe it dry, and cut. The warmth prevents the chocolate from cracking dramatically as the knife passes through. Clean the knife between every cut.
Serving Suggestions
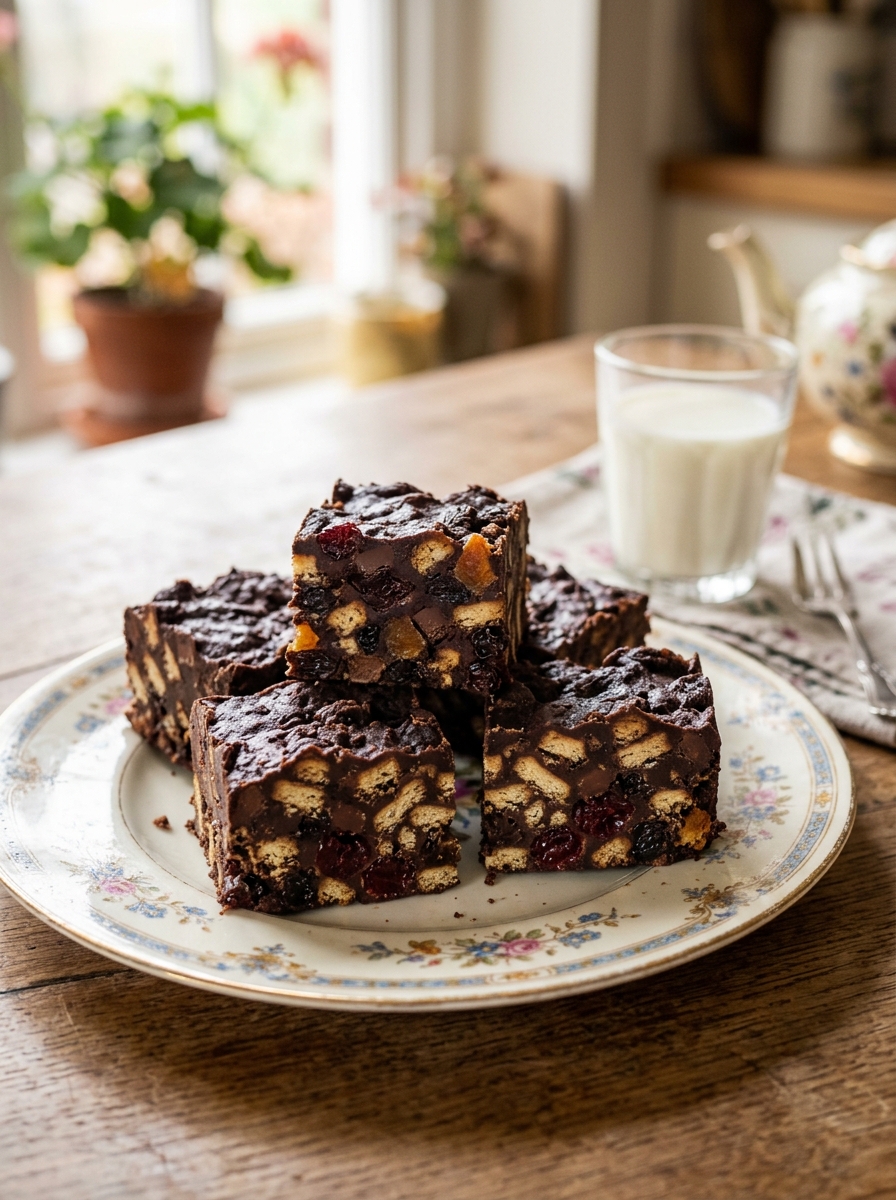
Cut into small squares for a bake sale or a gift box — they look beautiful and travel well. As a dessert with a scoop of vanilla ice cream alongside. As a gift in a box tied with ribbon — refrigerator cake keeps for a week in the fridge and is one of the most appreciated homemade gifts I know.
How to Store Chocolate Refrigerator Cake
In the fridge: Store in an airtight container between layers of baking parchment for up to 1 week.
In the freezer: Freeze in squares individually wrapped for up to 3 months. Defrost in the fridge overnight. The texture is identical after freezing.
Mary Berry Chocolate Refrigerator Cake Recipe
Ingredients
Method
- Line tin with parchment overhang on all sides.
- Melt chocolate, butter, golden syrup, and cocoa over barely simmering water — stir until smooth and glossy. Cool 10 minutes.
- Add biscuit pieces — stir to coat. Add cherries, sultanas, nuts, marshmallows, and white chocolate chips if using — stir until evenly distributed.
- Spoon into tin — press firmly and evenly. Refrigerate 2 hours minimum.
- Stir golden syrup into melted dark chocolate — spread over the set cake in a thin, even layer. Refrigerate 30 more minutes.
- Lift out using parchment. Dust with cocoa or icing sugar. Cut into squares with a hot knife — wipe clean between every cut.
Notes
Frequently Asked Questions
Can I use milk chocolate instead of dark?
Yes — milk chocolate gives a sweeter, less complex result. Use 350g of milk chocolate and omit the extra cocoa powder. The refrigerator cake will be noticeably sweeter and less grown-up in character.
Can I use different biscuits?
Yes — bourbon biscuits give an additional chocolate flavour. Rich Tea biscuits give a thinner, more neutral crunch. Hobnobs give an oat texture that is very good. Digestives give the classic result that I prefer.
Can I add peanut butter?
Yes — stir two tablespoons of smooth peanut butter into the melted chocolate mixture before adding the fillings. The peanut butter gives a slightly salty, slightly nutty depth that is very good with the dark chocolate.
Can I make this nut-free?
Yes — replace the hazelnuts with extra biscuit pieces, extra dried fruit, or extra marshmallows. The nut element gives texture rather than the defining flavour — the refrigerator cake is excellent without it.















Leave a Reply