
 Anna Louise
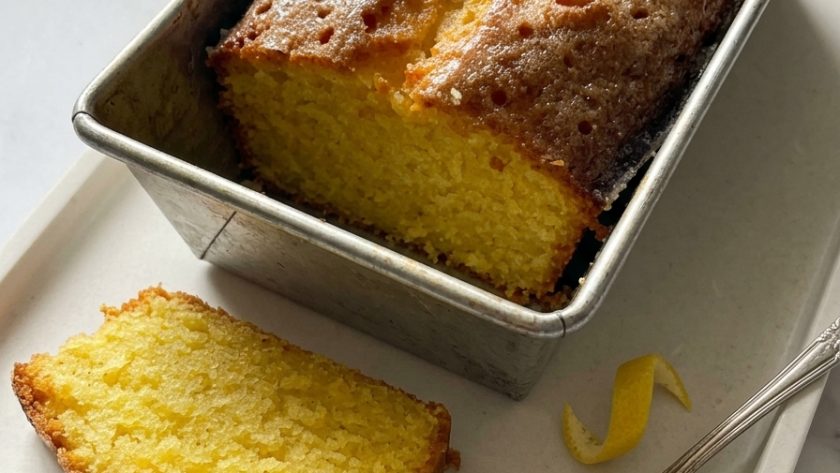
 The loaf tin version of the lemon drizzle cake is the version Mary Berry is most closely associated with — the one from her earliest cookbooks, the one that appeared on television, the one that people picture when they think of her baking.
It is also, for many bakers, simply the best version — the depth of a loaf tin gives a particular texture to the finished cake, a moist, tight crumb that holds the drizzle beautifully and slices cleanly into generous, substantial pieces.
This recipe covers the loaf tin version specifically — written for those who have searched specifically for this format and want complete, precise guidance for making it in a 2lb loaf tin with the classic sharp, crunchy drizzle crust.
The recipe appears in similar form in the Mary Berry Lemon Drizzle Cake recipe elsewhere on this site, which covers both the loaf and round versions. This post covers the loaf tin version in detail, with specific timings and tips for this format.
Why the Loaf Tin Version Is Special
The depth of the tin concentrates the crumb. A loaf tin produces a cake with a denser, moister crumb than a round sandwich tin. The greater depth means the interior cooks more slowly and retains more moisture — which means a more tender, more yielding texture in every slice.
The long, flat top maximises the drizzle surface. The rectangular top of a loaf cake gives maximum surface area for the drizzle and maximum area for the crunchy, crystallised sugar crust. Every slice gets a full share of the crunchy top.
It slices more cleanly. A loaf cake cut into even slices gives a tidier, more consistent serving than a round cake cut into wedges. It is the most practical format for a cake that will be eaten over several days.
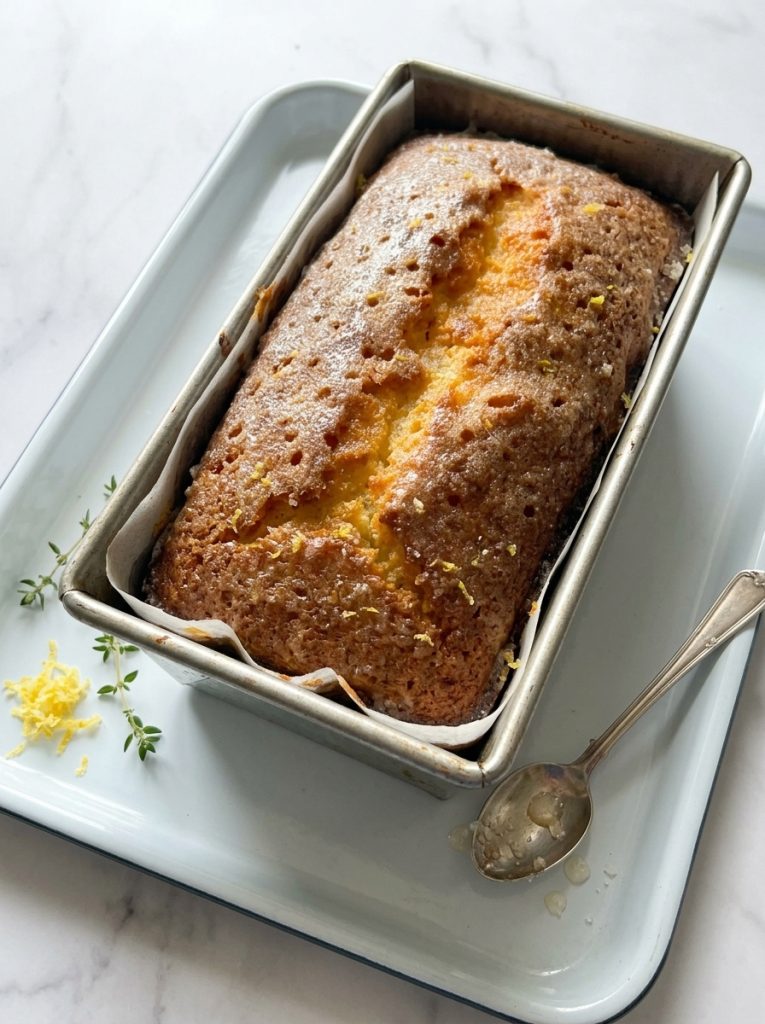
Ingredients for Mary Berry Lemon Drizzle Cake in Loaf Tin
For the Lemon Sponge
- 225g unsalted butter, softened
- 225g caster sugar
- 275g self-raising flour, sifted
- 2 tsp baking powder
- 4 large eggs, at room temperature
- 4 tbsp whole milk
- Finely grated zest of 2 large unwaxed lemons
- 1 tsp vanilla extract
For the Lemon Drizzle
- Juice of 2 large lemons (about 6 tbsp)
- 175g granulated sugar
How to Make Mary Berry Lemon Drizzle Cake in Loaf Tin — Step by Step
Step 1 — Preheat and Prepare
Preheat your oven to 180°C / 160°C fan / Gas 4. Grease a 2lb (900g) loaf tin generously and line with baking parchment, leaving an overhang on both long sides for easy lifting.
Step 2 — Prepare the Drizzle First
Mix the lemon juice and granulated sugar together in a small jug. Set aside and have it ready before the cake goes in the oven. The drizzle must be applied the moment the cake comes out — preparation in advance is essential.
Step 3 — Make the Batter
Place the softened butter, caster sugar, sifted flour, baking powder, eggs, milk, lemon zest, and vanilla extract into a large mixing bowl.
Beat with an electric hand whisk for two to three minutes until the batter is smooth, pale, and well combined. Scrape down the sides once during mixing.
Step 4 — Bake
Pour the batter into the prepared loaf tin and spread evenly. Level the top.
Bake on the middle shelf for 50 to 60 minutes. Check at the 50-minute mark — a skewer inserted into the very centre of the loaf should come out clean. If the top is browning too quickly before the centre is cooked, cover loosely with a piece of baking parchment and continue baking.
Step 5 — Apply the Drizzle Immediately
The moment the cake comes out of the oven — not two minutes later, not once it has cooled slightly — poke 25 to 30 holes all over the surface of the warm cake using a fine skewer.
Pour the lemon and granulated sugar drizzle slowly and evenly over the entire surface of the warm cake. Use the back of a spoon to gently spread it if it pools in any area.
The warm sponge absorbs the drizzle down through the crumb. The granulated sugar crystallises on the surface as the cake cools, forming the characteristic crunchy, slightly sparkly crust.
Leave the cake to cool completely in the tin — at least one hour — before lifting out using the parchment overhang.
Step 6 — Slice and Serve
Place on a board and cut into even slices with a sharp knife. The crunchy drizzle crust should crackle slightly under the knife — this is the sound of a perfect lemon drizzle.
My Top Tips For Mary Berry Lemon Drizzle Cake in Loaf Tin
Zest before juicing — always. Zest both lemons before cutting them for juice. A juiced lemon is slippery and difficult to zest safely. Two minutes of zesting before juicing saves frustration and keeps your fingers intact.
Have the drizzle ready before the cake goes in the oven. The drizzle must be applied the moment the cake comes out. Mixing it while the cake is baking means it is sitting in a jug, ready to pour, the moment the oven door opens.
Poke plenty of holes. Twenty-five to thirty holes distributed across the entire surface. More holes give more channels for the drizzle to travel down through the crumb. Every bite of a perfect lemon drizzle loaf should have lemon flavour all the way through.
Use granulated sugar — never caster — in the drizzle. This appears in every lemon drizzle recipe on this site because it is the most important detail. Granulated sugar crystals partially dissolve and partially remain intact as they cool on the warm sponge, creating the crunchy, slightly sparkly crust. Caster sugar dissolves completely — you get a gloss, not a crust.
Cool completely in the tin. The drizzle needs at least an hour to soak through the full depth of the loaf and set on the surface. Attempting to remove the cake from the tin before this is complete risks breaking the drizzle crust and losing the perfect top.
Line with a parchment sling. Lining the tin with parchment that overhangs both long sides gives you a handle to lift the cake cleanly out of the tin once cool. Trying to invert a lemon drizzle loaf risks breaking the crust.
Serving Suggestions
Sliced at room temperature with a cup of tea — this is the definitive way. Taken to the office in the tin and sliced there — one of the most appreciated things you can bring to work. As part of an afternoon tea spread. As a gift wrapped in baking parchment and tied with ribbon.
How to Store Mary Berry Lemon Drizzle Cake in Loaf Tin
At room temperature: Store in an airtight container for up to 4 days. The drizzle crust softens very slightly over the first day but the cake stays wonderfully moist.
In the freezer: Slice, wrap individually in cling film, and freeze for up to 3 months. Defrost at room temperature.
Try These Recipes
- Mary Berry Vanilla Cupcakes
- Mary Berry Chocolate Cupcakes
- Mary Berry Devonshire Scones
- Mary Berry All In One Chocolate Cake
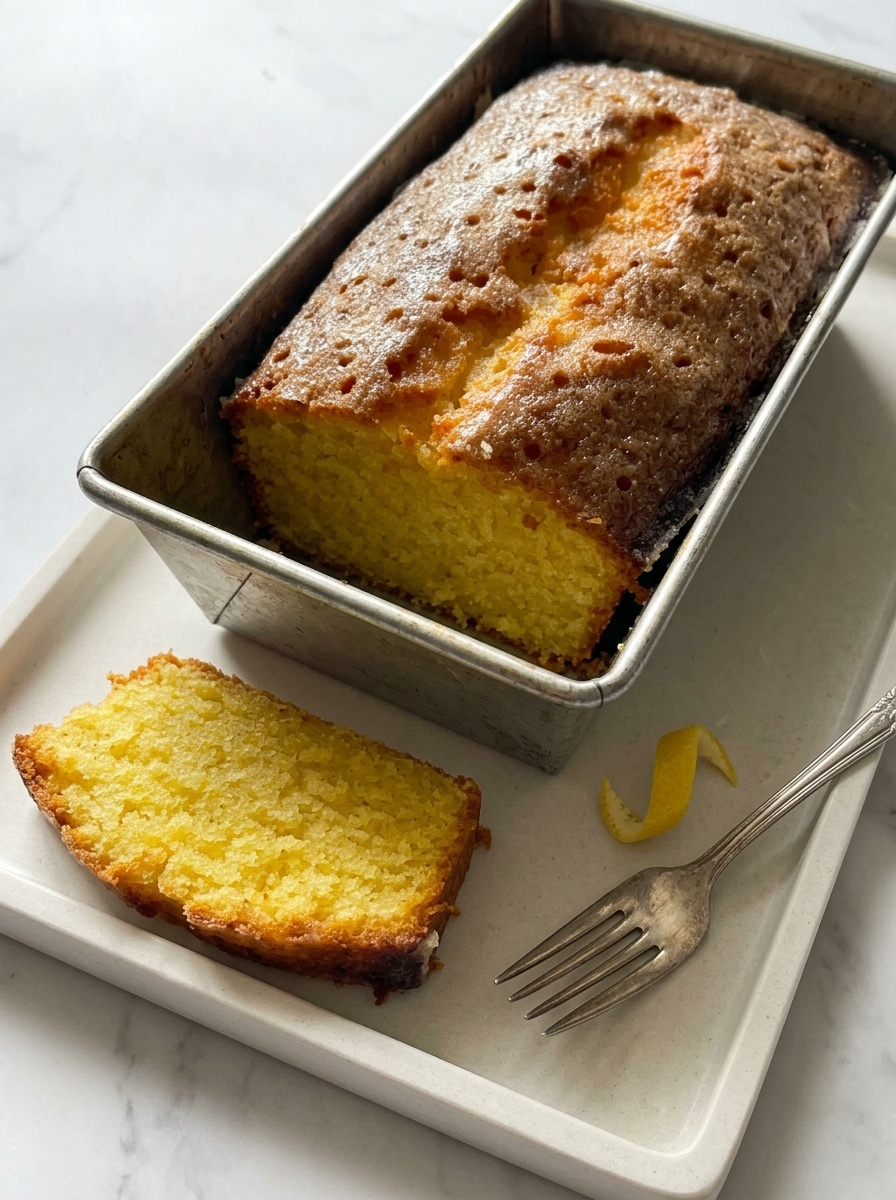
Mary Berry Lemon Drizzle Cake in Loaf Tin Recipe
Ingredients
Method
- Preheat oven to 180°C / 160°C fan / Gas 4. Grease and line a 2lb loaf tin with a parchment sling overhanging both long sides.
- Mix lemon juice and granulated sugar in a jug. Set aside — have ready before cake goes in oven.
- Place butter, sugar, flour, baking powder, eggs, milk, lemon zest, and vanilla in a large bowl. Beat with electric whisk 2–3 minutes until smooth and pale.
- Pour into prepared tin. Level top. Bake 50–60 minutes until a skewer comes out clean. Cover top loosely if browning too quickly.
- Immediately poke 25–30 holes over the warm cake with a skewer. Pour drizzle evenly and slowly over entire surface. Leave to cool completely in tin — at least 1 hour.
- Lift from tin using parchment sling. Slice with a sharp knife.
Notes
Frequently Asked Questions
What is the difference between the loaf tin version and the round version?
The batter is identical — only the tin changes. The loaf gives a denser, moister crumb and a long rectangular top that maximises the drizzle crust surface. The round version gives a lighter crumb and a more impressive centrepiece appearance. Both use the same batter and drizzle. Choose based on the occasion.
Why did the drizzle not soak in properly?
The cake had cooled too much before the drizzle was applied. The drizzle must go on immediately the cake comes out of the oven — the warm, open crumb absorbs it as it is poured. A cool cake resists the drizzle and it pools on the surface rather than soaking in.
Can I add poppy seeds?
Yes — one tablespoon of poppy seeds stirred into the batter with the flour adds a pleasant texture and a slightly nutty flavour that pairs beautifully with the lemon. It is a very worthwhile variation.
Can I make a larger loaf?
Yes — use a 3lb loaf tin, increase all quantities by half, and bake for 65 to 75 minutes. Check with a skewer from 60 minutes.
Why is my loaf cake cracking on top?
A slight crack down the centre of a loaf cake is completely normal and part of its character — the crust sets before the interior has fully risen, causing a natural split. A severe crack can indicate the oven was slightly too hot. It does not affect the flavour or texture.















Leave a Reply