
 Anna Louise
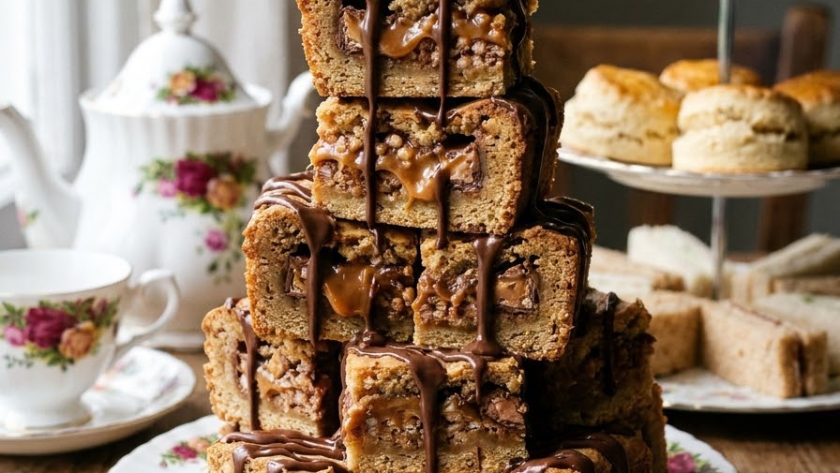
Mars Bar cake is one of those recipes I have been making since I was a teenager — no baking required, takes twenty minutes, uses ingredients almost everyone has in the cupboard, and the result is gooey, chocolatey, slightly caramelly, and completely irresistible. Every time I make it for a gathering, it is the first thing to be finished. Without exception.
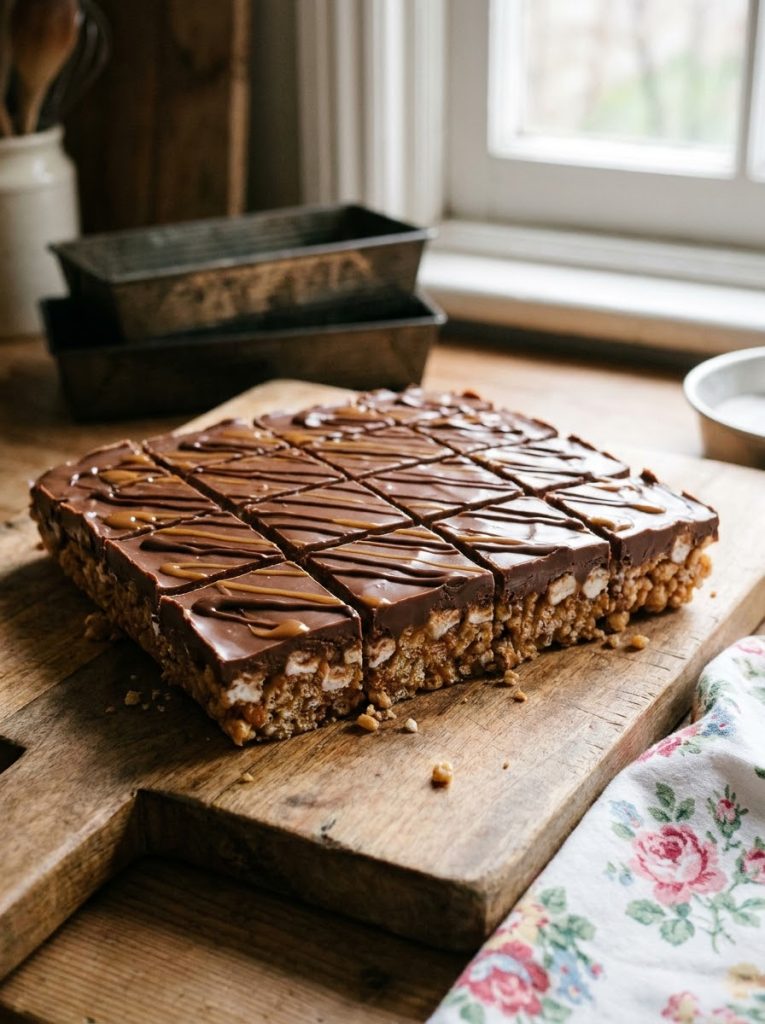
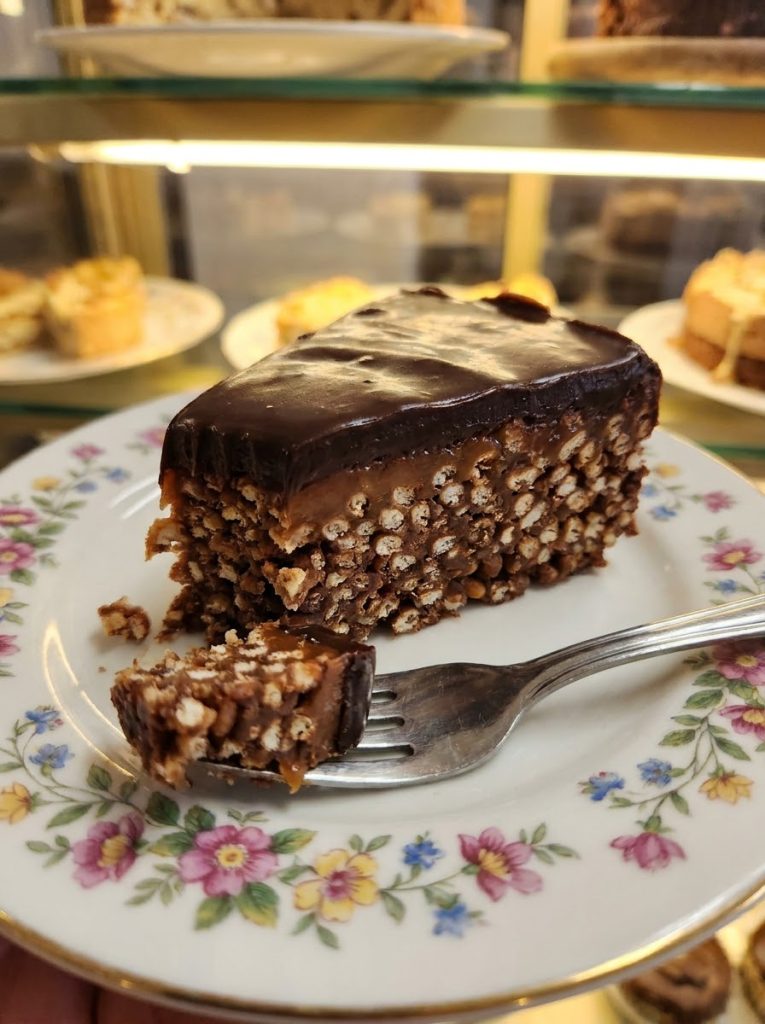
The base is crispy rice cereal bound together with melted Mars bars and butter — the caramel and nougat in the Mars bars give a specific sticky, slightly chewy quality that makes this completely different from a standard chocolate rice crispy cake.
The chocolate top layer sets to a slightly glossy, slightly snappy finish. Sliced into squares, it is one of the most crowd-pleasing traybakes I know.
Ingredients for Mary Berry Mars Bar Cake
For the Base
- 4 Mars bars (approximately 260g total) — roughly chopped
- 100g unsalted butter, cubed
- 2 tbsp golden syrup — gives additional gooeyness
- 175g crispy rice cereal (Rice Krispies or similar)
For the Chocolate Topping
- 200g good quality milk chocolate, finely chopped — or dark chocolate for a less sweet result
- 50g unsalted butter, cubed
How to Make Mary Berry Mars Bar Cake
Step 1 — Prepare the Tin
Line a 30x20cm traybake tin with baking parchment, leaving overhang at both long sides. No greasing needed — the parchment gives enough non-stick surface.
Step 2 — Melt the Mars Bars
Put the chopped Mars bars, butter, and golden syrup into a large saucepan over a very low heat. Stir constantly until completely melted and smooth — four to five minutes. The mixture will look slightly streaky at first as the caramel and nougat melt at different rates — keep stirring and it will come together into a smooth, deeply fragrant, sticky mixture.
Remove from the heat immediately when smooth — do not overheat or the caramel will become hard and grainy.
Step 3 — Add the Rice Cereal
Pour the rice crispy cereal into the melted Mars bar mixture. Stir quickly and thoroughly until every single piece of cereal is coated in the chocolate-caramel mixture.
Step 4 — Press into the Tin
Tip the mixture into the prepared tin. Press down firmly and evenly with the back of a spoon or a lightly oiled spatula — compacting it into a flat, even layer. The mixture should fill the tin to a depth of approximately 2cm. Refrigerate for 20 minutes while making the chocolate topping.
Step 5 — Make and Pour the Chocolate Topping
Melt the chopped chocolate and butter together in a heatproof bowl over a pan of barely simmering water — stirring until completely smooth. Alternatively, melt in the microwave in 30-second bursts, stirring between each.
Pour the melted chocolate over the set rice crispy base — spreading evenly to the edges with a palette knife.
Refrigerate for at least one hour until the chocolate topping has set completely and is firm to the touch.
Step 6 — Slice and Serve
Lift the set cake out of the tin using the parchment overhang. Place on a board. Using a sharp knife — warmed briefly under hot water and dried — cut into squares or rectangles. A warm knife gives clean cuts rather than cracking the chocolate topping.
My Top Tips For Perfect Mary Berry Mars Bar Cake
Melt the Mars bars over the lowest possible heat and stir constantly. Mars bars contain caramel and nougat that behave differently when heated — the caramel can burn or turn grainy if the heat is too high or the stirring stops. Low heat and constant stirring gives a completely smooth, glossy mixture.
Press the rice crispy base firmly and evenly. A loosely pressed base gives uneven slices that crumble apart. Pressing firmly with the back of a damp spoon gives a compact, even base that cuts cleanly.
Refrigerate the base before adding the chocolate. The chocolate topping poured onto a still-warm, slightly soft base sinks slightly into it and does not give a clean layer. Twenty minutes in the fridge gives a firm enough base for the chocolate to sit on top cleanly.
Use a warm knife to cut. Cutting through a set chocolate topping with a cold knife cracks the chocolate and gives untidy, cracked slices. A knife warmed briefly under hot water and dried gives clean, professional-looking cuts.
Use good quality chocolate for the topping. The topping is the most visible part of this cake. Good quality milk chocolate sets with a slight gloss and snaps cleanly. Cheap chocolate chips give a slightly dull, slightly waxy result.
Serving Suggestions
At a children’s party — universally loved. At a bake sale — always the first to sell. As a no-bake treat to have in the fridge during the week. At any gathering where something sweet and crowd-pleasing is needed quickly.
How to Store Mary Berry Mars Bar Cake
In the fridge: Store covered for up to 5 days. The base stays chewy and the chocolate topping stays set throughout.
In the freezer: Freeze in individual squares for up to 2 months. Defrost at room temperature for 30 minutes.
Mary Berry Mars Bar Cake Recipe
Ingredients
Method
- Line a 30x20cm tin with parchment.
- Melt chopped Mars bars, butter, and golden syrup together in a large saucepan over very low heat — stirring constantly — until completely smooth. Remove from heat immediately.
- Add rice cereal — stir quickly until every piece is coated.
- Tip into prepared tin — press firmly and evenly to a 2cm layer. Refrigerate 20 minutes.
- Melt chocolate and butter together until smooth. Pour over chilled base — spread evenly. Refrigerate 1 hour until completely set.
- Lift out of tin — cut into squares with a warm knife. Serve.
Notes
Frequently Asked Questions
Can I use other chocolate bars instead of Mars bars?
Yes — Snickers gives a slightly nuttier result. Twix gives a more biscuit-like, slightly less gooey base. Mars bars give the best combination of caramel, nougat, and chocolate flavour for this recipe.
Can I use dark chocolate for the topping?
Yes — dark chocolate gives a less sweet, slightly more grown-up result that suits adults particularly well. Use the same quantity.
Can I add chopped nuts to the base?
Yes — 75g of roughly chopped roasted peanuts or hazelnuts folded through with the rice cereal give a pleasant crunch and a slightly more complex flavour.
Can I make this without butter in the base?
The butter gives the base its richness and its slightly softer texture. Without it the base is slightly drier and slightly harder. The butter is worth including.














Leave a Reply