
 Anna Louise
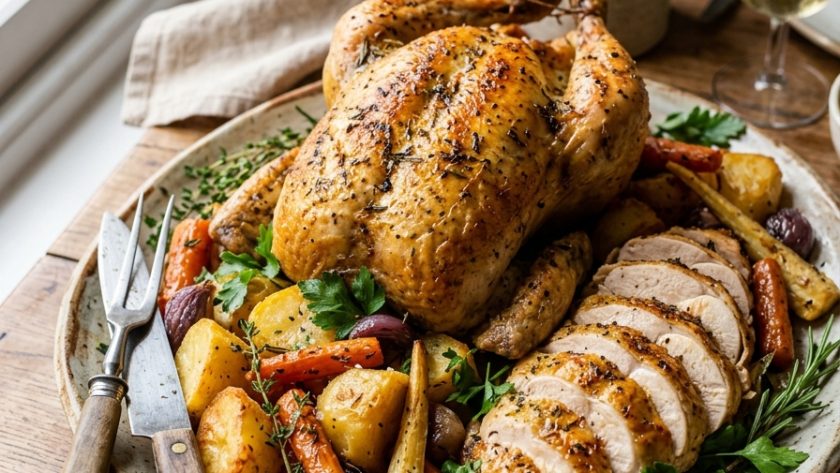
 There is something deeply satisfying about cooking a whole chicken. The way it fills the kitchen with smell, the way it arrives at the table as something complete and generous, the way everyone gets a slightly different piece and no one complains.
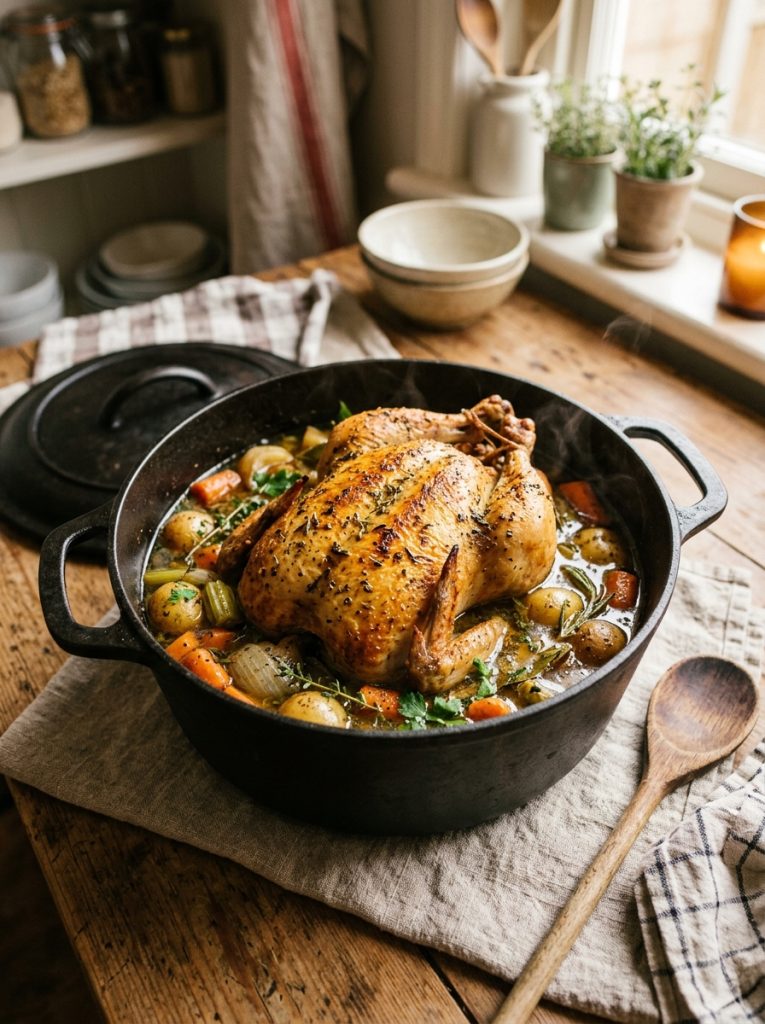
A pot roast is different from a standard roast chicken in one important way — the chicken goes into the pot with liquid and cooks partly in the steam of its own braising liquid rather than in the dry heat of the oven.
What you get is a chicken that is extraordinarily moist and tender all the way through — no dry white meat, no slightly pink joints — surrounded by vegetables that have absorbed the chicken juices and stock and become something incredibly flavoured, and a pan of cooking liquid that becomes the most extraordinary, deeply flavoured gravy with almost no effort.
Mary Berry’s pot roast chicken is the version I make on Sunday when I want a proper Sunday lunch that is not a standard roast but is equally impressive and considerably more forgiving.
You cannot overcook a pot roast the way you can a regular roast — the liquid in the pot keeps the chicken moist even if it stays in longer than planned.
Why a Pot Roast Is More Forgiving Than a Standard Roast
A standard roast chicken relies on precise timing. Take it out too early and the joints are undercooked. Leave it in too long and the breast meat is dry. The window of perfection is about ten minutes.
A pot roast chicken has no such drama. The liquid in the pot creates a moist environment around the chicken that prevents the breast from drying out even if the cooking time extends by twenty or thirty minutes. The vegetable bed keeps the base of the chicken from sitting directly in liquid and going soft. The lid traps all the steam.
You can put this in the oven and essentially forget about it for an hour and a half. The chicken will be perfectly cooked whenever you are ready.
Ingredients for Mary Berry Pot Roast Chicken
For the Pot Roast
- 1 whole chicken (about 1.8kg), at room temperature
- 2 tbsp olive oil
- 30g unsalted butter
- 4 carrots, peeled and cut into large chunks
- 3 celery sticks, cut into large chunks
- 2 leeks, washed and cut into 4cm rounds
- 1 large onion, cut into thick wedges
- 6 garlic cloves, unpeeled — left whole
- 250ml dry white wine
- 300ml good quality chicken stock
- 3 sprigs fresh thyme
- 2 bay leaves
- 2 sprigs fresh rosemary
- 1 lemon, halved — one half for inside the chicken, one squeezed for the pan
- Salt and freshly ground black pepper
For the Gravy
- All the cooking juices from the pot
- 1 tbsp plain flour mixed with 2 tbsp cold water (to thicken if needed)
- Salt and pepper
How to Make Mary Berry Pot Roast Chicken
Step 1 — Prepare the Chicken
Remove the chicken from the fridge at least one hour before cooking. Pat the skin completely dry with kitchen paper — dry skin browns significantly better than damp skin.
Season the cavity generously with salt and pepper. Push the halved lemon inside the cavity along with a sprig of thyme — the lemon perfumes the chicken from the inside as it cooks.
Season the skin generously on all sides.
Step 2 — Brown the Chicken
Heat the olive oil and butter together in a large, heavy-based casserole dish — one that is big enough to hold the whole chicken with a lid on. When the butter is foaming, add the chicken breast-side down. Brown for four to five minutes until the breast skin is deeply golden. Turn the chicken and brown the sides and back for a further four minutes total.
Remove the chicken and set aside.
Step 3 — Build the Vegetable Base
In the same casserole, add the carrots, celery, leeks, onion, and whole garlic cloves. Cook over a medium heat for five minutes, stirring occasionally, until beginning to soften. Season with salt and pepper.
Add the white wine — let it bubble for two minutes, scraping up the browned bits from the base. Add the chicken stock, remaining thyme sprigs, bay leaves, and rosemary. Squeeze the juice of the remaining lemon half into the pot.
Step 4 — Pot Roast the Chicken
Nestle the browned chicken on top of the vegetable bed, breast-side up. The chicken should be sitting above the liquid, resting on the vegetables, not submerged.
Bring to a gentle simmer. Cover with a tight-fitting lid. Transfer to a preheated oven at 160°C / 140°C fan / Gas 3.
Pot roast for 1 hour 20 minutes to 1 hour 40 minutes, depending on the size of the chicken. For a 1.8kg chicken, 1 hour 30 minutes is usually exactly right. The chicken is done when the juices run completely clear when the thigh is pierced at the thickest point, and the leg pulls away from the body with almost no resistance.
Step 5 — Brown the Skin
In the final fifteen minutes, remove the lid and increase the oven temperature to 200°C / 180°C fan / Gas 6. This crisps and browns the skin for the last quarter hour. The breast skin should be deep golden and slightly crispy by the time the chicken comes out.
Step 6 — Rest the Chicken
Remove the chicken from the casserole and rest on a warm plate, covered loosely with foil, for fifteen to twenty minutes. This is not optional — the juices redistribute through the meat during resting.
Step 7 — Make the Gravy
Pour all the cooking juices from the casserole through a sieve into a saucepan. Press the vegetables through slightly to extract their flavour. Bring to a simmer and taste — the cooking liquid is already deeply flavoured and may need very little adjustment. If you want it thicker, add the flour and water mixture and stir until it reaches your preferred consistency. Season.
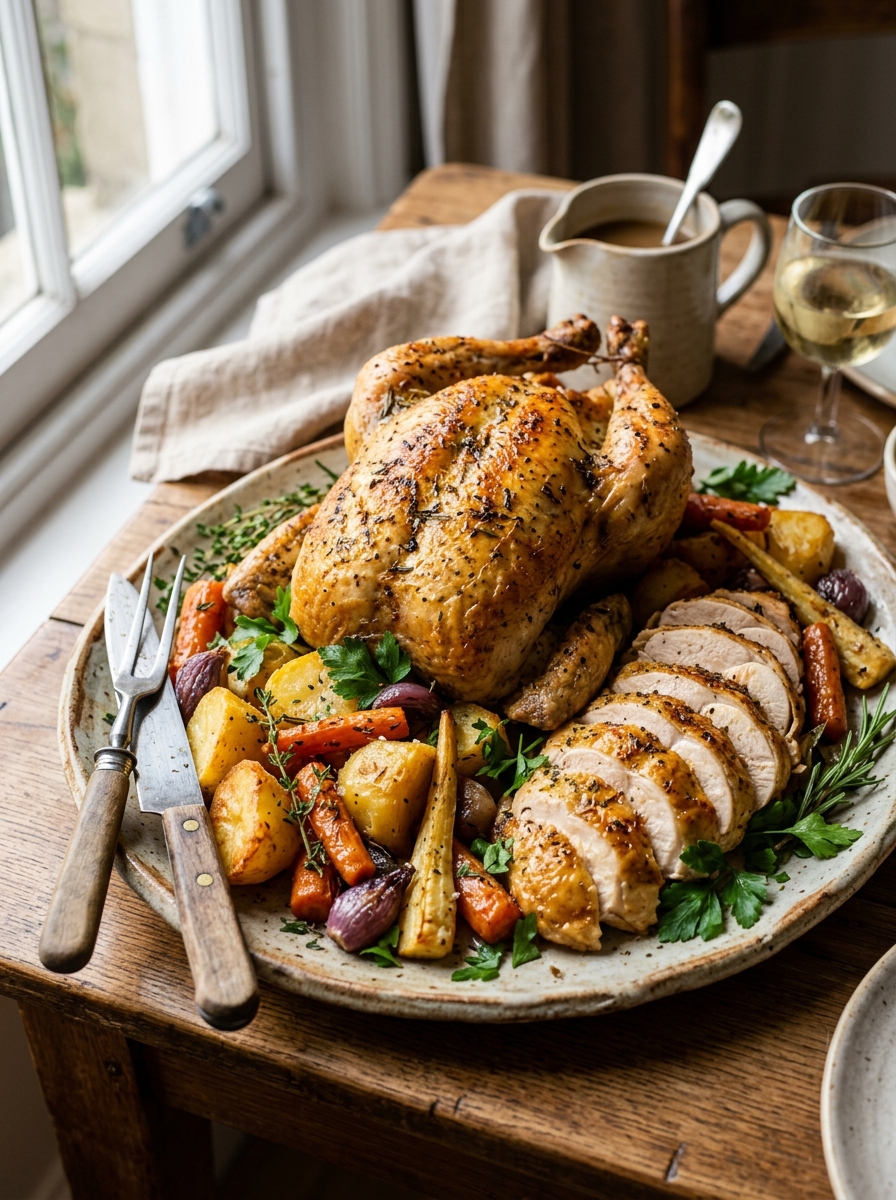
Carve the chicken at the table and serve with the vegetables from the pot and the gravy.
My Top Tips For Perfect Pot Roast Chicken
Bring the chicken to room temperature before cooking. An hour out of the fridge before browning. A cold chicken put into a hot pan browns unevenly and takes longer to cook through. Room temperature gives more even browning and more even cooking.
Dry the skin thoroughly before browning. Wet skin steams rather than sears. A few minutes of patting with kitchen paper and leaving to air-dry for five minutes after patting gives the driest, best-browning skin.
The chicken sits on the vegetables — not in the liquid. The vegetable bed is the cooking platform. The chicken should be above the liquid, steaming in the moist heat from below rather than boiling in liquid. This keeps the skin from going completely soft and gives better flavour to the meat.
Remove the lid for the final fifteen minutes at a higher temperature. This is what gives the pot roast chicken its golden skin. Without this step it would come out pale and soft-skinned, which defeats the purpose of browning it at the start.
Rest for fifteen to twenty minutes minimum. A pot roast chicken rested for twenty minutes is noticeably more moist and more tender than one carved immediately. The juices redistribute throughout the meat and the chicken holds together better when carved.
Serving Suggestions
With the pot vegetables alongside — they are exceptional and need nothing more. With mashed potato to absorb the extraordinary gravy. With crusty bread for mopping. This is a complete meal in one pot.
How to Store Pot Roast Chicken
In the fridge: Store the carved chicken in its cooking juices for up to 3 days. The chicken stays moist stored this way.
In the freezer: Freeze the chicken pieces in the cooking juices for up to 3 months. Defrost overnight in the fridge and reheat gently.
Try These Recipes
- Mary Berry Chicken Tagine
- Mary Berry Chicken Cacciatore
- Mary Berry Roasted Vegetable Quiche
- Mary Berry Sweet And Sour Chicken
Mary Berry Pot Roast Chicken Recipe
Ingredients
Method
- Remove chicken from fridge 1 hour before cooking. Pat skin completely dry. Season cavity — push in half a lemon and a thyme sprig. Season skin.
- Heat oil and butter in large casserole. Brown chicken breast-side down — 4–5 minutes until deeply golden. Brown sides and back — 4 more minutes total. Remove.
- Cook vegetables in same casserole 5 minutes. Add wine — bubble 2 minutes, scraping base. Add stock, herbs, and juice of remaining lemon half.
- Nestle chicken breast-side up on vegetables — above the liquid. Bring to gentle simmer. Cover tightly.
- Transfer to 160°C / 140°C fan / Gas 3 oven. Pot roast 1 hour 20 minutes to 1 hour 40 minutes until juices run clear.
- Remove lid — increase to 200°C / 180°C fan / Gas 6 — final 15 minutes to crisp skin.
- Rest on warm plate covered with foil — 15–20 minutes minimum.
- Strain cooking juices — bring to simmer. Thicken with flour paste if desired. Season. Carve chicken at table. Serve with pot vegetables and gravy.
Notes
Frequently Asked Questions
Can I add potatoes to the pot?
Yes — quartered floury potatoes added to the casserole in the final 45 minutes become wonderfully flavoured and make the pot roast a complete one-pot meal with no accompaniments needed.
Can I use cider instead of white wine?
Yes — dry cider gives a slightly sweeter, more fragrant sauce that suits chicken beautifully. Use the same quantity.
Why is my chicken skin not crispy despite removing the lid?
Either the skin was not dried thoroughly before browning, the initial browning was insufficient, or the oven temperature was not high enough for the final fifteen minutes. Make sure the skin is genuinely dry before cooking and the oven reaches 200°C for the final stage.
Can I make pot roast chicken in a slow cooker?
Yes — brown the chicken as directed and build the vegetable base. Transfer to a slow cooker and cook on LOW for 6 to 7 hours. Remove the lid for the final hour to reduce the cooking liquid slightly. The skin will not crisp but the meat is extraordinarily tender.
What do I do with leftover pot roast chicken?
Shred the leftover meat into the cooking juices and use as a pasta sauce, a filling for a pie, a base for a soup, or in sandwiches. The cooking juices make a genuinely wonderful base for any chicken dish.
















Leave a Reply