
 Anna Louise
 I make this on a Tuesday when I cannot think of anything else and it always, without fail, gets eaten completely and requested the following week. That is the best thing I can say about any recipe.
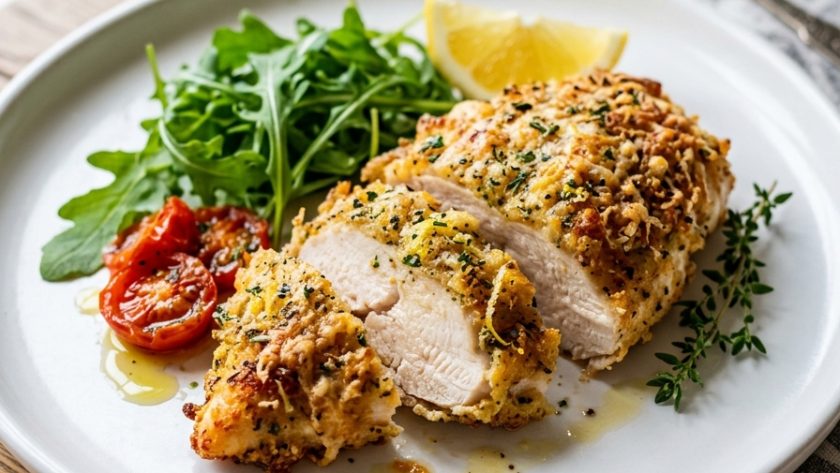
Parmesan chicken sounds fancier than it is. It is basically a chicken breast bashed flat, dipped in egg, coated in a mixture of Parmesan and breadcrumbs, and fried until golden and crispy.
The whole thing takes thirty minutes. But the result — that deeply golden, salty, slightly nutty crust around tender, juicy chicken — is genuinely special.
Mary Berry’s version adds a little lemon zest to the breadcrumb coating, which might sound like a small thing but makes a real difference. The brightness of the lemon cuts through the richness of the Parmesan and lifts the whole dish.
I also add a pinch of smoked paprika to the coating because I think it looks beautiful and tastes even better. This is one of those recipes that becomes a household staple. Once you have made it, you will make it again and again.
Why Bashing the Chicken Makes Such a Difference
I know it sounds a bit aggressive but bear with me. Chicken breasts are thicker at one end than the other, which means the thin end is overcooked and dry by the time the thick end is done. Bashing the breast to an even thickness — about 1.5cm — means the whole thing cooks in the same time.
It also means a larger surface area for the Parmesan coating, which means more of that gorgeous golden crust per bite. Everyone wins.
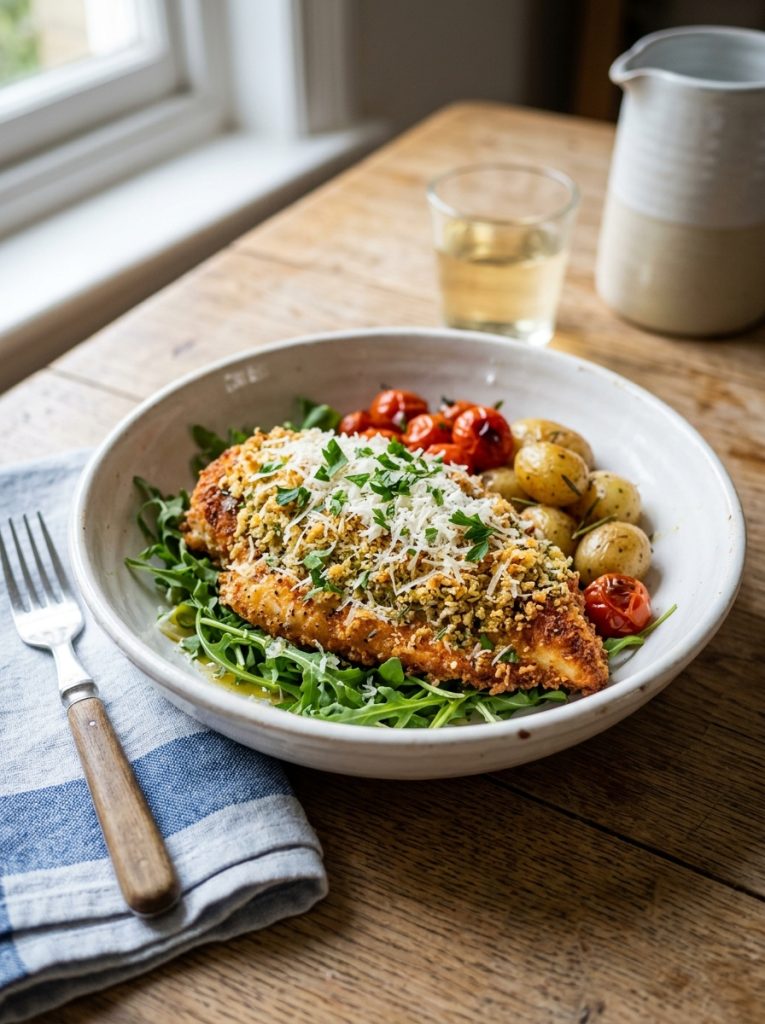
Ingredients for Mary Berry Parmesan Chicken
For the Chicken
- 4 boneless skinless chicken breasts
- 75g plain flour, seasoned with salt and pepper
- 2 large eggs, beaten
- 100g fine dried breadcrumbs
- 75g Parmesan, very finely grated
- Zest of 1 unwaxed lemon
- ½ tsp smoked paprika
- ½ tsp garlic powder
- Salt and freshly ground black pepper
- 3 tbsp olive oil and 25g unsalted butter for frying
To Serve
- Lemon wedges — essential
- A simple rocket salad dressed with lemon and olive oil
- Cherry tomatoes
- Good crusty bread
How to Make Mary Berry Parmesan Chicken
Step 1 — Bash the Chicken
Place each chicken breast between two sheets of baking parchment. Bash with a rolling pin to an even thickness of about 1.5cm. It does not have to be perfect — just reasonably even.
Step 2 — Set Up the Coating Station
Get three shallow dishes ready. Dish one: seasoned flour. Dish two: beaten eggs. Dish three: breadcrumbs, finely grated Parmesan, lemon zest, smoked paprika, garlic powder, and a generous pinch of salt mixed together.
Step 3 — Coat the Chicken
Take each bashed chicken breast through the three dishes in order. Flour first — shake off the excess. Egg — let the excess drip off. Breadcrumb and Parmesan mixture — press firmly all over so the coating really adheres. Every surface should be covered.
Place the coated breasts on a plate. If you have time, refrigerate for fifteen minutes — this helps the coating stick during frying.
Step 4 — Fry
Heat the olive oil and butter together in a large non-stick frying pan over a medium heat. When the butter is foaming and the oil is hot, add the chicken breasts. Cook for four to five minutes per side until deep golden and cooked through. Do not move them too much — let the crust set before you turn them.
If your pan is not big enough for all four at once, cook in two batches and keep the first batch warm in a low oven.
Step 5 — Rest Briefly and Serve
Give them two minutes out of the pan before serving — the juices settle and the crust crisps slightly as it rests. Serve with lemon wedges and a simple salad.
My Top Tips Best Mary Berry Parmesan Chicken
Grate the Parmesan very finely. Coarsely grated Parmesan does not adhere to the breadcrumbs as well and gives a slightly uneven crust. The finest side of your grater — the one that almost seems too fine — gives the best result here.
Press the coating on firmly. After dipping in the Parmesan breadcrumbs, press each breast firmly between your palms so the coating really grips the surface. Any loose bits will fall off in the pan.
Medium heat — not high. The coating is what needs time to turn golden — high heat browns the outside before the chicken inside is cooked through. Medium heat gives you a beautiful even golden colour with properly cooked chicken inside.
Oil and butter together. Butter alone burns at the temperature you need for a golden crust. Oil raises the smoke point. The butter gives flavour and golden colour. Use both.
Serve with lemon. This is not optional. A squeeze of lemon over Parmesan chicken at the table is what makes it taste complete. Do not skip it.
Serving Suggestions
With a simple rocket and Parmesan salad — classic and completely right. With cherry tomatoes and good bread for mopping the buttery pan juices. As a main course for a dinner party — it looks impressive, costs very little, and takes thirty minutes.
How to Store Mary Berry Parmesan Chicken
In the fridge: Store cooked Parmesan chicken for up to 2 days. Reheat in a 180°C oven for 10 to 12 minutes to restore the crunch — do not microwave or the coating goes soft.
In the freezer: Freeze coated uncooked chicken on a tray until solid, then transfer to a bag for up to 3 months. Cook from frozen at 180°C for 25 to 30 minutes.
Try These Recipes
- Mary Berry Marry Me Chicken
- Mary Berry Chicken And Leek Casserole
- Mary Berry Sticky Chicken
- Mary Berry Chicken Chasseur
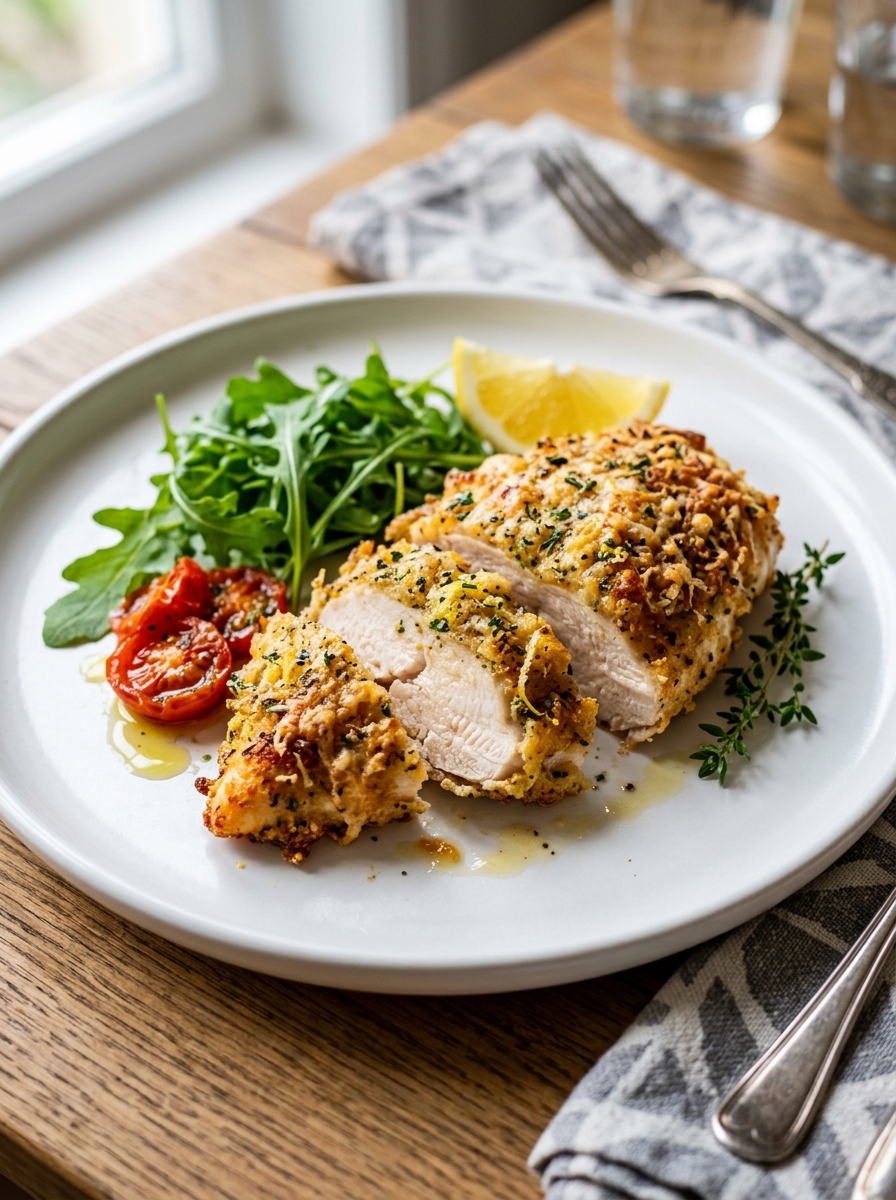
Mary Berry Parmesan Chicken Recipe
Ingredients
Method
- Bash chicken breasts to an even 1.5cm thickness between baking parchment.
- Set up 3 shallow dishes: seasoned flour / beaten eggs / breadcrumbs mixed with Parmesan, lemon zest, paprika, garlic powder, and salt.
- Coat each breast: flour (shake off excess) → egg (drip off excess) → breadcrumb mix (press firmly all over).
- Heat oil and butter over medium heat until butter foams. Fry chicken 4–5 minutes per side until deep golden and cooked through. Do not move during the first 3 minutes.
- Rest 2 minutes. Serve with lemon wedges and salad.
Notes
Frequently Asked Questions
Can I use panko breadcrumbs instead of fine dried breadcrumbs?
Yes — panko gives a slightly lighter, crunchier coating than fine breadcrumbs. Both are excellent. I use fine breadcrumbs when I want a more compact, neater crust and panko when I want something a bit more dramatic.
Can I bake this instead of frying?
Yes — brush the coated chicken with a little olive oil and bake at 200°C for 20 to 25 minutes. The crust will not be quite as golden or as crispy as the pan-fried version but it is considerably less messy and still delicious.
Can I use other cheeses?
Parmesan is the best choice because of its low moisture content — it crisps rather than melts. Pecorino works similarly. Most other cheeses have too much moisture and the coating does not crisp in the same way.
Can I make this ahead?
Coat the chicken up to four hours ahead and refrigerate uncovered. The coating dries slightly in the fridge, which actually improves its crispiness during frying.
Why is my coating falling off?
Either the flour was not shaken off properly, the egg was not drained enough, or the coating was not pressed firmly. Work through each step carefully and press the final coating on with real force.















Leave a Reply