
 Anna Louise
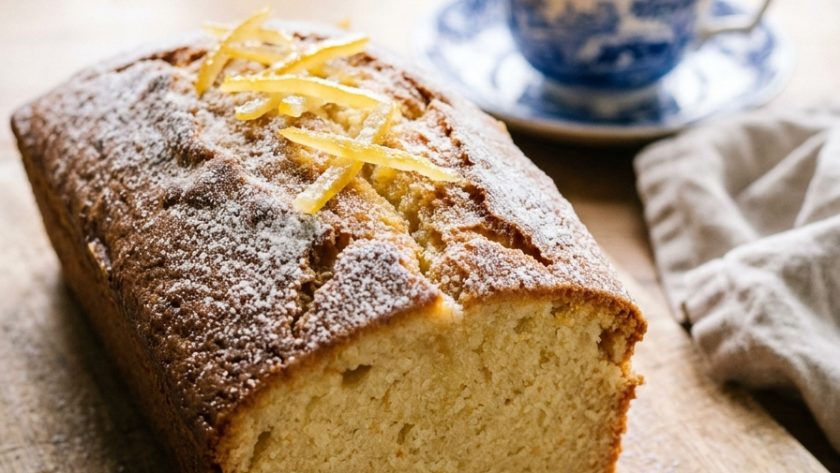
 Madeira cake is one of the oldest and most specifically British of all cakes — pale, close-textured, buttery, lemon-scented, with the characteristic crack running down the centre of the top that is not a flaw but a signature.
It was traditionally served with a glass of Madeira wine in the nineteenth century, which is where the name comes from, though it contains no Madeira itself. It is a cake that has been made the same way for two hundred years and that does not need improving.
I make Madeira cake when I want something that is specifically elegant in its simplicity — when the occasion calls for a cake that requires no decoration, no frosting, no filling, and no garnish beyond the characteristic crack and a very light dusting of icing sugar.
Ingredients for Mary Berry Madeira Cake
For the Madeira Cake
- 175g unsalted butter, softened
- 175g golden caster sugar
- 3 large eggs, at room temperature
- 225g plain flour, sifted — not self-raising; the lower rise gives the characteristic close texture
- 1½ tsp baking powder
- 2 tbsp whole milk
- Finely grated zest of 2 large unwaxed lemons
- 2 tbsp fresh lemon juice
- 1 tsp vanilla extract
To Finish
- 2 thin strips of candied citrus peel — laid along the top of the cake before baking, the traditional Madeira cake decoration
- A light dusting of icing sugar after baking
How to Make Mary Berry Madeira Cake
Step 1 — Preheat and Prepare
Preheat your oven to 160°C / 140°C fan / Gas 3. Grease a 900g (2lb) loaf tin generously and line with baking parchment, leaving overhang at both long sides.
The lower oven temperature than a standard sponge gives the characteristically pale, evenly baked Madeira cake — it should be golden rather than deeply brown, with a close, even crumb throughout.
Step 2 — Make the Batter
Beat the softened butter and golden caster sugar together for four to five minutes until pale and genuinely fluffy. The longer beating time gives the slightly lighter texture that distinguishes a good Madeira cake from a dense one — even though the finished cake is closer in texture than a standard sponge, it should not be heavy.
Add the eggs one at a time, beating well after each. Add the lemon zest, lemon juice, and vanilla extract.
Sift the plain flour and baking powder into the bowl. Add the milk. Fold gently until just combined — the batter will be slightly thicker than a standard sponge batter.
Step 3 — Bake
Spoon the batter into the prepared tin. Smooth the top evenly. Lay the two strips of candied citrus peel along the centre of the top — these soften during baking and give the traditional Madeira cake decoration.
Bake for 55 to 65 minutes until the cake is pale golden, has developed its characteristic crack along the centre, and a skewer inserted into the very centre comes out clean.
Cool in the tin for fifteen minutes. Lift out using the parchment overhang. Cool completely on a wire rack — at least one hour.
Step 4 — Finish
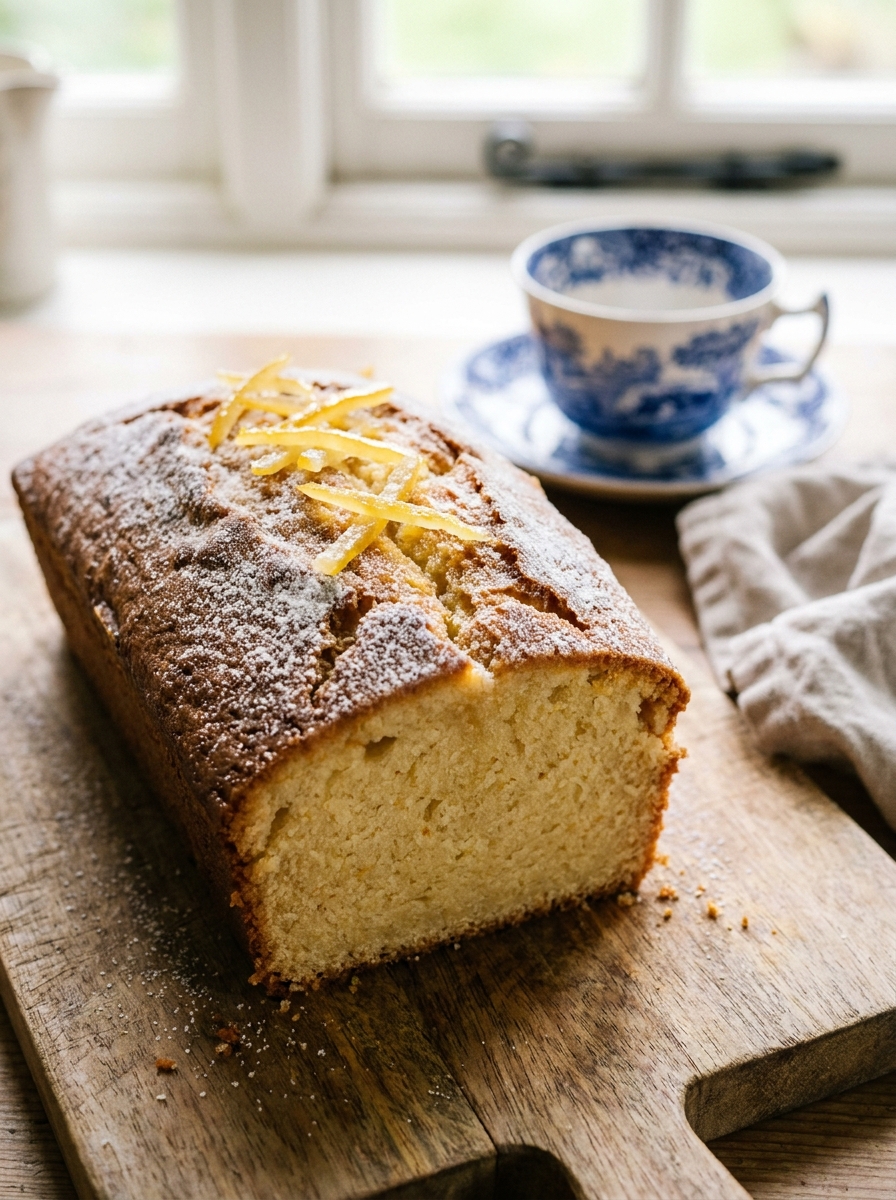
Dust lightly with icing sugar. The pale golden surface of the cake with the icing sugar dusting and the crack down the centre is the complete, classic Madeira cake appearance — no further decoration needed or appropriate.
My Top Tips For Perfect Mary Berry Madeira Cake
Use plain flour — not self-raising. The slightly lower proportion of raising agent in a Madeira cake — compared to a Victoria sponge which uses self-raising flour plus additional baking powder — gives the characteristic close, slightly dense texture. Self-raising flour gives a lighter, more open sponge that is a different cake entirely.
Bake at a lower temperature for the characteristic pale colour. Madeira cake should be pale golden — not deep golden and not brown. The lower temperature of 160°C / 140°C fan gives an evenly baked, characteristically pale result. Higher temperatures give browning before the centre is cooked through.
The crack is the signature — do not cover or hide it. The crack that runs down the centre of a Madeira cake is not a flaw. It is the specific visual characteristic that identifies a Madeira cake and distinguishes it from every other loaf cake. It is caused by the batter on the surface setting slightly before the interior, which then continues to rise and pushes through. It is correct and it is beautiful.
The candied peel on top is traditional — use it. Two thin strips of candied citrus peel laid along the top of the Madeira cake before baking is the specific traditional decoration. It softens during baking and gives a slightly chewy, slightly sweet, citrus-scented strip along the top of the finished cake. It is small, understated, and completely in keeping with the character of the cake.
This cake improves over two days. The close, buttery crumb of a Madeira cake deepens in flavour and softens slightly over the first two days. Day one is very good. Day two is better. Wrap in baking parchment and store at room temperature.
Serving Suggestions
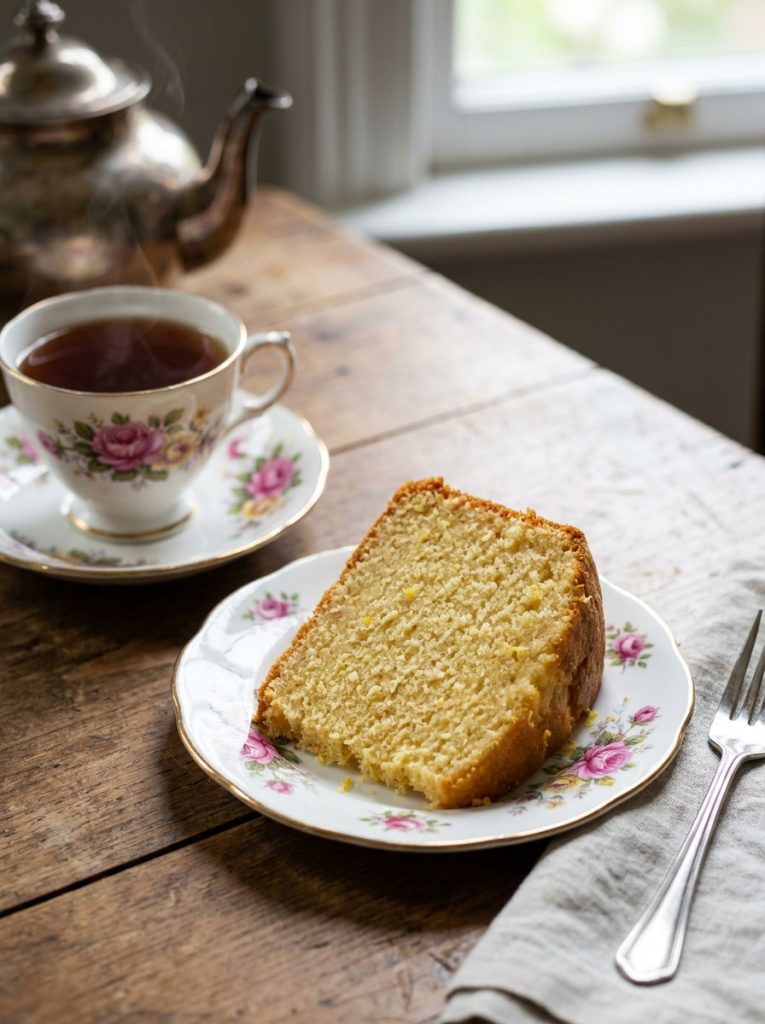
Sliced at room temperature with a cup of properly made tea — the most natural and most traditional serving. With a glass of Madeira wine for a historically accurate pairing. As a gift — Madeira cake wrapped in parchment keeps well and travels beautifully.
How to Store Mary Berry Madeira Cake
At room temperature: Wrap in baking parchment and store for up to 5 days. The flavour improves over the first two to three days.
In the freezer: Freeze in slices for up to 3 months. Defrost at room temperature.
Mary Berry Madeira Cake Recipe
Ingredients
Method
- Preheat oven to 160°C / 140°C fan / Gas 3. Grease and line a 900g loaf tin with parchment overhang.
- Beat butter and sugar 4–5 minutes until pale and fluffy. Add eggs one at a time. Add lemon zest, lemon juice, and vanilla.
- Sift plain flour and baking powder into bowl. Add milk — fold gently until just combined.
- Spoon into tin — smooth top. Lay candied peel strips along the centre. Bake 55–65 minutes until pale golden, cracked down the centre, and skewer comes out clean. Cool in tin 15 minutes — lift out. Cool completely.
- Dust lightly with icing sugar. Slice and serve.
Notes
Frequently Asked Questions
Can I add more lemon for a more intensely lemon-flavoured cake?
Yes — increasing the zest to three lemons gives a more assertively lemon flavour while maintaining the close, buttery character of Madeira cake. For a strongly lemon cake, the lemon drizzle cake on this site gives a more intensely citrus result.
Can I make this without the candied peel?
Yes — the candied peel is traditional decoration rather than a defining flavour. The cake is equally good without it — simply dust with icing sugar as directed.
Can I make Madeira cake in a round tin?
Yes — bake in a greased and lined deep 18cm round tin at the same temperature for 55 to 65 minutes. The round Madeira cake has slightly less of the characteristic crack but is equally good.
Why is my Madeira cake very dense and slightly gluey?
Either the butter and sugar were not beaten sufficiently, the oven temperature was too low, or the skewer was not completely clean when the cake was removed. Ensure four to five minutes of beating and check the skewer carefully before removing from the oven.















Leave a Reply