
 Anna Louise
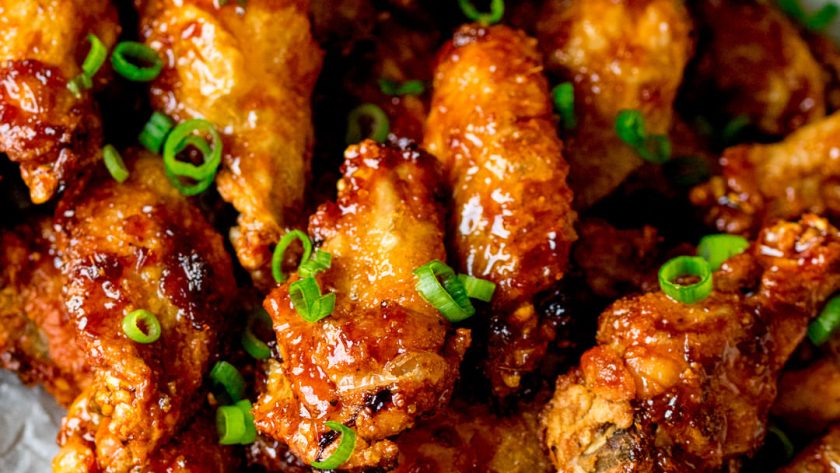
 Sticky chicken wings are one of the most universally loved things you can put on a table. The combination of crispy skin, tender meat, and a deeply caramelised, sweet-savoury glaze makes them almost impossible to stop eating.
The key is a two-stage approach — dry the wings thoroughly, roast them plain at high heat to render the fat and crisp the skin, then coat in the glaze and return to the oven for the final caramelisation.
This gives a result that is genuinely sticky and golden all over rather than pale and soggy underneath a wet glaze.
The sauce — soy, honey, ginger, garlic, and a little rice wine vinegar — is balanced between sweet, salty, and sour. It coats the wings in a thin, intense glaze that sets to something deeply caramelised in the hot oven.
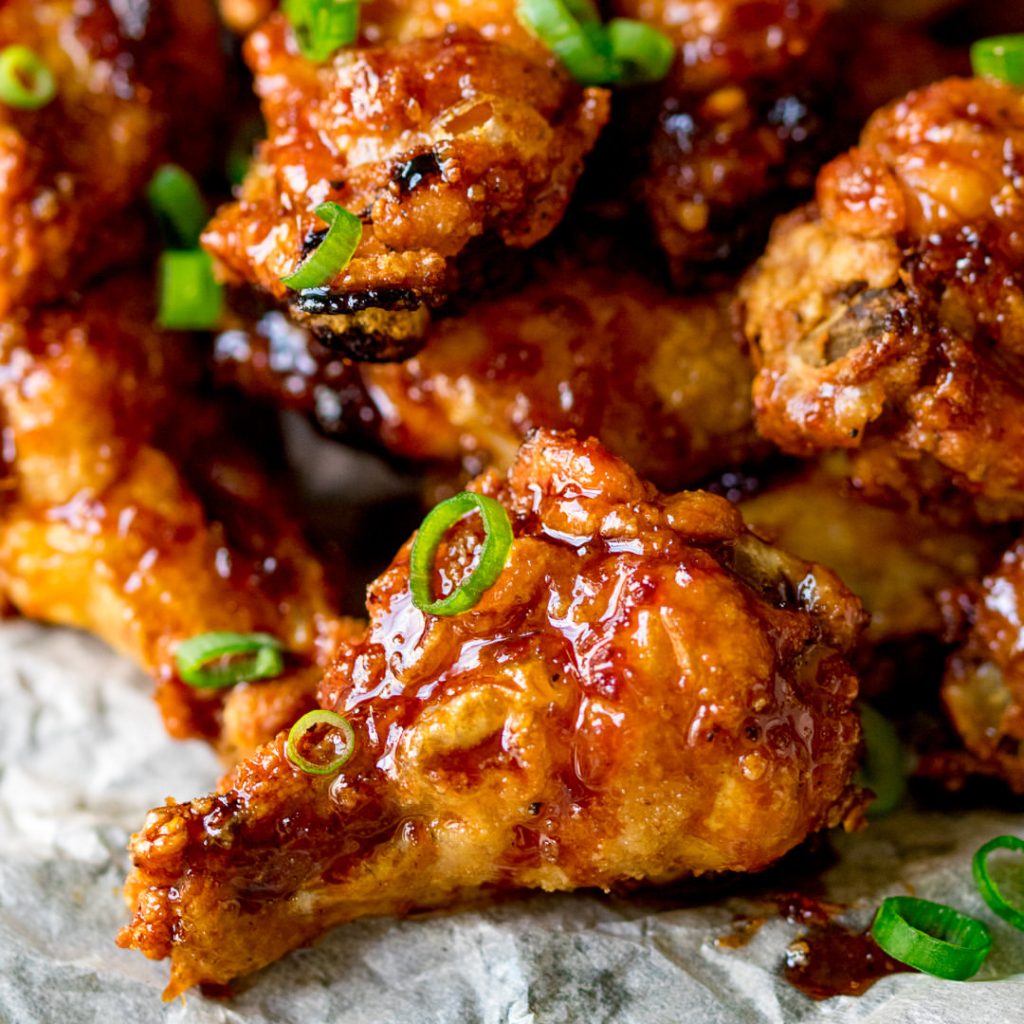
Ingredients for Mary Berry Sticky Chicken Wings
For the Wings
- 1.2kg chicken wings, tips removed if preferred, split at the joint into flats and drumettes
- 1 tsp fine salt
- 1 tsp garlic powder
- ½ tsp white pepper
- 1 tbsp sunflower oil
For the Sticky Glaze
- 4 tbsp soy sauce
- 3 tbsp runny honey
- 2 tbsp rice wine vinegar or apple cider vinegar
- 3 garlic cloves, finely grated
- 2cm fresh ginger, finely grated
- 1 tsp sesame oil
- ½ tsp chilli flakes (optional)
- 1 tsp cornflour mixed with 1 tbsp cold water
To Finish
- Toasted sesame seeds
- Sliced spring onions
- Lime wedges
How to Make Mary Berry Sticky Chicken Wings
Step 1 — Dry and Season
Pat the wings completely dry with kitchen paper — this is the most important step for crispy skin. Place in a large bowl. Toss with the salt, garlic powder, white pepper, and sunflower oil until evenly coated.
Spread in a single layer on a large wire rack set over a baking tray. Refrigerate uncovered for at least one hour — or overnight. The uncovered refrigeration dries the skin further and gives significantly crispier wings.
Step 2 — Roast at High Heat
Preheat your oven to 220°C / 200°C fan / Gas 7. Roast the wings on the wire rack for 35 to 40 minutes, turning once halfway through, until the skin is golden, crispy, and the fat has rendered completely.
Step 3 — Make the Glaze
While the wings roast, combine the soy sauce, honey, rice wine vinegar, grated garlic, grated ginger, sesame oil, and chilli flakes in a small saucepan. Bring to a gentle simmer over a medium heat. Stir in the cornflour mixture. Cook for one to two minutes until the glaze thickens slightly and becomes glossy. It should coat the back of a spoon and feel slightly sticky.
Step 4 — Glaze and Return to the Oven
Remove the wings from the oven. Transfer from the rack to a lined roasting tray — the glaze needs to surround the wings rather than drip through the rack. Pour the glaze over the wings and toss to coat every surface.
Return to the oven for eight to ten minutes until the glaze is deeply caramelised, slightly charred at the edges, and the wings look genuinely sticky and glossy.
Step 5 — Serve
Scatter with sesame seeds and spring onions. Serve with lime wedges and plenty of napkins.
My Top Tips For Perfect Sticky Chicken Wings
Pat the wings completely dry before seasoning. Wet wings steam in the oven rather than crisping. The dryer the skin, the crispier the finished wing.
Use a wire rack for the initial roast. Elevating the wings on a rack allows hot air to circulate under them and crisps the underside as well as the top. Wings sitting in their own fat on a flat tray go soft on the bottom.
Refrigerate the seasoned wings uncovered. One hour minimum, overnight ideally. The uncovered refrigeration dries the skin surface further — the single most effective thing you can do for crispy wings short of deep frying.
Thicken the glaze with cornflour. A thin, unthickened glaze runs off the wings and pools in the tray. A slightly thickened glaze clings to every surface and caramelises evenly.
Transfer to a flat tray before glazing. The glaze needs to surround and coat the wings. A wire rack lets too much glaze drip away. Transfer to a lined flat tray for the final glazing stage.
Serving Suggestions
As a starter or party food — piled on a board with the garnishes alongside. As a main with steamed rice and cucumber ribbons. As part of a sharing spread alongside other small plates.
How to Store Sticky Chicken Wings
In the fridge: Store for up to 2 days. Reheat in a 200°C oven for 10 minutes on a wire rack to restore crispness.
Freezing: Freeze cooked wings before glazing for up to 2 months. Reheat from frozen at 200°C for 15 minutes then glaze and return to the oven for 8 to 10 minutes.
Frequently Asked Questions
Can I deep fry instead of oven roast?
Yes — fry at 180°C for 8 to 10 minutes until golden and cooked through. Drain, toss in the glaze, and serve immediately.
Can I make these on the barbecue?
Yes — cook the wings directly over medium heat for 20 to 25 minutes turning frequently. Brush with glaze in the final five minutes and cook until caramelised.
How do I know when the wings are cooked through?
The meat should pull away cleanly from the bone and the juices should run clear when pierced. An internal temperature of 75°C at the thickest part confirms they are done.
Try These Recipes
- Mary Berry Chicken And Broccoli Bake
- Mary Berry Chicken Marinade
- Mary Berry Chicken Tagine
- Mary Berry Pot Roast Chicken
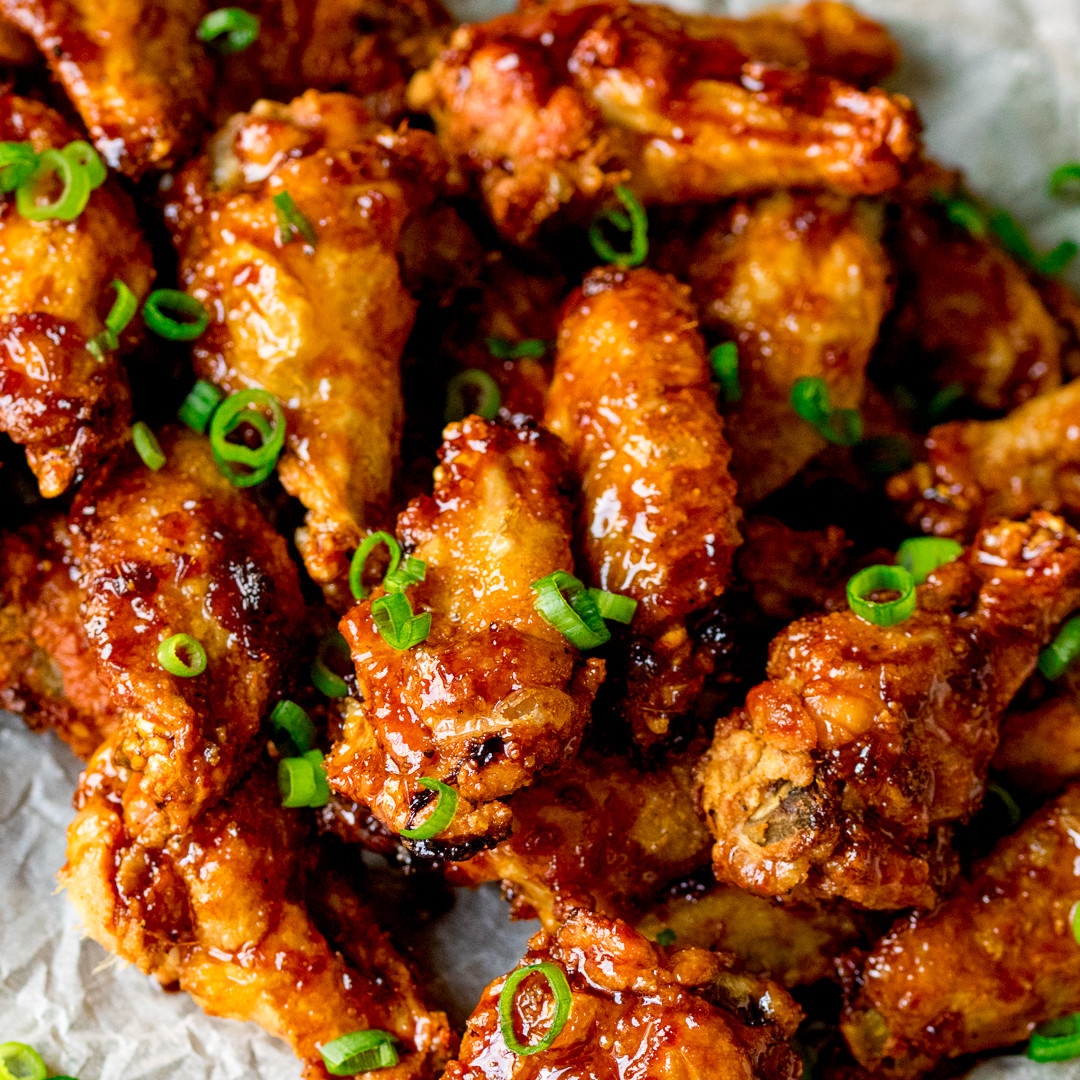
Mary Berry Sticky Chicken Wings Recipe
Ingredients
Method
- Pat wings completely dry. Toss with salt, garlic powder, pepper, and oil. Spread on a wire rack over a tray. Refrigerate uncovered 1 hour minimum.
- Preheat oven to 220°C / 200°C fan / Gas 7. Roast wings on rack 35–40 minutes, turning once, until skin is golden and fat has rendered.
- Simmer all glaze ingredients in a small pan. Add cornflour mixture — cook 1–2 minutes until slightly thickened and glossy.
- Transfer wings to a lined tray. Pour glaze over — toss to coat. Return to oven 8–10 minutes until deeply caramelised.
- Scatter sesame seeds and spring onions. Serve with lime wedges.













Leave a Reply