
 Anna Louise
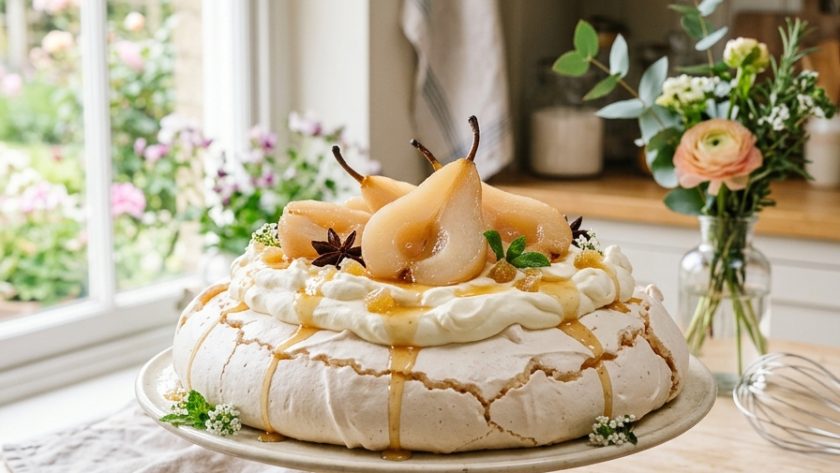
 The pear pavlova is the autumnal version of the classic summer pavlova and it is considerably more interesting than its better-known counterpart. Where a strawberry or raspberry pavlova is straightforwardly sweet and vivid.
The pear pavlova has a more complex, more refined character — the pears caramelised in butter, sugar, and a little vanilla until deeply golden and fragrant, arranged over the whipped cream with a drizzle of the caramel left in the pan.
Pear and meringue is a combination that is underused in British baking. The lightness of the crispy-shelled, marshmallow-centred meringue against the soft, intensely caramelised pear and the cold, billowy cream is a genuinely exceptional combination — more layered and more interesting than the strawberry version that most people default to.
Mary Berry’s meringue method gives a pavlova with the characteristic crispy shell and marshmallow centre that defines the dish. The pear topping transforms it into something that is both more seasonal and more special.
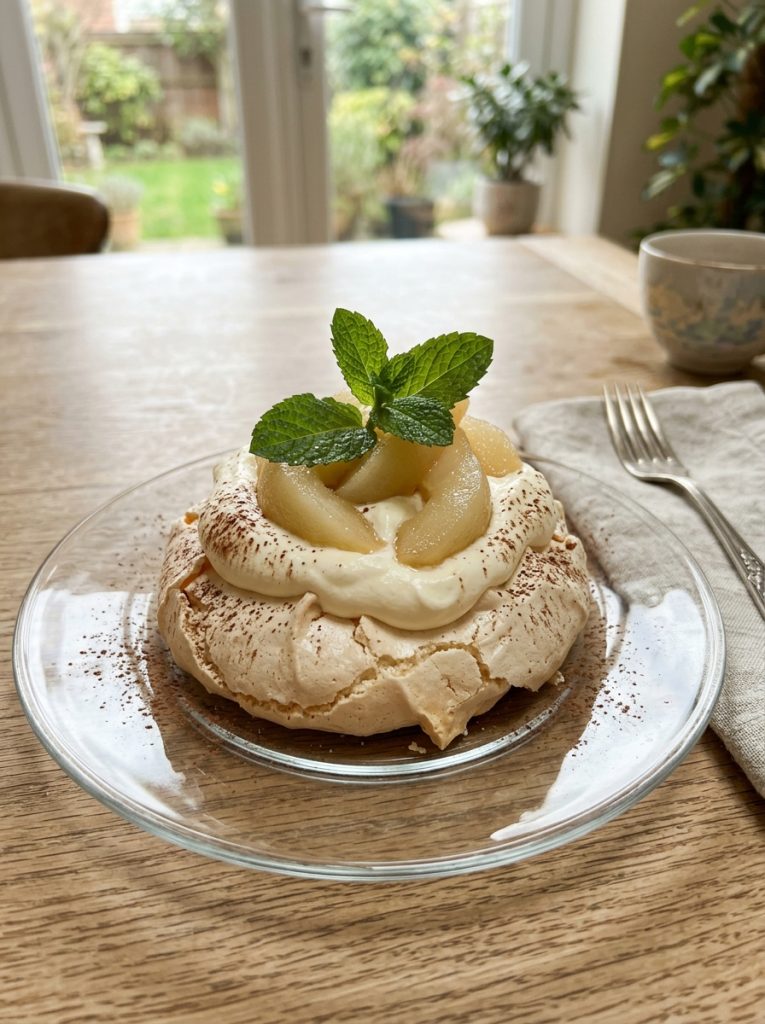
Ingredients for Mary Berry Pear Pavlova
For the Pavlova Meringue
- 4 large egg whites — at room temperature
- Pinch of fine salt
- 225g golden caster sugar — added one tablespoon at a time
- 2 tsp cornflour
- 1 tsp white wine vinegar
- 1 tsp vanilla extract
For the Caramelised Pear Topping
- 4 ripe but firm pears — Conference or Comice — peeled, cored, and cut into quarters or sixths
- 50g unsalted butter
- 75g soft light brown sugar
- 1 tsp vanilla extract
- ½ tsp ground cinnamon
- Juice of ½ lemon
For the Cream
- 400ml double cream, cold
- 2 tbsp icing sugar
- 1 tsp vanilla extract
To Finish
- A drizzle of the caramel from the pear pan
- 25g toasted flaked almonds or chopped pistachios
- A dusting of icing sugar
How to Make Mary Berry Pear Pavlova
Step 1 — Make the Meringue Base
Preheat your oven to 150°C / 130°C fan / Gas 2. Line a large baking tray with baking parchment. Draw a 25cm circle on the parchment as a guide — flip the paper so the pencil mark is face down.
In a large, completely clean bowl — no trace of fat or egg yolk — whisk the egg whites with the salt on medium speed until they reach soft peaks. Increase to high speed. Add the golden caster sugar one tablespoon at a time — whisk for 30 seconds between each addition. The meringue should be thick, glossy, and completely smooth between your fingers after all the sugar is added.
Add the cornflour, white wine vinegar, and vanilla extract. Fold in gently with a large metal spoon — just enough to incorporate.
Spoon the meringue onto the lined tray within the circle. Spread to the edges of the circle. Build up the sides slightly higher than the centre — creating a shallow well that holds the cream and pears. Smooth the sides with a palette knife.
Step 2 — Bake and Cool
Place in the oven. Immediately reduce the temperature to 120°C / 100°C fan / Gas ½. Bake for 1 hour 15 minutes until the outside is crisp and the meringue has a slight colour.
Turn the oven off. Leave the pavlova inside the oven with the door very slightly ajar — wedged open with a wooden spoon — until completely cool. At least two hours. Overnight is better. This slow cooling prevents cracking.
Step 3 — Caramelise the Pears
Melt the butter in a large, wide frying pan over a medium heat. Add the soft light brown sugar and stir until dissolved — two to three minutes. Add the pear pieces, vanilla, and cinnamon.
Cook for eight to ten minutes, turning the pear pieces occasionally, until they are deeply golden, slightly caramelised at the edges, and tender throughout. Add the lemon juice — stir through. Remove from the heat. Leave to cool to room temperature. Reserve any caramel remaining in the pan.
Step 4 — Assemble
Transfer the cooled pavlova to a serving plate — slide a palette knife carefully under the parchment to loosen.
Whip the cold double cream, icing sugar, and vanilla to soft, billowy peaks. Spoon generously over the pavlova surface, filling the shallow well and spreading to the edges.
Arrange the cooled caramelised pear pieces over the cream — distributed evenly. Drizzle any remaining caramel from the pan over the pears and cream. Scatter toasted flaked almonds or pistachios. Dust lightly with icing sugar.
Serve within two hours of assembling.
My Top Tips For Perfect Pear Pavlova
Add the sugar one tablespoon at a time. This is the most important technique instruction for a stable pavlova meringue. Adding sugar too quickly gives a meringue that is not properly stable and can weep or collapse. One tablespoon at a time, 30 seconds of whisking between each, gives a thick, glossy, completely stable meringue.
The cornflour and vinegar are what give the marshmallow centre. Both are essential. Cornflour absorbs moisture and gives the characteristic soft, slightly sticky interior. White wine vinegar stabilises the meringue structure. Without both, the pavlova is simply a meringue — good, but without the specific texture that makes a pavlova what it is.
Cool in the oven with the door ajar. Sudden temperature change causes pavlova to crack dramatically. The slow cool in the turned-off oven gives a much more stable, much less cracked result.
Caramelise the pears properly. Pale, barely-coloured pears on top of a pavlova give a limp, slightly undercooked result. Properly caramelised — deeply golden, slightly sticky, fragrant with vanilla and cinnamon — they give a completely different and genuinely wonderful topping.
Assemble no more than two hours before serving. The cream will begin to soften the meringue shell beyond this point and the pavlova will lose its textural contrast. Assemble close to the time of serving.
Serving Suggestions
At a dinner party as the centrepiece dessert — it is genuinely spectacular on the table. At a celebration in autumn when pears are at their best. With a small glass of Sauternes alongside — pear and Sauternes is a perfect combination.
How to Store Mary Berry Pear Pavlova
Unassembled meringue base: Store in an airtight container at room temperature for up to 3 days. Do not refrigerate — moisture causes the crisp shell to soften.
Caramelised pears: Store in the fridge for up to 2 days. Bring to room temperature before assembling.
Assembled pavlova: Best eaten within 2 hours of assembly.
Try These Recipes
- Mary Berry Apple Crumble Tart
- Mary Berry Apple And Cinnamon Crumble
- Mary Berry Air Fryer Lemon Drizzle Cake
- Mary Berry Apple And Rhubarb Crumble
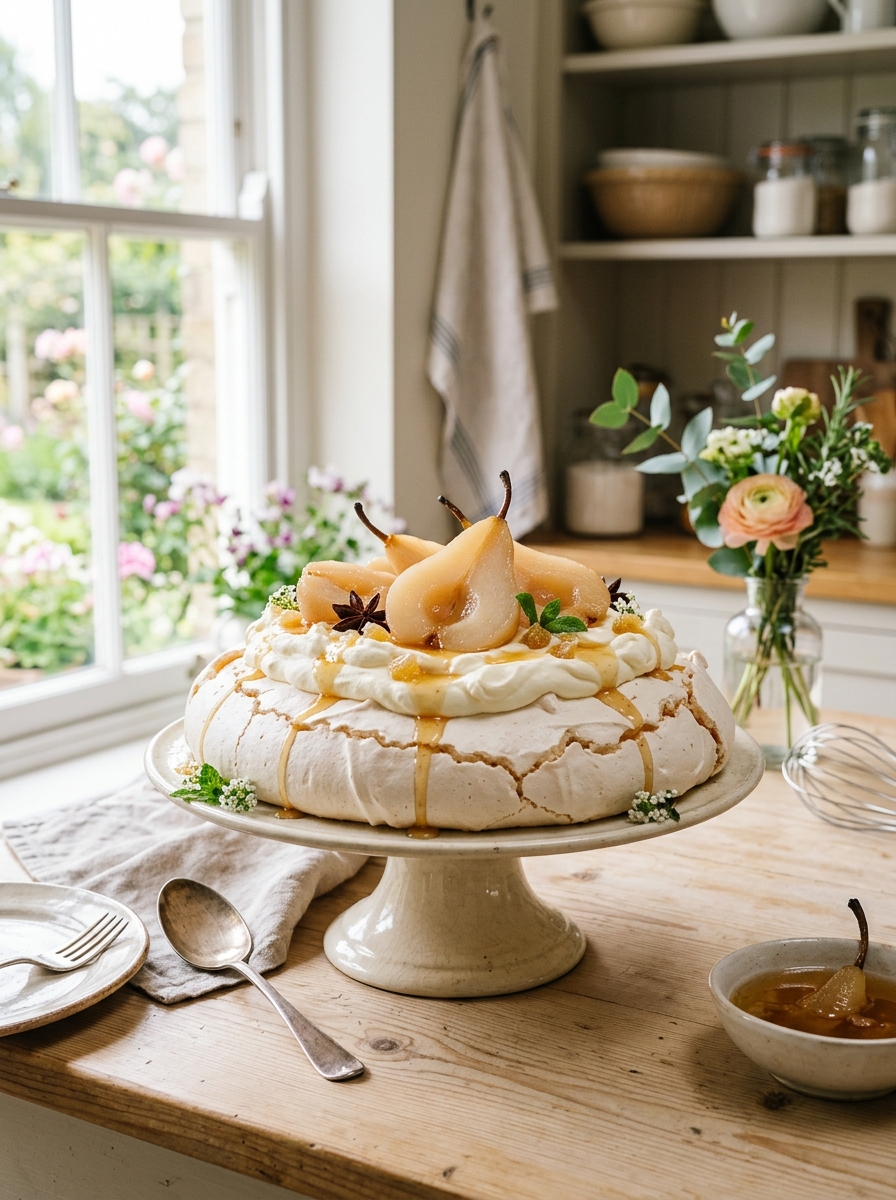
Mary Berry Pear Pavlova Recipe
Ingredients
Method
- Preheat oven to 150°C / 130°C fan / Gas 2. Line baking tray with parchment — draw 25cm circle, flip paper.
- Whisk egg whites with salt to soft peaks. Increase speed — add sugar 1 tbsp at a time, 30 seconds between each, until thick, glossy, and smooth. Fold in cornflour, vinegar, and vanilla.
- Spoon onto tray within circle — build sides slightly higher than centre. Reduce oven to 120°C / 100°C fan / Gas ½ immediately. Bake 1 hour 15 minutes until outside is crisp. Turn oven off — leave door very slightly ajar. Cool completely — 2 hours minimum, overnight ideal.
- Melt butter and brown sugar in a wide pan — 2–3 minutes. Add pear pieces, vanilla, and cinnamon. Cook 8–10 minutes turning occasionally until deeply golden and tender. Add lemon juice. Cool to room temperature.
- Whip cold cream, icing sugar, and vanilla to soft peaks. Spoon over pavlova surface — spread to edges.
- Arrange caramelised pears over cream. Drizzle reserved caramel. Scatter nuts. Dust with icing sugar. Serve within 2 hours.
Notes
Frequently Asked Questions
Can I make the pavlova base ahead?
Yes — the meringue base can be made up to three days ahead and stored in an airtight container at room temperature. Assemble on the day of serving.
Can I use tinned pears?
Tinned pears are too soft and too wet for this recipe — they collapse on the pavlova rather than sitting attractively on the cream. Fresh, ripe but firm pears are essential.
Can I add ginger to the caramel?
Yes — a teaspoon of finely grated fresh ginger added with the butter and sugar gives a pear and ginger caramel that is completely wonderful.
What if my meringue cracks?
Cracks are normal in a pavlova — cover with cream and pears and they are invisible. If the entire shell has collapsed, it may have been underbaked or cooled too quickly. The flavour is unaffected.













Leave a Reply