
 Anna Louise
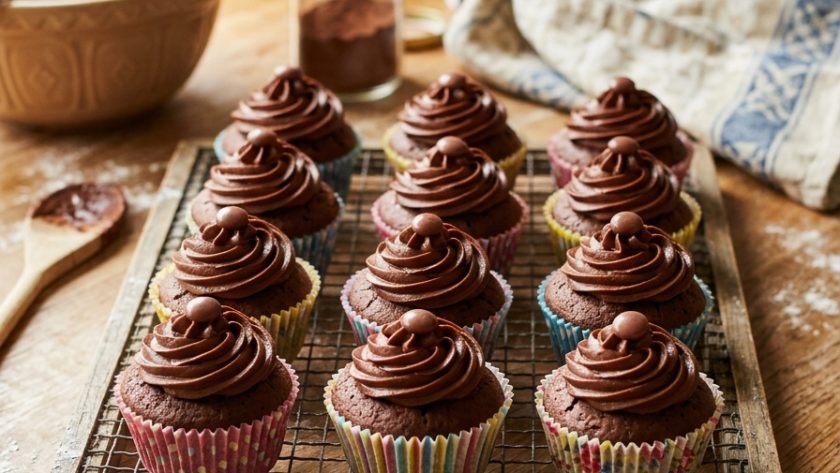
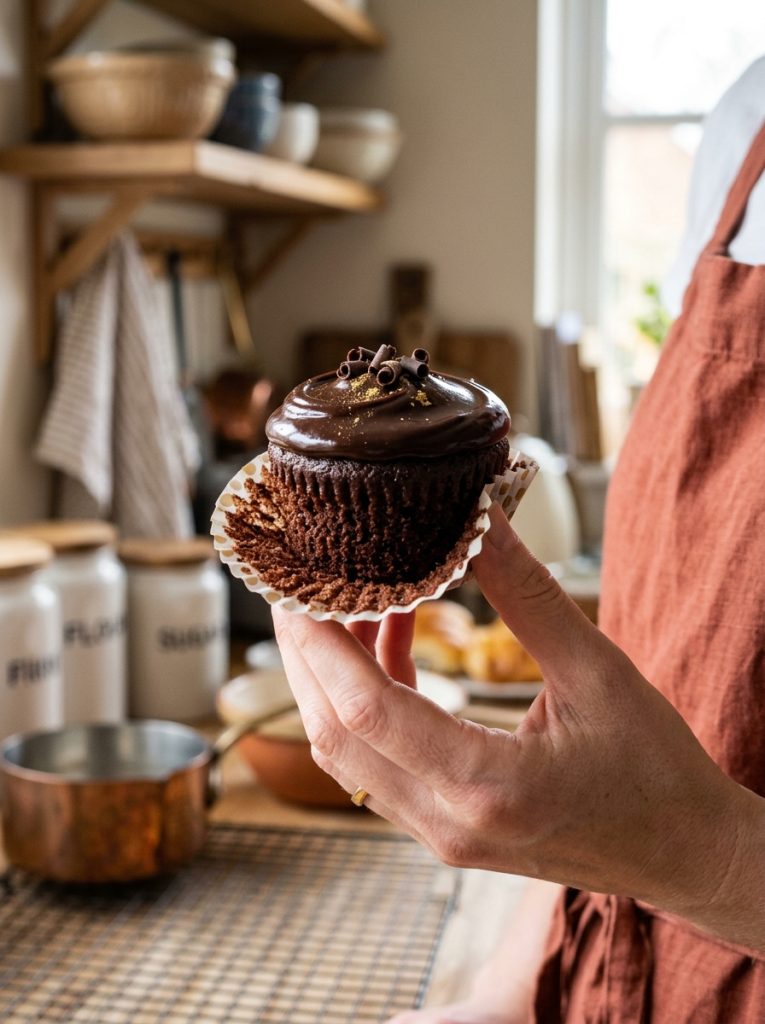
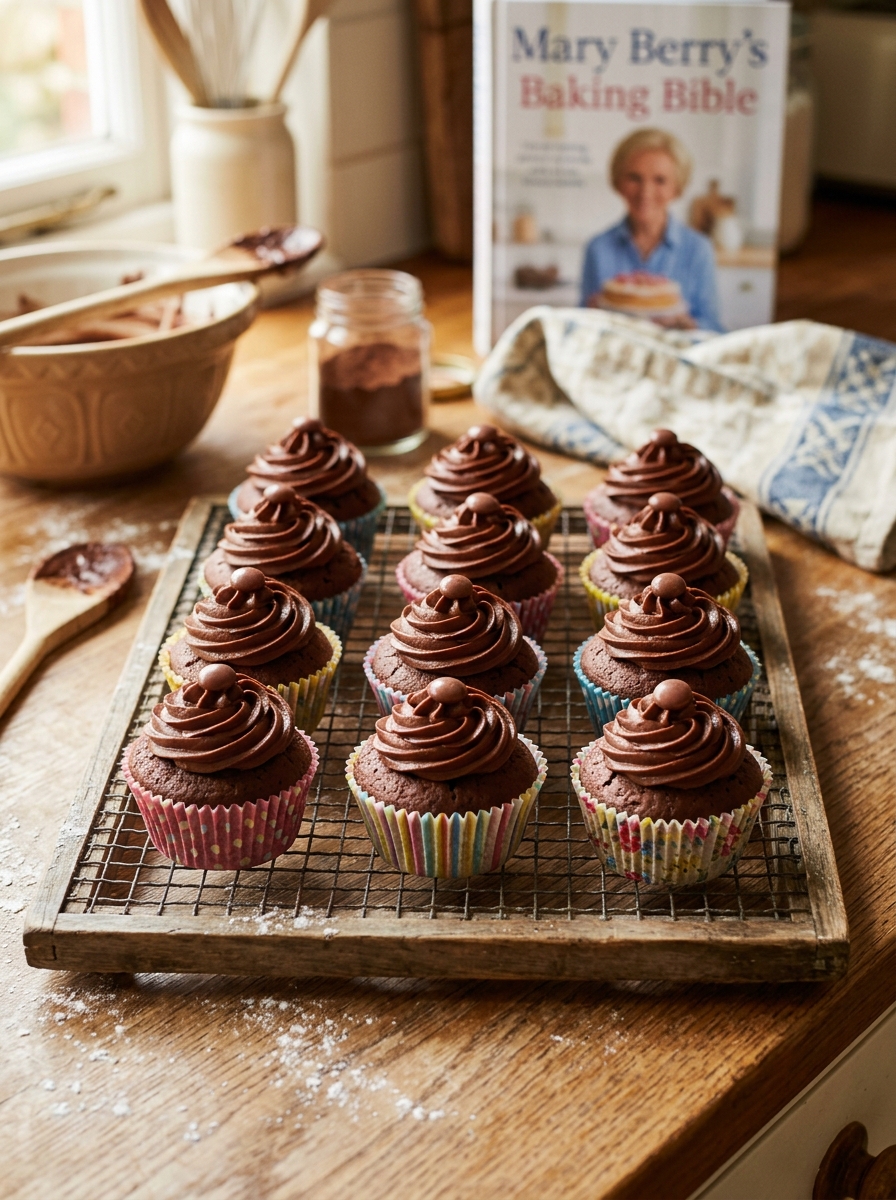
 Chocolate fairy cakes are the bake that most people in Britain associate with childhood — smaller than a cupcake, lighter in texture, filled with a simple chocolate buttercream swirled with a fork or a spoon rather than piped with professional precision.
They are the bake that appears at children’s birthday parties, at school bake sales, and at any occasion where something quick, simple, and universally loved is required.
The fairy cake is different from a cupcake. It is smaller — baked in a shallow bun tin rather than a deep muffin tin — and the sponge is lighter and more delicate. The buttercream is a generous swirl rather than an architectural peak.
The whole thing is approximately half the size of an American-style cupcake and considerably more approachable for both making and eating.
Mary Berry’s chocolate fairy cakes use a light all-in-one sponge with cocoa powder, topped with a simple chocolate buttercream. They are ready in thirty-five minutes from start to finish.
Ingredients for Mary Berry Chocolate Fairy Cakes
For the Chocolate Fairy Cakes (Makes 18)
- 100g unsalted butter, softened
- 100g golden caster sugar
- 2 large eggs, at room temperature
- 85g self-raising flour, sifted
- 15g good quality cocoa powder, sifted
- 1 tsp baking powder
- 2 tbsp whole milk
- 1 tsp vanilla extract
For the Chocolate Buttercream
- 150g unsalted butter, softened
- 250g icing sugar, sifted twice
- 30g good quality cocoa powder, sifted
- 2–3 tbsp whole milk
- 1 tsp vanilla extract
To Decorate
- Chocolate sprinkles
- Sugar strands
- Chocolate buttons or Smarties
- Silver or gold edible balls
How to Make Mary Berry Chocolate Fairy Cakes
Step 1 — Preheat and Prepare
Preheat your oven to 180°C / 160°C fan / Gas 4. Line two twelve-hole shallow bun tins with eighteen small paper cases — fairy cake cases rather than muffin cases.
Step 2 — Make the Sponge Batter
Place the softened butter, golden caster sugar, eggs, sifted flour, sifted cocoa powder, baking powder, milk, and vanilla extract in a large mixing bowl. Beat with an electric hand whisk for two minutes until smooth, pale, and well combined. The batter should be smooth and drop off the beaters in soft ribbons.
Step 3 — Fill and Bake
Divide the batter evenly between the eighteen paper cases — each one should be filled about two-thirds full. A teaspoon is the right tool for neat, consistent filling.
Bake for 12 to 14 minutes until risen, set, and a skewer inserted into the centre comes out clean. The tops should be barely golden rather than deeply coloured — fairy cakes are delicate and overbaking dries them quickly.
Leave to cool in the tins for five minutes. Transfer to a wire rack and cool completely before buttercreaming — at least thirty minutes.
Step 4 — Make the Chocolate Buttercream
Beat the softened butter alone for four full minutes until very pale and fluffy. Add the double-sifted icing sugar and cocoa powder in two batches, beating well after each. Add the vanilla extract and enough milk to bring the buttercream to a smooth, soft, easily spreadable consistency — it should be slightly softer than piping buttercream. Beat for two more minutes.
Step 5 — Frost the Fairy Cakes
For the classic fairy cake finish — spoon a generous teaspoon of buttercream onto each cold fairy cake and swirl with the back of a spoon or a small palette knife in a relaxed, informal circular motion. The swirl should look generous and casual rather than precise.
Decorate immediately with chocolate sprinkles, sugar strands, Smarties, or whatever decoration is available. With children, allow them to decorate their own — this is the best possible use of the decorating step.
My Top Tips For Right Chocolate Fairy Cakes
Use fairy cake cases in a shallow bun tin — not muffin cases. Fairy cakes are smaller and shallower than muffins. Muffin cases in a deep muffin tin give a larger, heavier cake that is technically a cupcake rather than a fairy cake. Shallow bun tins with small fairy cake cases give the right proportion.
Fill two-thirds full. Fairy cake cases filled more than two-thirds give flat-topped cakes that overflow slightly. Two-thirds gives a nicely risen, slightly domed top.
Beat the butter for four minutes before adding icing sugar. The same instruction as every buttercream recipe — because it matters every time. Four minutes of beating butter alone gives a pale, fluffy base that makes the chocolate buttercream light rather than dense.
The buttercream should be softer than piping consistency. Fairy cake buttercream is spread rather than piped and needs to be slightly softer than a piping buttercream. It should spread easily from the back of a spoon in a generous, informal swirl.
Decorate immediately after frosting. Decorations pressed into freshly spread buttercream adhere perfectly. Decorations placed on buttercream that has begun to set sit on top and fall off.
These are best eaten on the day. Fairy cakes are most delicious within a few hours of baking when the sponge is light and the buttercream is fresh.
Serving Suggestions
At a children’s birthday party — arranged on a tiered stand or a flat board. At a school bake sale — they sell faster than anything else. As an afternoon treat for any age. At any occasion where small, individually portioned chocolate cakes are appropriate.
How to Store Chocolate Fairy Cakes
At room temperature: Store in an airtight container for up to 2 days. Best eaten on the day of baking.
In the freezer: Freeze unfrosted fairy cakes individually wrapped for up to 3 months. Defrost at room temperature and buttercream fresh.
Try These Recipes
- Mary Berry Coconut Loaf Cake
- Mary Berry Apple And Blackberry Cake
- Mary Berry Dairy Free Chocolate Cake
- Mary Berry Chocolate Mousse Cake
Mary Berry Chocolate Fairy Cakes Recipe
Ingredients
Method
- Preheat oven to 180°C / 160°C fan / Gas 4. Line two shallow bun tins with 18 small fairy cake cases.
- Place all sponge ingredients in a large bowl. Beat with electric whisk 2 minutes until smooth and combined.
- Divide batter between 18 cases — two-thirds full. Bake 12–14 minutes until risen and skewer comes out clean. Cool in tins 5 minutes. Transfer to wire rack — cool completely.
- Beat softened butter alone 4 minutes until pale and fluffy. Add icing sugar and cocoa powder in 2 batches — beat well. Add vanilla and milk — beat 2 more minutes until smooth and soft.
- Spoon buttercream onto each cooled fairy cake — swirl with the back of a spoon in a generous, relaxed circular motion. Decorate immediately with sprinkles, Smarties, or chosen decorations.
Notes
Frequently Asked Questions
Can I make butterfly cakes instead of swirled buttercream?
Yes — cut a small cone from the top of each fairy cake. Cut the cone in half. Pipe or spoon buttercream into the hollow. Press the two half-cone pieces into the buttercream at an angle to create butterfly wings. Dust with icing sugar.
Can I use vanilla sponge instead of chocolate?
Yes — replace the cocoa powder with an extra 15g of self-raising flour and use vanilla buttercream. All other quantities and the method remain identical.
Can I add chocolate chips to the batter?
Yes — fold 50g of dark or milk chocolate chips through the finished batter for extra pockets of chocolate in each fairy cake.
Why are my fairy cakes sinking slightly in the middle?
Either the oven door was opened too early, there was too much liquid in the batter, or the baking powder was not fresh. Do not open the oven before ten minutes and check the baking powder date.













Leave a Reply