
 Anna Louise
 I have made this cake for people who do not eat gluten and watched them take a bite waiting for disappointment — and seen their face change when they realise it is genuinely good. Not “good for a gluten-free cake.” Just good.
That is what this recipe does. It takes the classic Victoria sponge — butter, sugar, eggs, flour, jam, buttercream — and swaps one ingredient. The flour. Everything else stays exactly the same.
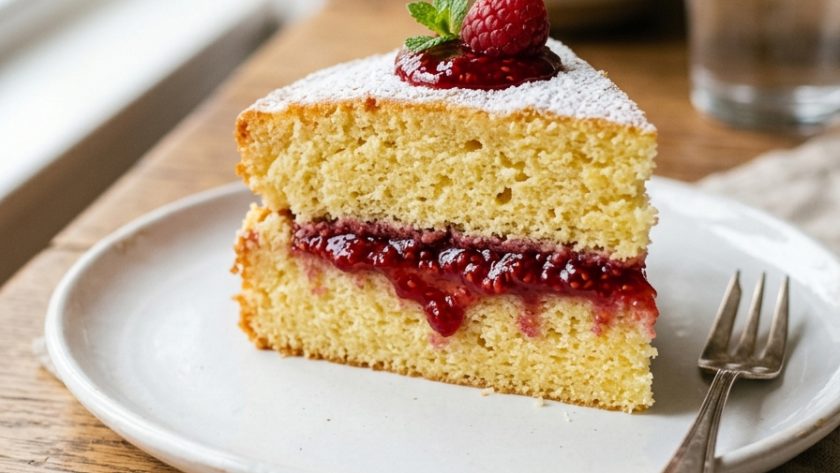
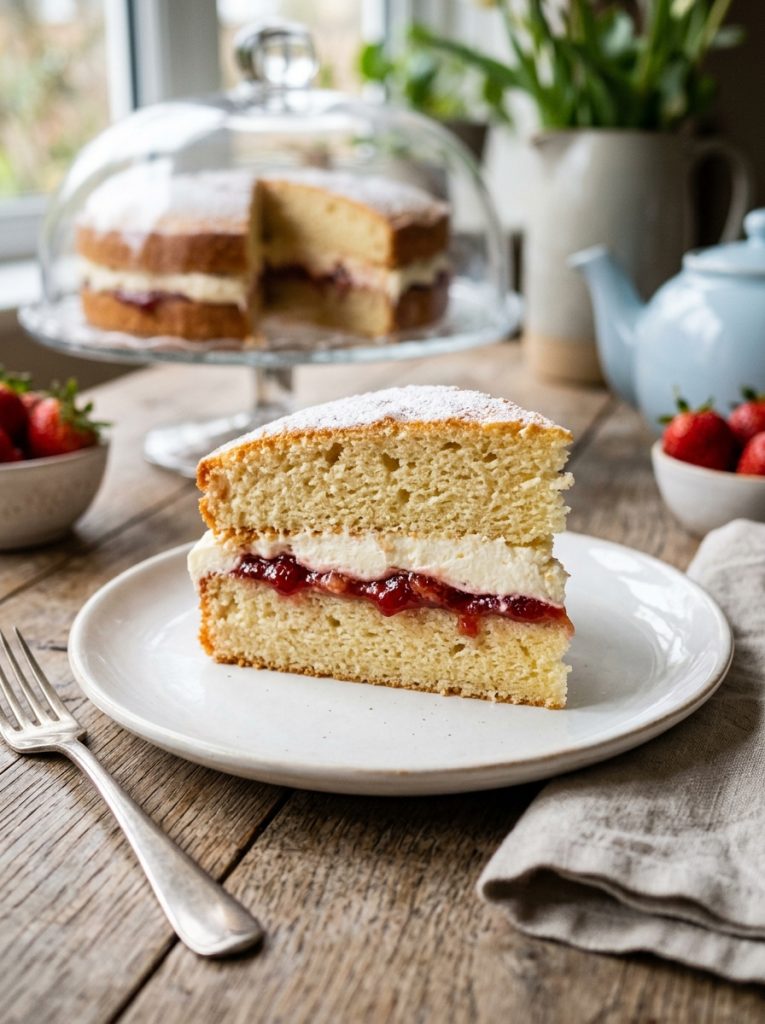
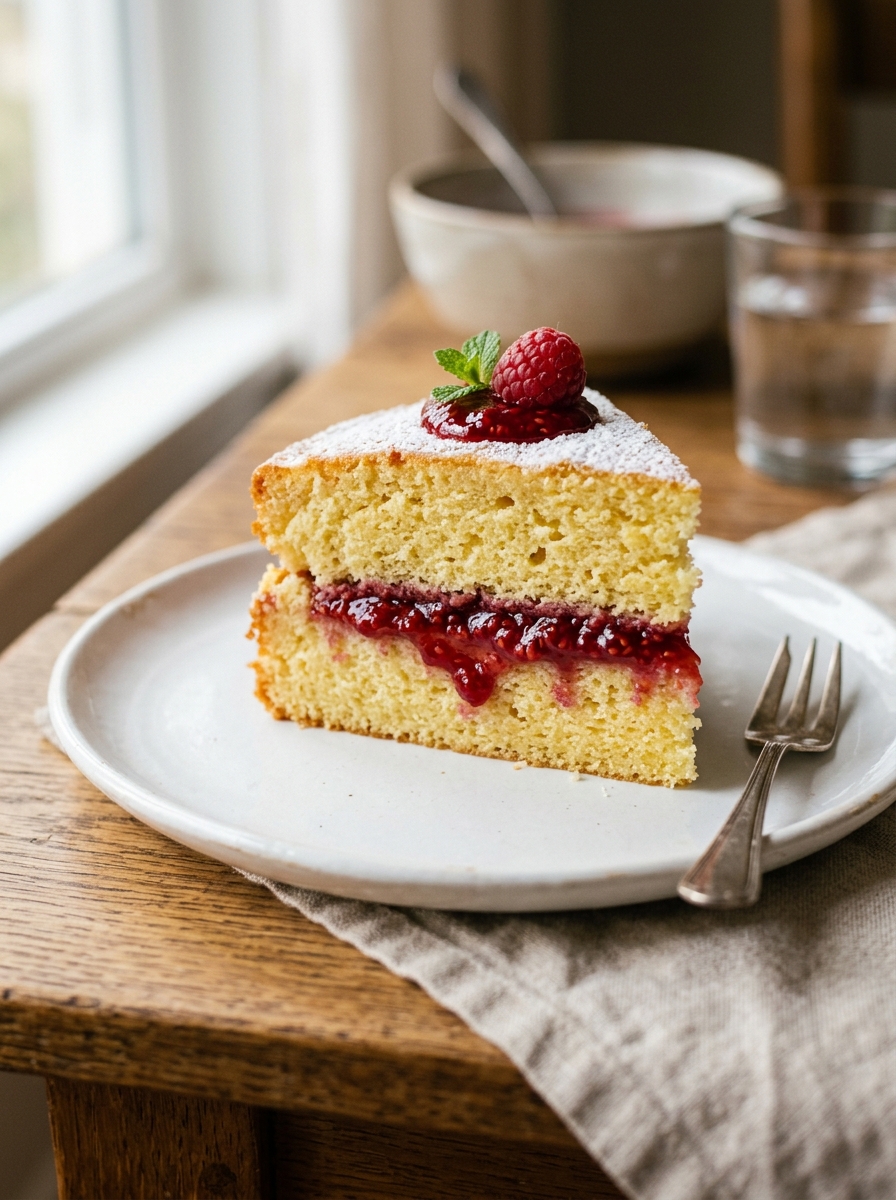
The result is a light, properly risen sponge with a soft crumb, sandwiched with raspberry jam and vanilla buttercream, that most people at a table would not identify as gluten-free.
The key is using the right flour blend and understanding two small differences in technique. Get those right and the rest is exactly what you already know.
The Two Things That Make Gluten-Free Sponge Work
The right flour. Doves Farm Freee gluten-free self-raising flour is the one I use. It already contains xanthan gum, which binds the batter in the absence of gluten. Without xanthan gum your sponge crumbles — it will not hold together when sliced.
Do not overbake. Gluten-free sponges dry out faster than regular ones. Pull the cake out the moment the skewer comes out clean. Three extra minutes is the difference between moist and dry.
Ingredients for Mary Berry Gluten Free Sponge Cake
For the Sponge
- 225g unsalted butter, softened
- 225g caster sugar
- 4 large eggs, at room temperature
- 225g gluten-free self-raising flour (Doves Farm Freee)
- ¼ tsp xanthan gum (only if your flour does not already contain it — check the packet)
- 2 tsp gluten-free baking powder
- 2 tbsp whole milk
- 1 tsp vanilla extract
For the Filling
- 4 tbsp good quality raspberry jam
- 150g unsalted butter, softened
- 300g icing sugar, sifted
- 1 tsp vanilla extract
- 1–2 tbsp whole milk
To Finish
- Icing sugar, for dusting
- Fresh raspberries (optional)
How to Make Mary Berry Gluten Free Sponge Cake — Step by Step
Step 1 — Preheat and Prepare
Preheat your oven to 180°C / 160°C fan / Gas 4. Grease two 20cm round sandwich tins and line the bases with baking parchment.
Step 2 — Make the Batter
Place the softened butter, caster sugar, eggs, gluten-free flour, xanthan gum if using, baking powder, milk, and vanilla into a large bowl. Beat with an electric hand whisk for two to three minutes until smooth and pale. Scrape down the sides once during mixing.
The batter will look slightly thicker than a standard Victoria sponge batter. This is normal for gluten-free flour — do not add extra milk to thin it unless it looks very stiff.
Step 3 — Bake
Divide equally between the two prepared tins — weigh them for perfectly even layers. Smooth the tops and bake on the middle shelf for 22 to 26 minutes. Check at 22 minutes. The sponges are done when they are golden, risen, spring back when pressed lightly in the centre, and a skewer comes out clean.
Remove immediately. Do not give them an extra few minutes — gluten-free sponges dry out quickly.
Step 4 — Cool
Leave in the tins for 10 minutes, then turn out onto a wire rack. Cool completely before filling — at least 45 minutes.
Step 5 — Make the Buttercream
Beat the softened butter alone for three to four minutes until pale and fluffy. Add the sifted icing sugar in two batches, beating well after each. Add vanilla and enough milk to bring it to a smooth, spreadable consistency.
Step 6 — Assemble
Place one sponge on your serving plate. Spread the raspberry jam evenly over the surface. Spread or pipe the buttercream over the jam. Place the second sponge on top and press down gently. Dust with icing sugar and add fresh raspberries to decorate if using.
My Top Tips For Gluten Free Sponge Cake
Check the xanthan gum. Look at the back of your flour packet. If xanthan gum is in the ingredients list, you do not need to add any extra. If it is not listed, add ¼ teaspoon per 100g of flour — approximately 0.55 teaspoons for this recipe.
Weigh the batter between tins. Gluten-free sponges are slightly less forgiving than standard ones — an uneven layer is harder to level after baking. Take 30 seconds to weigh each tin as you fill it.
Check earlier than you think. Set your timer for 22 minutes and check the cake then. The skewer test is your guide — the moment it comes out clean, the cake comes out of the oven.
Bring everything to room temperature. Cold butter and cold eggs both make the batter harder to combine smoothly. Take everything out of the fridge an hour before you start.
Do not add too much milk. The batter will look thicker than a standard Victoria sponge. This is correct. Add the milk specified and stop — a gluten-free batter that is too loose will not rise evenly.
Serving Suggestions
On a cake stand at afternoon tea — it looks exactly like a Victoria sponge and needs no explanation or apology. As a birthday cake for someone who cannot eat gluten — pipe the buttercream into rosettes on top and add candles. Served in generous slices with a cup of tea.
How to Store Mary Berry Gluten Free Sponge Cake
At room temperature: Store in an airtight container for up to 3 days. Gluten-free sponge can dry out slightly faster than standard, so make sure the container is well sealed.
In the freezer: Freeze the unfilled sponge layers for up to 3 months, wrapped tightly in cling film and foil. Fill and assemble fresh once defrosted.
Try These Recipes
Mary Berry Gluten Free Sponge Cake Recipe
Ingredients
Method
- Preheat oven to 180°C / 160°C fan / Gas 4. Grease and line two 20cm sandwich tins.
- Place butter, sugar, eggs, flour, xanthan gum if using, baking powder, milk, and vanilla in a large bowl. Beat 2–3 minutes until smooth and pale.
- Divide equally between tins. Smooth tops. Bake 22–26 minutes — check at 22 minutes. Remove the moment the skewer comes out clean.
- Cool in tins 10 minutes. Turn out onto a wire rack. Cool completely.
- Beat butter 3–4 minutes until pale. Add icing sugar in two batches. Add vanilla and milk until smooth.
- Spread jam on one sponge. Add buttercream. Place second sponge on top. Dust with icing sugar.
Notes
Frequently Asked Questions
Will people know it is gluten-free?
Most will not. The texture is very slightly denser than a standard Victoria sponge — not noticeably so, but if you eat both side by side there is a subtle difference. On its own, it is simply a good cake.
Can I use a different gluten-free flour?
You can, but results vary significantly between brands. Doves Farm Freee gives the most consistently good result for a sponge cake. Other blends may work but I cannot vouch for all of them.
Why did my sponge crack on top?
The oven was slightly too hot or the batter was slightly too thick. Check your oven temperature with a thermometer — many ovens run hot — and add the milk specified to ensure the batter is the right consistency.
Can I make this dairy-free as well?
Yes — use a dairy-free block butter (Flora Plant) and plant-based milk. The texture changes very slightly but the result is still good, and the cake becomes both gluten-free and dairy-free.
Can I add lemon to the sponge?
Yes — add the zest of one unwaxed lemon to the batter and replace the jam with lemon curd for a gluten-free lemon sponge that is absolutely wonderful.
Can I make this as a traybake?
Yes — pour the batter into a greased and lined 30x20cm traybake tin and bake for 30 to 35 minutes. Top with buttercream and cut into squares.














Leave a Reply