
 Anna Louise
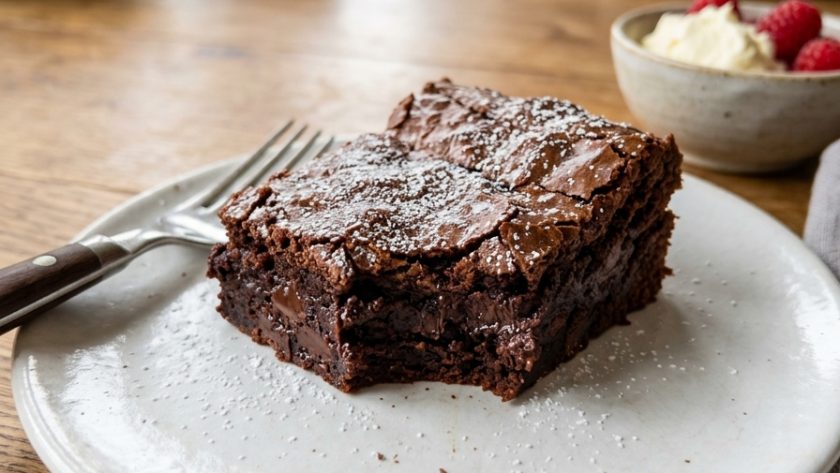
 I have made a lot of brownie recipes over the years and the ones I keep coming back to share a few things in common. Good quality dark chocolate. More butter than feels reasonable.
Less flour than you think you need. And — this is the important one — being taken out of the oven while they still look slightly underdone in the centre.
That last point is where most brownie recipes go wrong. People wait until a skewer comes out clean, the way you would with a cake, and end up with something that is pleasant but dry and cakey rather than the fudgy, slightly dense, intensely chocolatey thing that a great brownie should be.
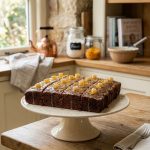
Mary Berry’s chocolate brownie traybake gets this right. The recipe is built for fudginess — a high ratio of chocolate and butter to flour, with a little cocoa added alongside the melted chocolate for extra depth.
The bake time is deliberately short. And the brownie is left in the tin to cool completely before cutting, which is how the centre sets to that perfect fudgy consistency while the edges give you a slightly crispier bite.
The Secret to Fudgy Brownies
High fat, low flour. Flour develops structure. A brownie with a lot of flour is cakey and dry. A brownie with very little flour has a dense, fudgy, almost truffle-like texture. This recipe uses 100g of flour for 200g of chocolate and 175g of butter. That ratio is deliberately imbalanced in favour of fat, and the result is extraordinary.
Underbake them. The skewer test that works for cakes does not apply here. A brownie skewer should come out with a few moist crumbs clinging to it — not clean. Clean means overdone. Moist crumbs mean perfect.
Cool completely in the tin. The brownie firms up as it cools. Cutting it warm gives you something that falls apart. Cutting it completely cool — ideally after an hour in the tin — gives you clean, beautiful squares.
Ingredients for Mary Berry Chocolate Brownie Traybake
For the Brownies
- 200g good quality dark chocolate (70% cocoa solids), finely chopped
- 175g unsalted butter, cut into cubes
- 300g golden caster sugar
- 3 large eggs plus 1 large egg yolk, beaten together
- 1 tsp vanilla extract
- 100g plain flour, sifted
- 30g good quality cocoa powder, sifted
- ½ tsp fine salt
- 100g dark or milk chocolate chips or chunks (optional — for extra pockets of chocolate)
Optional Additions
- 75g walnuts, roughly chopped — stir in with the flour
- 75g dried sour cherries — stir in with the flour
- A pinch of sea salt flakes scattered over the top before baking
How to Make Mary Berry Chocolate Brownie Traybake
Step 1 — Preheat and Prepare
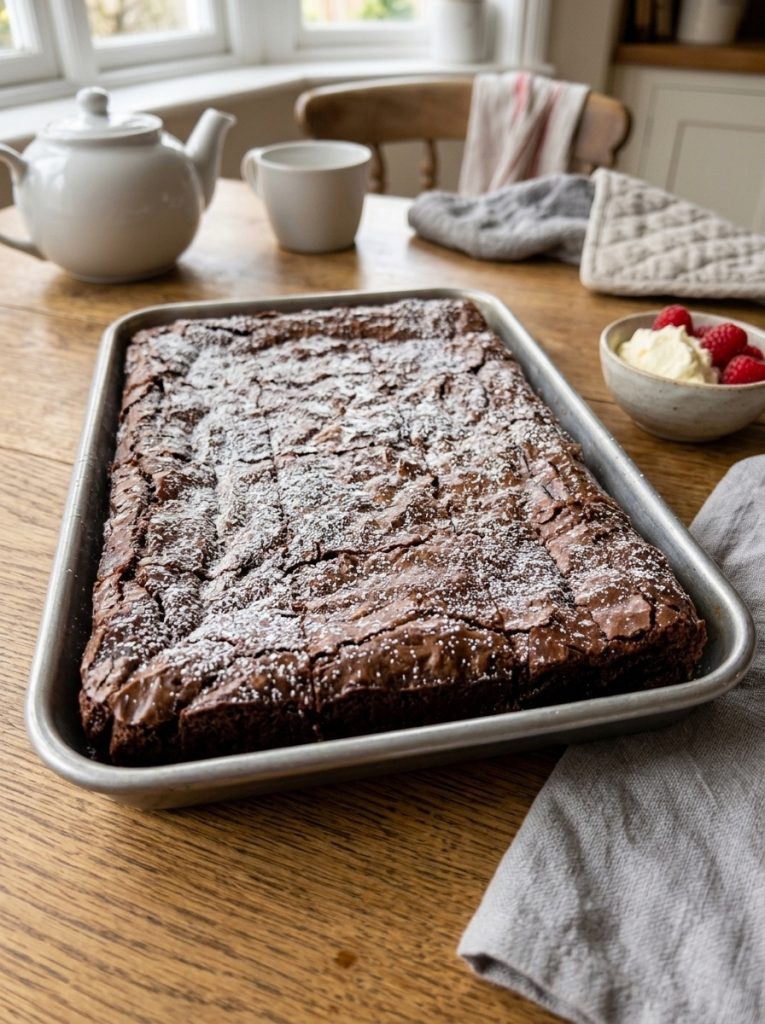
Preheat your oven to 180°C / 160°C fan / Gas 4. Grease a 30x20cm traybake tin and line with baking parchment, leaving an overhang at the sides.
Step 2 — Melt the Chocolate and Butter
Place the chopped dark chocolate and butter together in a large heatproof bowl. Set over a pan of barely simmering water — the base of the bowl should not touch the water. Stir gently every minute or so until everything has melted together into a smooth, glossy, dark mixture.
Remove from the heat. Leave to cool for five minutes — you want it warm but not hot when the eggs go in.
Step 3 — Add the Sugar
Stir the golden caster sugar into the warm chocolate and butter mixture. It will look grainy at first — keep stirring until it is combined. The mixture will still look a little granular and that is fine.
Step 4 — Add the Eggs
Add the beaten eggs and egg yolk and vanilla extract to the chocolate mixture. Stir vigorously with a wooden spoon or spatula until the mixture becomes smooth, slightly thickened, and glossy. The extra egg yolk adds richness and gives the brownies a slightly more fudgy, dense texture.
Step 5 — Fold in the Flour
Sift the flour, cocoa powder, and salt directly into the chocolate mixture. Fold gently with a large spatula until just combined — stop the moment no streaks of flour remain. Fold in the chocolate chips and any optional additions if using.
The batter will be thick and glossy. Pour it into the prepared tin and spread to the corners. Scatter sea salt flakes over the top if using.
Step 6 — Bake
Bake for 22 to 26 minutes. Check at 22 minutes. The edges should be set and pulling slightly away from the tin. The centre should look barely set — slightly wobbly when the tin is gently shaken, and a skewer inserted into the centre should come out with moist crumbs clinging to it rather than clean.
This is the correct point to remove them.
Step 7 — Cool Completely in the Tin
Leave the brownies to cool completely in the tin — at least one hour, ideally two. Do not be tempted to cut them while warm. As they cool, the centre firms from a barely-set fudge to a perfectly dense, slightly yielding brownie.
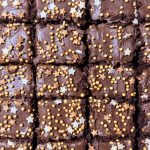
Lift out using the parchment overhang. Cut into squares with a sharp knife.
My Top Tips For Mary Berry Chocolate Brownie Traybake
Use 70% dark chocolate. The chocolate is the primary flavour. Cheap chocolate gives a flat, slightly waxy result. Good quality 70% gives a deep, slightly bitter, complex chocolate flavour that is completely different. I use Lindt or Green and Black’s — not expensive, but noticeably better.
The extra egg yolk is worth it. I know it seems fussy to separate an egg for just the yolk but the difference in texture is real. The extra fat from the yolk gives the brownies a richer, more fudgy quality that three whole eggs alone does not quite achieve.
Do not overmix when you add the flour. A few gentle folds and stop. Overmixing develops gluten and gives you a tougher, more cakey texture.
Slightly underbake. The most important instruction in this entire recipe. Set a timer for 22 minutes and check. Moist crumbs on the skewer = perfect. Clean skewer = already overdone. The brownies will set as they cool.
Sea salt on top. A pinch of good sea salt flakes scattered over the batter before it goes in the oven is one of the best things you can do to a chocolate brownie. The salt intensifies the chocolate flavour and gives occasional bursts of salted contrast. I never skip this.
Serving Suggestions
Warm with a scoop of vanilla ice cream — genuinely one of the great dessert combinations. At room temperature with a cup of strong coffee. Cut into small squares for a party or bake sale — they disappear faster than almost anything else. Wrapped individually in baking parchment as gifts.
How to Store Mary Berry Chocolate Brownie Traybake
At room temperature: Store in an airtight container for up to 4 days. They actually improve slightly on day two as the texture settles and becomes even more fudgy.
In the freezer: Freeze in an airtight container for up to 3 months. Defrost at room temperature for an hour. They are excellent straight from the freezer slightly defrosted too.
Try These Recipes
- Mary Berry Thai Salmon Traybake
- Mary Berry Sausage Traybake
- Mary Berry Victoria Sponge Traybake
- Mary Berry Ginger Flapjacks
Mary Berry Chocolate Brownie Traybake Recipe
Ingredients
Method
- Preheat oven to 180°C / 160°C fan / Gas 4. Grease and line a 30x20cm tin with parchment overhang.
- Melt chocolate and butter together over barely simmering water. Stir until smooth. Cool 5 minutes.
- Stir in caster sugar until combined.
- Add beaten eggs and yolk and vanilla — stir vigorously until smooth and glossy.
- Sift flour, cocoa, and salt directly in. Fold gently until just combined — no streaks remaining. Fold in chocolate chips if using.
- Pour into tin. Spread to corners. Scatter sea salt flakes.
- Bake 22–26 minutes until edges are set and a skewer inserted in the centre comes out with moist crumbs — not clean. Cool completely in tin — 1 to 2 hours. Cut into squares.
Notes
Frequently Asked Questions
Can I use milk chocolate instead of dark?
You can but the brownies will be sweeter and less intense. If using milk chocolate, reduce the caster sugar to 200g to compensate. I always prefer dark for the depth of flavour it gives.
Why do my brownies crack on top?
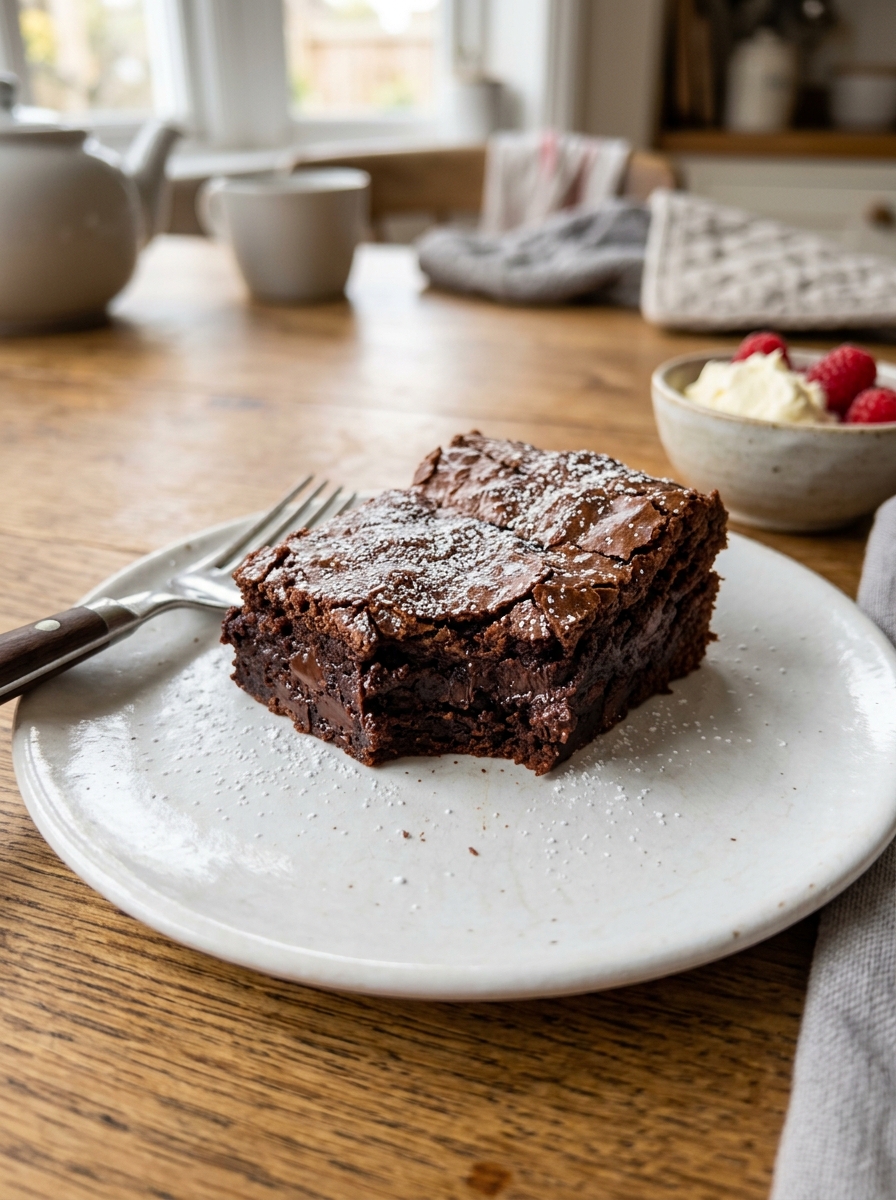
Cracking on top is completely normal and is actually a sign of a well-made brownie — the sugar forms a thin, slightly crispy crust that cracks as the brownie sets. It is not a problem.
Can I make these gluten-free?
Yes — replace the plain flour with a good quality gluten-free plain flour blend. The result is virtually identical.
My brownies are cakey not fudgy — what went wrong?
Either they were overbaked, the eggs were beaten too vigorously and incorporated too much air, or too much flour was added. Bake until a skewer comes out with moist crumbs — not clean — and fold the flour in gently.
Can I add peanut butter?
Yes — swirl two tablespoons of smooth peanut butter over the top of the batter before baking. It creates a beautiful marbled effect and the combination of chocolate and peanut butter is completely wonderful.













Leave a Reply