
 Anna Louise
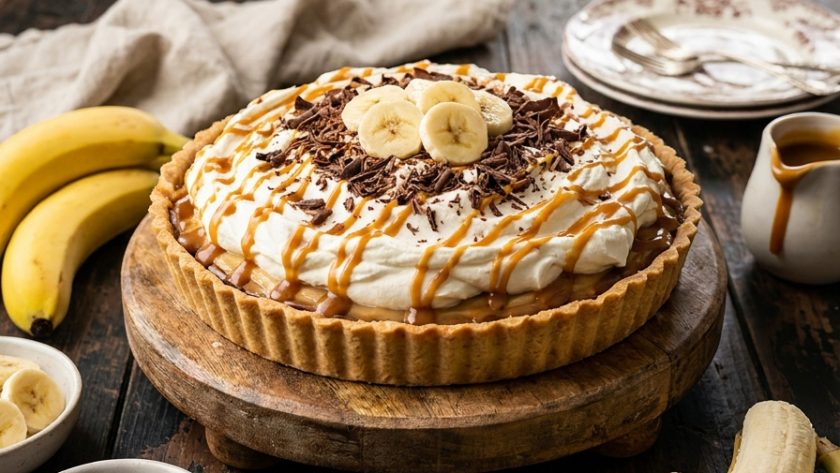
Banoffee pie is a genuinely British invention — created in the 1970s at The Hungry Monk restaurant in East Sussex — and it is one of the most loved desserts on the British table.
The combination of buttery biscuit base, sticky toffee filling, fresh banana, and whipped cream is one of those pairings that just works completely, and every time I make it someone asks if they can have the recipe.
I use a proper homemade toffee filling rather than a tin of condensed milk boiled for hours. My method — butter, brown sugar, and a can of condensed milk cooked together on the hob for eight minutes — gives a rich, smooth, deeply caramel-flavoured toffee that is considerably better than boiled condensed milk and takes a fraction of the time.
The whole pie can be assembled in thirty minutes and needs nothing more than a few hours in the fridge to set.
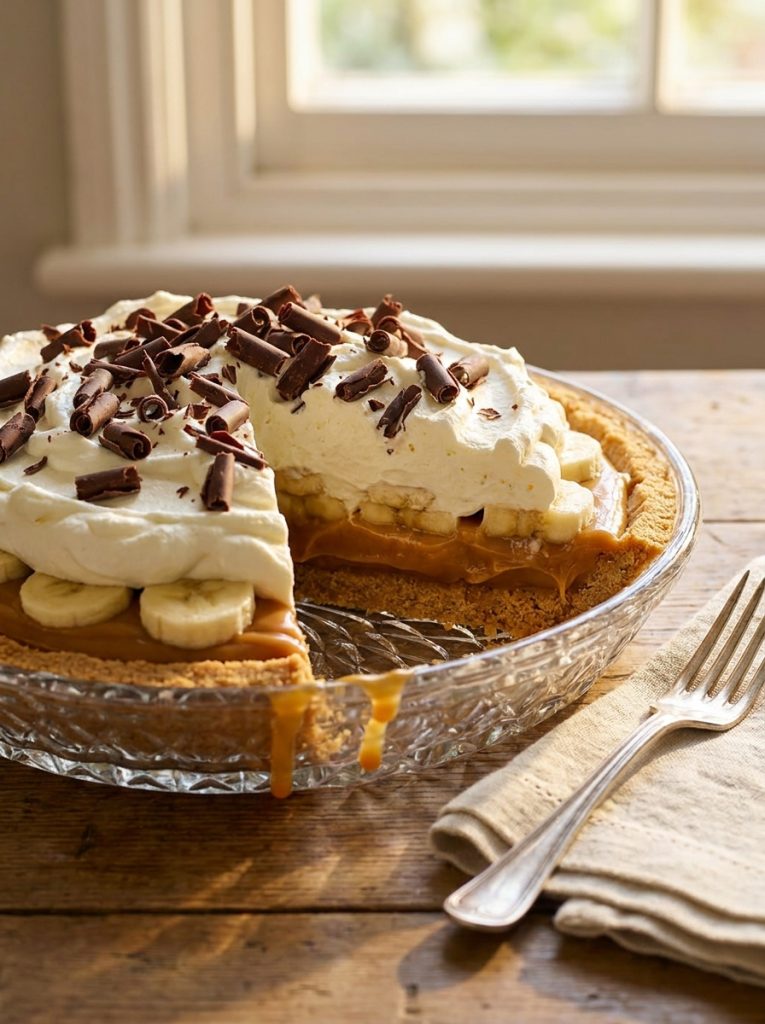
Ingredients for Mary Berry Banoffee Pie
For the Biscuit Base
- 300g digestive biscuits, crushed to fine crumbs
- 150g unsalted butter, melted
- 1 tbsp golden caster sugar
For the Toffee Filling
- 100g unsalted butter
- 100g soft dark brown sugar
- 1 x 397g tin sweetened condensed milk
- 1 tsp vanilla extract
- Pinch of flaked sea salt — gives a slightly salted caramel character
For the Topping
- 3 large ripe bananas — sliced into 5mm rounds
- 1 tbsp fresh lemon juice — tossed with the banana slices to prevent browning
- 300ml double cream, cold
- 2 tbsp icing sugar
- 1 tsp vanilla extract
- Good quality dark chocolate — finely grated over the top
- A light dusting of cocoa powder (optional)
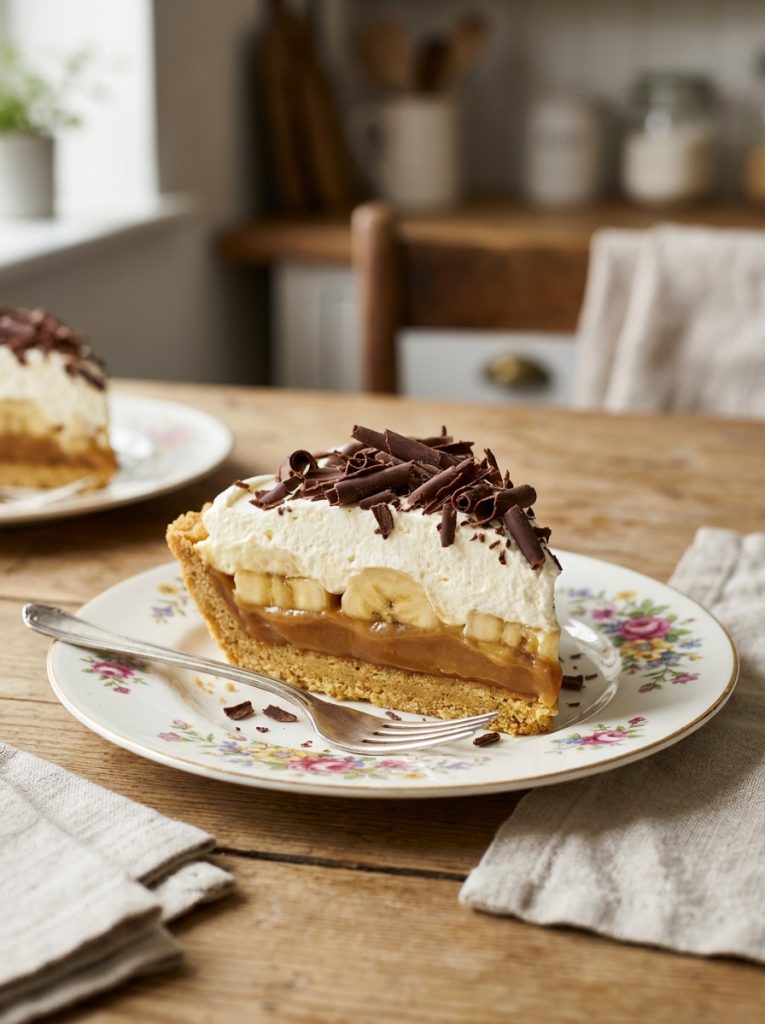
How to Make Mary Berry Banoffee Pie
Step 1 — Make the Biscuit Base
Combine the crushed biscuit crumbs, melted butter, and caster sugar. Mix until every crumb is coated. Press very firmly and evenly into a deep 23cm loose-bottomed tart tin or springform tin — using the flat base of a glass to compact the base. Refrigerate for 30 minutes while making the toffee.
Step 2 — Make the Toffee Filling
Put the butter and dark brown sugar into a medium saucepan over a medium heat. Stir until the butter has melted and the sugar has dissolved — two to three minutes.
Add the condensed milk. Bring to a gentle simmer, stirring constantly. Cook for six to eight minutes, stirring all the time, until the mixture has thickened noticeably and turned a slightly deeper, more caramel colour. It should coat the back of a spoon thickly.
Remove from the heat. Stir in the vanilla and sea salt. Leave to cool for ten minutes — it will thicken further as it cools.
Step 3 — Fill and Set
Pour the slightly cooled toffee over the chilled biscuit base. Spread evenly to the edges. Refrigerate for at least two hours — or until the toffee is completely set and firm. I sometimes leave it overnight.
Step 4 — Add the Banana and Cream
Toss the banana slices in the lemon juice and arrange them in an even layer over the set toffee — covering it completely.
Whip the cold cream, icing sugar, and vanilla to soft, billowy peaks. Spread or pipe generously over the bananas — covering everything completely.
Step 5 — Finish and Serve
Grate dark chocolate generously over the cream. Dust lightly with cocoa powder if using. Refrigerate for 30 minutes. Slice and serve cold.
My Top Tips For Perfect Mary Berry Banoffee Pie
Make the toffee properly — do not use boiled condensed milk. The hob method — butter, brown sugar, and condensed milk cooked together for eight minutes — gives a rich, deeply flavoured toffee that is smooth, glossy, and specifically wonderful. Boiled condensed milk on its own gives a slightly flat result without the complexity that the butter and brown sugar add.
Stir the toffee constantly. Toffee that is not stirred throughout the cooking time catches on the base of the pan and burns, giving a slightly bitter flavour. Constant stirring is what gives a smooth, evenly coloured, deeply caramel toffee.
Toss the bananas in lemon juice. Without lemon juice, sliced bananas brown within minutes of being cut and give an unappetising grey-brown layer under the cream. A tablespoon of lemon juice tossed through the slices keeps them vivid and yellow for several hours.
The toffee must be fully set before the bananas go on. Bananas placed on warm or slightly set toffee sink into it and become difficult to arrange evenly. A fully set, firm toffee gives a flat, stable surface for the banana layer.
Soft peaks for the cream — not stiff. Billowy, soft-peaked cream looks generous and beautiful on a banoffee pie. Stiffly whipped cream looks slightly grainy and loses the cloud-like quality that makes the topping so appealing.
Serving Suggestions
Cold from the fridge in generous slices — banoffee pie is always served cold. As a dinner party dessert made entirely the day before. As a birthday dessert for anyone who loves caramel and banana.
How to Store Mary Berry Banoffee Pie
In the fridge: Store covered for up to 2 days. The bananas begin to soften slightly after the first day but the pie remains delicious. Freezing is not recommended — the cream and banana both deteriorate completely on defrosting.
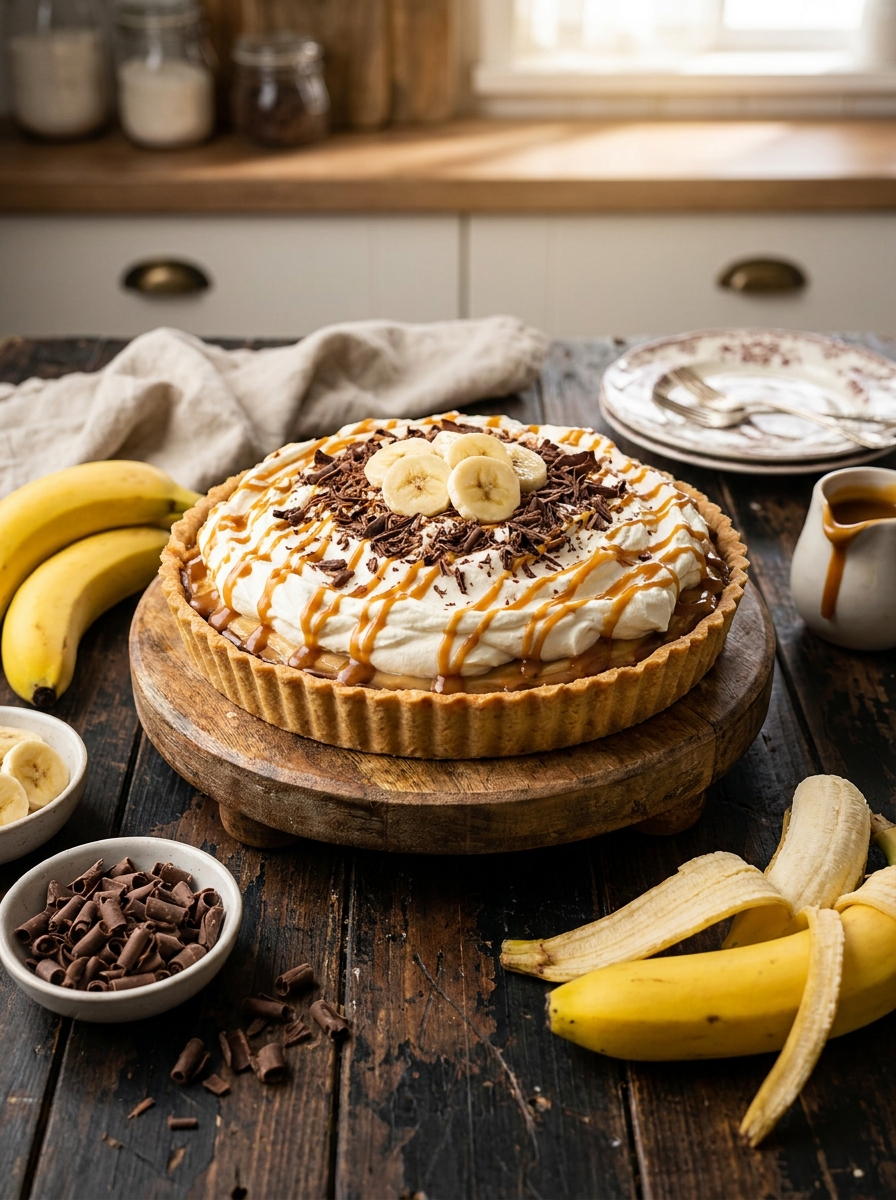
Mary Berry Banoffee Pie Recipe
Ingredients
Method
- Combine biscuit crumbs, melted butter, and sugar. Press very firmly into tin. Refrigerate 30 minutes.
- Melt butter and dark brown sugar together 2–3 minutes. Add condensed milk — bring to gentle simmer, stir constantly 6–8 minutes until thickened and slightly deeper in colour. Remove from heat — add vanilla and sea salt. Cool 10 minutes.
- Pour toffee over chilled base — spread evenly. Refrigerate 2 hours minimum until completely set and firm.
- Toss banana slices in lemon juice — arrange in an even layer over set toffee. Whip cold cream, icing sugar, and vanilla to soft billowy peaks. Spread generously over bananas.
- Grate dark chocolate generously over cream. Dust lightly with cocoa if using. Refrigerate 30 minutes. Slice cold.
Notes
Frequently Asked Questions
Can I use Lotus Biscoff biscuits instead of digestives?
Yes — Biscoff biscuits give a slightly spiced, slightly caramelised base that suits the toffee and banana very well. Use the same quantity.
Can I use tinned caramel instead of making my own?
Yes — a tin of Carnation caramel or similar gives a quick alternative. Pour straight onto the chilled base and refrigerate as directed. The homemade version is better but the tinned caramel gives a very good result.
Can I add coffee to the cream?
Yes — dissolve one teaspoon of instant espresso in one teaspoon of hot water. Cool completely and add to the cream when whipping. The coffee and banana combination is very good.
Can I make individual banoffee pies?
Yes — press the biscuit base into six individual 10cm tart tins or glasses. Divide the toffee and topping between them. Refrigerate as directed.















Leave a Reply