
 Anna Louise
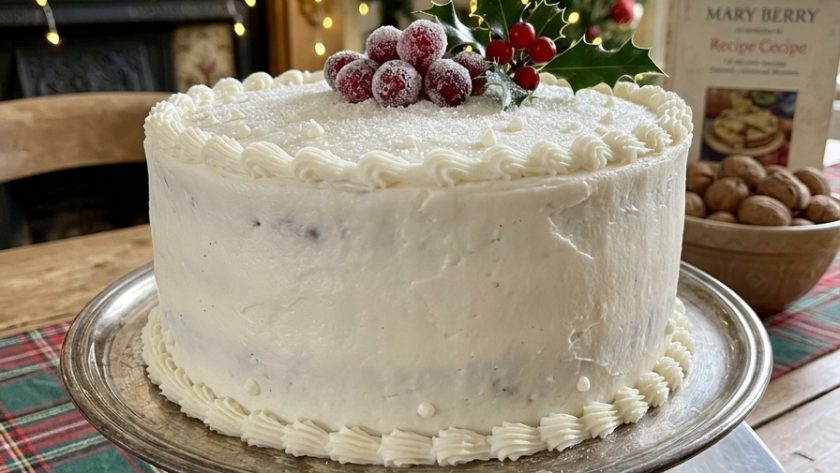
 Royal icing is the traditional finishing coat for a Christmas cake — brilliant white, smooth or textured into snowy peaks, set firm so it can be cut cleanly through with a knife.
It is the icing that most people associate with a proper British Christmas cake and it is not difficult to make once you understand what you are working with. This recipe covers the royal icing itself — the quantities, the method, and the consistency you need for different finishes.
It also covers the marzipan layer that must go on first — royal icing applied directly to fruit cake bleeds colour from the fruit into the white icing over time and gives a patchy, uneven result. The marzipan seals the fruit and provides a smooth, neutral base.
Follow the method carefully, particularly the consistency instructions, and the result will be a cake that looks completely professional.
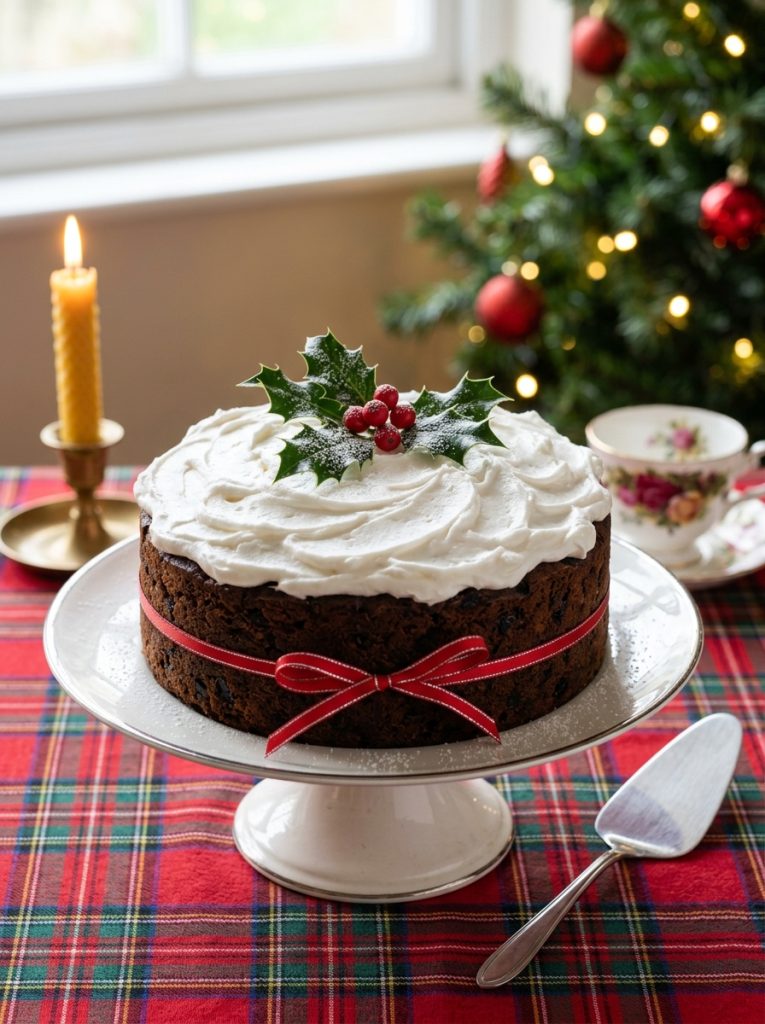
Ingredients for Mary Berry Royal Icing for Christmas Cake
For the Marzipan Layer (Applied Before the Royal Icing)
- 3–4 tbsp apricot jam, warmed and sieved — to stick the marzipan to the cake
- 500g good quality marzipan — for a 20cm round cake
For the Royal Icing
- 3 large egg whites — from fresh, room temperature eggs
- 675g icing sugar, sifted three times
- 1½ tsp lemon juice
- 1½ tsp glycerine — this prevents the icing from setting rock hard and makes it easier to cut
Equipment
- Electric hand whisk or stand mixer
- Palette knife
- Cake turntable (helpful but not essential)
- Cake scraper (for a smooth finish)
How to Make and Apply Mary Berry Royal Icing
Step 1 — Apply the Marzipan
Place the Christmas cake on a cake board or serving plate. Brush the top and sides of the cake with the warm, sieved apricot jam — this is the adhesive that holds the marzipan to the cake.
Roll the marzipan out on a surface lightly dusted with icing sugar to a circle large enough to cover the top and sides of the cake — approximately 35cm for a 20cm cake. Lift carefully over the rolling pin and lay over the cake. Press gently against the sides, smoothing out any folds. Trim the excess at the base. Smooth with the palm of your hand or a marzipan smoother.
Leave the marzipan to dry at room temperature for 24 hours before applying royal icing — this firms the surface and prevents the marzipan oils from bleeding into the icing.
Step 2 — Make the Royal Icing
Place the egg whites in a large, very clean bowl — any trace of fat will prevent the egg whites from whisking properly. Beat briefly with a fork just to break them up.
Add the triple-sifted icing sugar all at once. Mix with an electric hand whisk on low speed until the icing sugar is incorporated. Increase to medium speed and beat for five to six minutes until the icing is very white, smooth, and forms stiff peaks when the whisk is lifted. The stiff peak consistency is correct for covering a cake.
Add the lemon juice and glycerine. Beat for one more minute. The glycerine is not optional — without it the icing sets extremely hard and is very difficult to cut through cleanly.
Step 3 — First Coat
Spoon approximately two-thirds of the royal icing onto the top of the marzipan-covered cake. Spread across the top and down the sides using a palette knife, working it into an even layer.
For a smooth finish — use a straight cake scraper held vertically against the side of the cake and rotate the cake on a turntable. Run the palette knife across the top. Work quickly — royal icing begins to set as soon as it is spread.
For a textured, snowy finish — once the icing is spread across the surface, use the back of a spoon to press gently and lift away repeatedly, creating soft peaks all over. This is the traditional Christmas cake finish and it is significantly easier than the smooth finish.
Leave to set at room temperature for 24 hours.
Step 4 — Second Coat
Apply the remaining royal icing as a second coat following the same method. The second coat gives a better colour, a cleaner finish, and a more even surface.
Leave to set for 24 hours before adding any decorations.
Step 5 — Decorate
Once the second coat has set firm, add Christmas decorations — a ribbon around the base, small figurines on top, sprigs of holly or rosemary (not edible holly berries), a dusting of edible glitter.
My Top Tips For Right Icing for Christmas Cake
Triple sift the icing sugar. Royal icing with any lumps in the icing sugar will not spread smoothly and the lumps are impossible to remove once the icing is made. Three times through a fine sieve gives completely lump-free, smooth icing.
The bowl and whisk must be completely grease-free. Wipe the bowl and whisk with white wine vinegar on a piece of kitchen paper before using. Any trace of fat prevents the icing from reaching its full volume and consistency.
Glycerine is essential. It prevents the icing from setting rock hard. Without it you have a decorative coating that you cannot cut through without the icing shattering. 1½ teaspoons for this quantity gives an icing that sets firm but cuts cleanly.
24 hours between coats. Each coat must be completely set before the next goes on. If you apply the second coat too early the first coat lifts and the surface is ruined.
The marzipan must be dry before the icing goes on. 24 hours at room temperature gives a firm, dry marzipan surface. Damp marzipan causes the royal icing to slip and slide rather than adhering and setting properly.
Cover unused royal icing with a damp cloth. Royal icing begins to crust the moment it is exposed to air. Between uses, press a damp piece of kitchen paper directly onto the surface of the icing or cover tightly with cling film touching the surface.
Serving Suggestions
Applied to a properly fed and matured Christmas cake — see the Victorian Christmas cake recipe on this site. Decorated with traditional Christmas figures, ribbon, and a dusting of edible glitter.
Served in thin slices on Christmas Day after the turkey, as part of the Christmas tea spread.
How to Store
Iced cake: Store in a cool, dry place — not the fridge — in a cardboard cake box for up to 4 weeks. The royal icing seals the cake and keeps it moist.
Unused royal icing: Store in a sealed container with cling film pressed directly onto the surface for up to 3 days. Beat briefly before using again.
Try These Recipes
- Mary Berry Filo Pastry Mince Pies
- Mary Berry Frangipane Mince Pies
- Mary Berry Christmas Pudding
- Mary Berry Christmas Cake
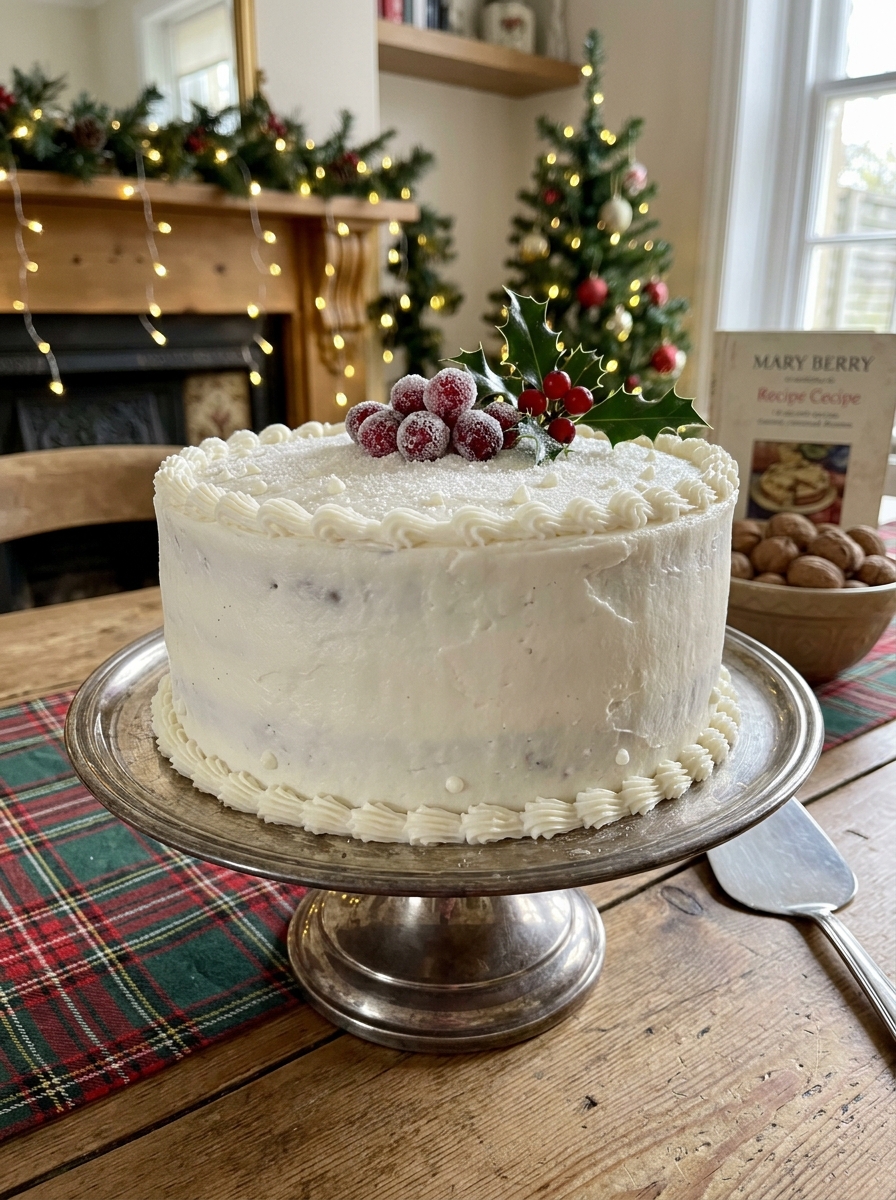
Mary Berry Royal Icing for Christmas Cake Recipe
Ingredients
Method
- Brush marzipaned cake with warm sieved apricot jam. Roll marzipan to cover top and sides. Press and smooth. Leave 24 hours to dry.
- Wipe bowl and whisk with white wine vinegar. Break egg whites briefly with a fork. Add triple-sifted icing sugar all at once. Beat on low then medium for 5–6 minutes until brilliant white and stiff peaks form. Add lemon juice and glycerine — beat 1 minute more.
- Apply two-thirds of icing to top and sides. Smooth or peak as desired. Leave 24 hours.
- Apply remaining icing as second coat. Leave 24 hours.
- Decorate when completely set.
Notes
Frequently Asked Questions
Can I use royal icing sugar instead of making from scratch?
Yes — royal icing sugar is a mix of icing sugar, dried egg white, and a small amount of acid. Add water according to the packet instructions. It gives a slightly less bright white result than fresh egg white royal icing but is very convenient.
Can I use pasteurised egg whites instead of fresh?
Yes — carton pasteurised egg whites work well for royal icing. Use the same weight as three fresh egg whites (approximately 90ml).
How do I get a perfectly smooth finish?
A cake turntable and a straight-edged metal scraper are the two pieces of equipment that make the difference. Rotate the cake slowly while holding the scraper against the side at a constant angle. The top is smoothed with a long palette knife drawn across in a single confident stroke.
Why is my royal icing going grey?
The icing sugar was not sifted enough times and small particles of grey impurities from the raw sugar have not been removed. Triple sifting through a very fine sieve removes these particles and gives a brilliant white result.
Can I colour royal icing?
Yes — use gel food colouring, not liquid. Add one small drop at a time and mix thoroughly between additions. Royal icing takes colour very quickly.
















Leave a Reply