
 Anna Louise
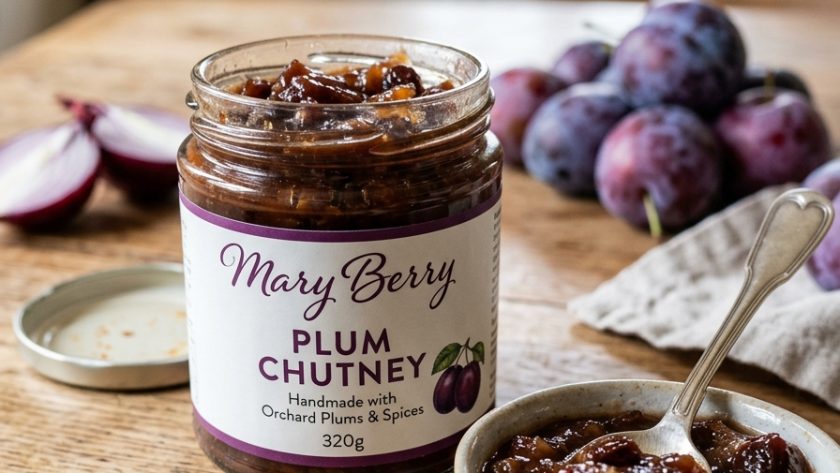
 Plum chutney is the preserve I make every autumn without fail, alongside the plum jam, and I would argue it is the more versatile of the two.
Where plum jam is sweet and fruity, plum chutney is rich and complex — the plums cooked down with onions, vinegar, sugar, and warm spices until everything has melded into a thick, glossy, deeply flavoured preserve that improves every single thing it accompanies.
Mary Berry’s plum chutney recipe is straightforward and reliable. Everything goes into one pan and cooks slowly together for an hour or more until it reaches the right thick, glossy consistency.
The spice balance — ginger, mixed spice, cinnamon — is warm without being hot, and the balance of sweet and sharp is exactly right. Made in September or October, it is perfectly matured by Christmas.
It is wonderful with mature Cheddar on a cheese board. It is the best thing you can put in a Boxing Day cold turkey sandwich. And a jar of it given as a gift, tied with ribbon alongside a wedge of good cheese, is one of the most appreciated things I make all year.
What Makes Plum Chutney Different From Plum Jam?
The difference is more than just sugar versus vinegar.
Chutney is cooked longer and concentrates more intensely. Where plum jam reaches setting point relatively quickly, chutney simmers slowly for an hour or more until the liquid has reduced and the flavours have deepened and mellowed into something much more complex than the sum of its parts.
Chutney contains onions and spices alongside the fruit. These savoury elements give chutney its character as a condiment rather than a spread — it is designed to accompany food rather than be the main event.
Chutney uses vinegar rather than relying purely on pectin to preserve. The high acid content of the vinegar is what gives chutney its long shelf life and its characteristic sharp, rounded flavour.
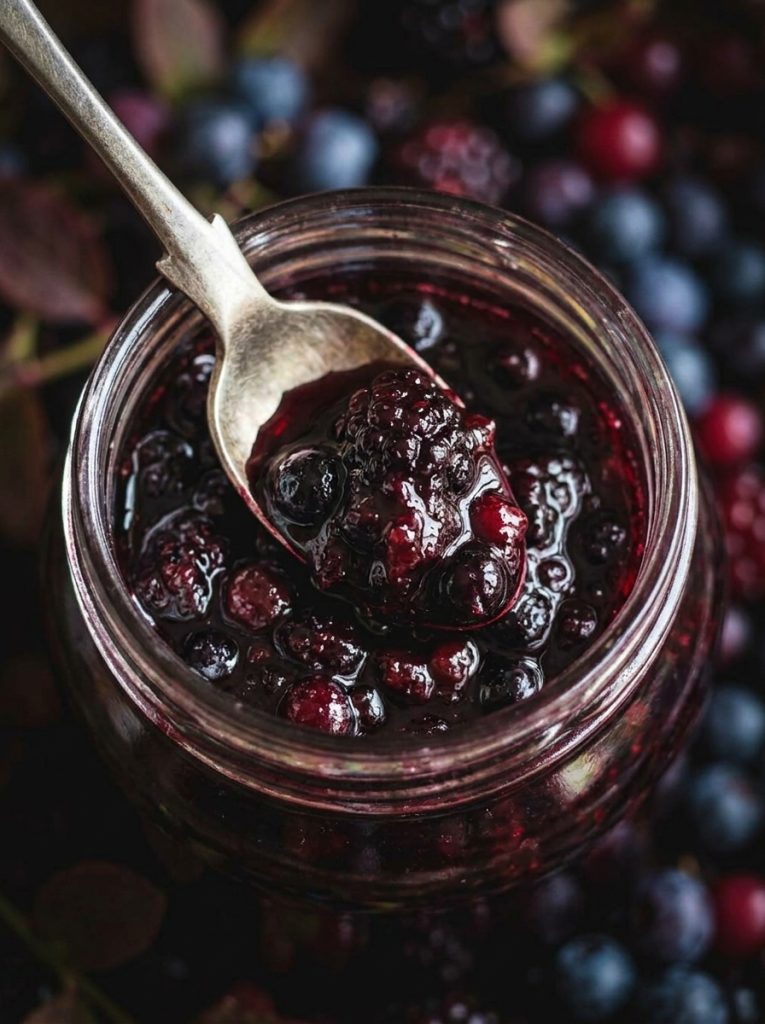
Ingredients for Mary Berry Plum Chutney
- 1.5kg ripe plums, halved and stoned
- 400g onions, finely chopped
- 2 garlic cloves, crushed
- 300g soft dark brown sugar
- 300ml red wine vinegar or malt vinegar
- 1 tsp ground ginger
- 1 tsp mixed spice
- 1 tsp ground cinnamon
- ½ tsp ground cloves
- ½ tsp cayenne pepper
- 1 tsp fine salt
- 1 cinnamon stick
- 2 bay leaves
Equipment
- Large heavy-based preserving pan or saucepan
- 3 to 4 sterilised glass jars with vinegar-proof lids
- Jam funnel
How to Make Mary Berry Plum Chutney — Step by Step
Step 1 — Sterilise the Jars
Wash jars in hot soapy water, rinse, and place upside down in a 140°C oven for 15 minutes. Leave in the oven until needed.
Step 2 — Combine All Ingredients
Place the halved and stoned plums, finely chopped onions, crushed garlic, dark brown sugar, red wine vinegar, all the ground spices, salt, cinnamon stick, and bay leaves into the preserving pan.
Stir to combine. At this stage it will look like a lot of plums and not much liquid — this is correct. The plums release an enormous amount of juice during cooking.
Step 3 — Dissolve the Sugar
Heat gently over a low heat, stirring frequently, until the sugar has completely dissolved and the plums have begun to release their juice — about 10 to 12 minutes. The mixture will become increasingly liquid as the plums break down. Do not let it boil before the sugar has dissolved.
Step 4 — Simmer Until Thick
Bring to a gentle simmer and cook uncovered over a low to medium heat for 1 hour to 1 hour 30 minutes, stirring regularly. In the final 20 to 30 minutes, stir more frequently — the chutney thickens considerably as it reduces and becomes increasingly prone to catching on the base of the pan.
The chutney is ready when it has reduced significantly, is thick and glossy, and a wooden spoon drawn across the base of the pan leaves a clear channel that does not immediately fill back. The plums will have broken down almost completely — the finished chutney will be relatively smooth with only small pieces of skin visible.
Remove the cinnamon stick and bay leaves.
Step 5 — Pot and Seal
Leave the chutney to cool for five minutes. Ladle into the hot sterilised jars using a jam funnel. Fill to within 1cm of the top. Seal immediately with vinegar-proof lids. Label with the date.
Leave for a minimum of four weeks before opening — six weeks gives an even better result.
My Top Tips For Mary Berry Plum Chutney
Use ripe, deeply flavoured plums. The quality of the plums is the quality of the chutney. Ripe, sweet, deeply flavoured plums — Victoria plums are particularly good — give a chutney that is rich and complex. Underripe or flavourless plums give something thin and disappointing. If your plums are not fully ripe, add an extra tablespoon of sugar.
Use dark brown sugar rather than light or white. The deep molasses flavour of dark brown sugar gives the chutney a richness and complexity that lighter sugars cannot provide. It also gives the finished chutney its characteristic dark, mahogany colour.
Do not rush the simmer. The long, slow cook is where the chutney develops its character. An hour is the minimum. An hour and a half gives a richer, more intensely flavoured result. Stirring regularly in the final stage prevents catching.
Add a whole cinnamon stick. Ground cinnamon gives immediate warmth. A whole cinnamon stick added to the pan gives a more rounded, sustained cinnamon flavour that develops throughout the cooking. Using both, as in this recipe, gives the best of both effects.
Use vinegar-proof lids. As with all vinegar-based preserves, standard metal lids corrode quickly from contact with the acid. Vinegar-proof lids or a square of baking parchment between jar and lid.
Make it early. Four weeks minimum before eating. Six weeks is when it is at its best. Made in September, it is magnificent by Christmas.
Serving Suggestions
On a cheese board alongside mature Cheddar, Stilton, and Brie — this is the natural home of plum chutney. In a cold turkey and stuffing sandwich on Boxing Day.
Alongside cold meats and a good loaf of bread for a simple lunch. As part of a hamper gift with cheese and crackers. With a ploughman’s instead of Branston pickle.
How to Store Mary Berry Plum Chutney
Unopened: Cool, dark place for up to 1 year.
Once opened: Refrigerate and use within 6 to 8 weeks.
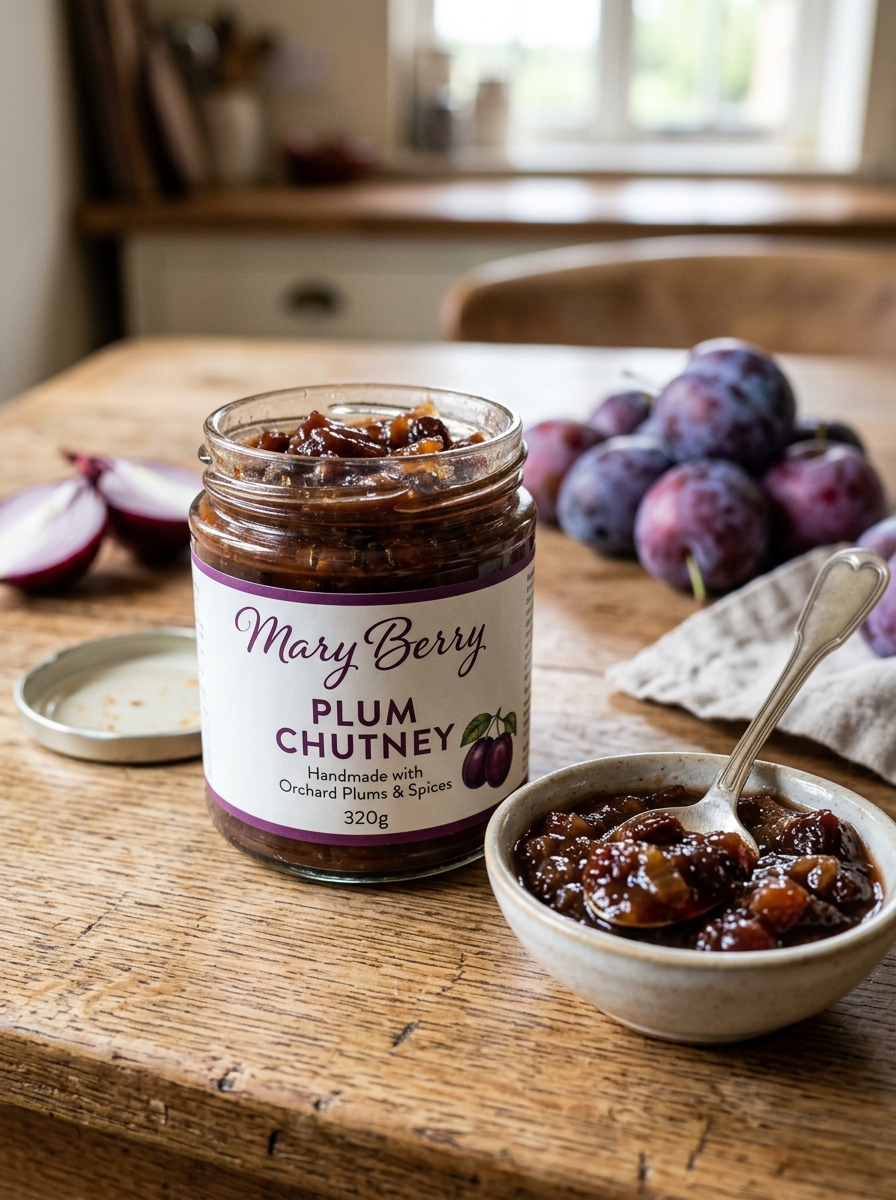
Mary Berry Plum Chutney Recipe
Ingredients
Method
- Sterilise jars in a 140°C oven for 15 minutes.
- Place all ingredients in a large preserving pan. Stir to combine.
- Heat gently, stirring, until sugar completely dissolves and plums begin releasing juice — about 10–12 minutes. Do not boil before sugar dissolves.
- Bring to a gentle simmer. Cook uncovered on low-medium heat for 1 hour to 1 hour 30 minutes, stirring regularly. Stir more frequently in the final 20–30 minutes. Chutney is ready when thick, glossy, and a spoon drawn across the base leaves a clear channel.
- Remove cinnamon stick and bay leaves. Cool 5 minutes.
- Ladle into hot jars. Fill to within 1cm of top. Seal with vinegar-proof lids. Label with date. Leave at least 4 weeks before opening.
Notes
Frequently Asked Questions
Can I use cooking plums (damsons) instead of regular plums?
Yes — damsons give a more intensely flavoured, slightly more tart chutney that is absolutely wonderful. They are smaller so stoning is more tedious, but the result is worth it. You may want to add an extra 50g of sugar to compensate for the extra tartness.
Can I use white wine vinegar instead of red?
Yes — white wine vinegar gives a slightly lighter, more delicate flavour. Red wine vinegar or malt vinegar gives a more robust, traditional chutney character. All three work well.
Why is my chutney too runny after potting?
It needed longer cooking to reduce properly. Return to the pan and simmer uncovered for a further 20 to 30 minutes, stirring regularly, until the spoon test shows a clear channel. Every batch is slightly different depending on the water content of the plums.
Can I add other fruits to plum chutney?
Yes — a handful of dried cranberries, raisins, or chopped dried apricots added with the other ingredients deepens the flavour further. Keep the total fruit weight at approximately 1.5kg.
My chutney tastes very sharp when freshly made — is that normal?
Yes — fresh chutney always tastes sharper and harsher than matured chutney. The vinegar mellows significantly over the four to six weeks of maturing in the jar. Do not adjust the recipe based on the taste of freshly made chutney — leave it to mature and taste it then.
Can I reduce the sugar?
Reducing the sugar affects both the flavour balance and the keeping quality of the chutney. The sugar quantity in this recipe is calibrated for a balanced result and good keeping properties. If you want a less sweet chutney, use the full quantity and let the natural tartness of the plums and the vinegar provide the sharpness.


Leave a Reply