
 Anna Louise
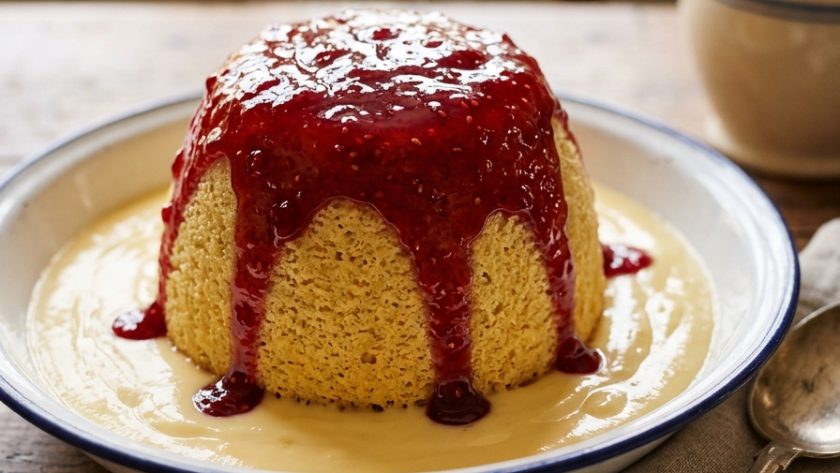
Jam sponge pudding is the pudding I make when I want something that feels specifically British, specifically comforting, and specifically simple.
A layer of raspberry jam in the base of a pudding basin, a light vanilla sponge on top, steamed until perfectly cooked and then turned out so the jam becomes the golden, sticky top — it is one of the oldest and most beloved British puddings, and for good reason.
The steaming gives the sponge a specific texture that oven baking does not — softer, slightly moister, with a yielding, tender crumb that suits the warm jam perfectly.
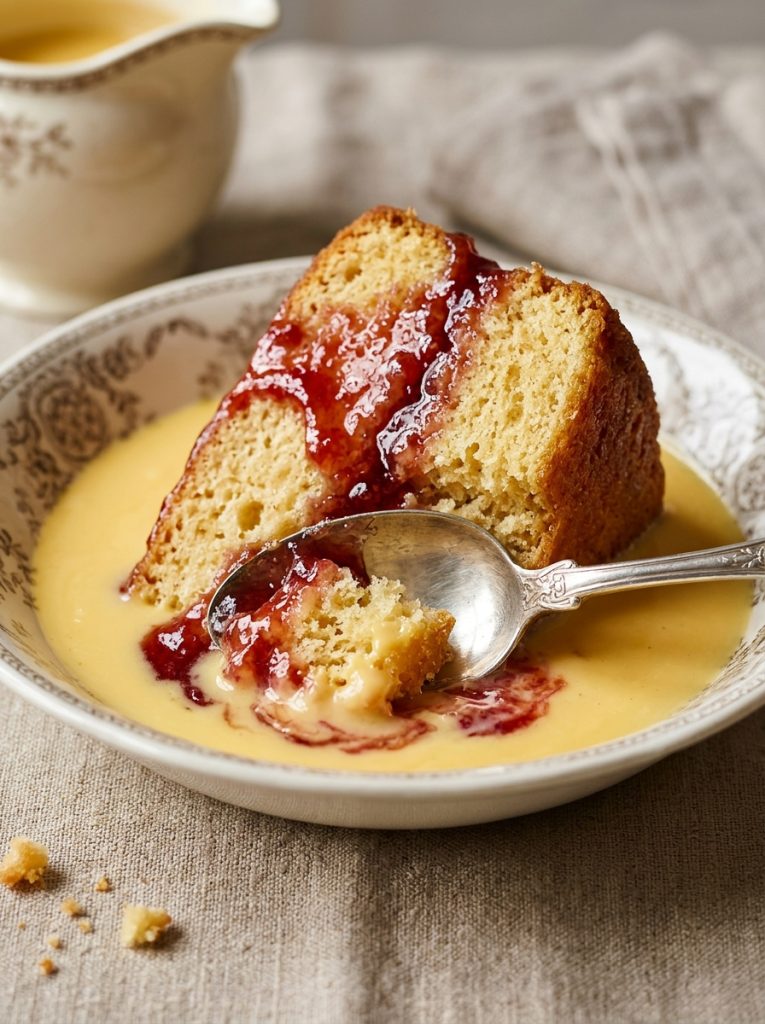
I serve this with proper custard every single time — the combination of the sticky jam, the light sponge, and the warm vanilla custard is one of the finest things British cooking produces.
Ingredients for Mary Berry Jam Sponge Pudding (Serves 6)
For the Jam Sponge Pudding
- 4 tbsp good quality raspberry jam — or strawberry jam
- 125g unsalted butter, softened
- 125g golden caster sugar
- 2 large eggs, at room temperature
- 125g self-raising flour, sifted
- 1 tsp baking powder
- 2 tbsp whole milk
- 1 tsp vanilla extract
- Finely grated zest of ½ unwaxed lemon — gives a slight brightness
To Serve
- Warm proper custard — always
- Or warm cream
How to Make Mary Berry Jam Sponge Pudding
Step 1 — Prepare the Basin
Butter a 1.2 litre pudding basin generously — every surface. Spoon the jam into the base of the basin and spread evenly. The jam will become the sticky, vivid top of the pudding when it is turned out.
Step 2 — Make the Sponge Batter
Beat the softened butter and golden caster sugar together for three to four minutes until pale and fluffy. Add the eggs one at a time, beating well after each. Add the vanilla extract and lemon zest.
Sift the flour and baking powder into the bowl. Add the milk. Fold gently until just combined — a smooth, light batter.
Step 3 — Fill the Basin
Spoon the sponge batter carefully over the jam — spreading gently without disturbing the jam layer beneath. The batter should fill the basin to about 2cm below the rim — the pudding will rise during steaming.
Step 4 — Cover and Steam
Cut a circle of baking parchment and a circle of foil — both slightly larger than the top of the basin. Make a pleat in the centre of both by folding them together — this allows the pudding to rise during steaming. Place the parchment circle directly on top of the batter, then the foil circle on top. Tie securely with kitchen string around the rim of the basin.
Place the basin in a large saucepan. Add enough boiling water to come halfway up the sides of the basin. Cover the pan with a tight-fitting lid. Steam over a medium-low heat for 1 hour 30 minutes to 1 hour 45 minutes — checking the water level every 30 minutes and topping up with boiling water from a kettle as needed.
Step 5 — Turn Out and Serve
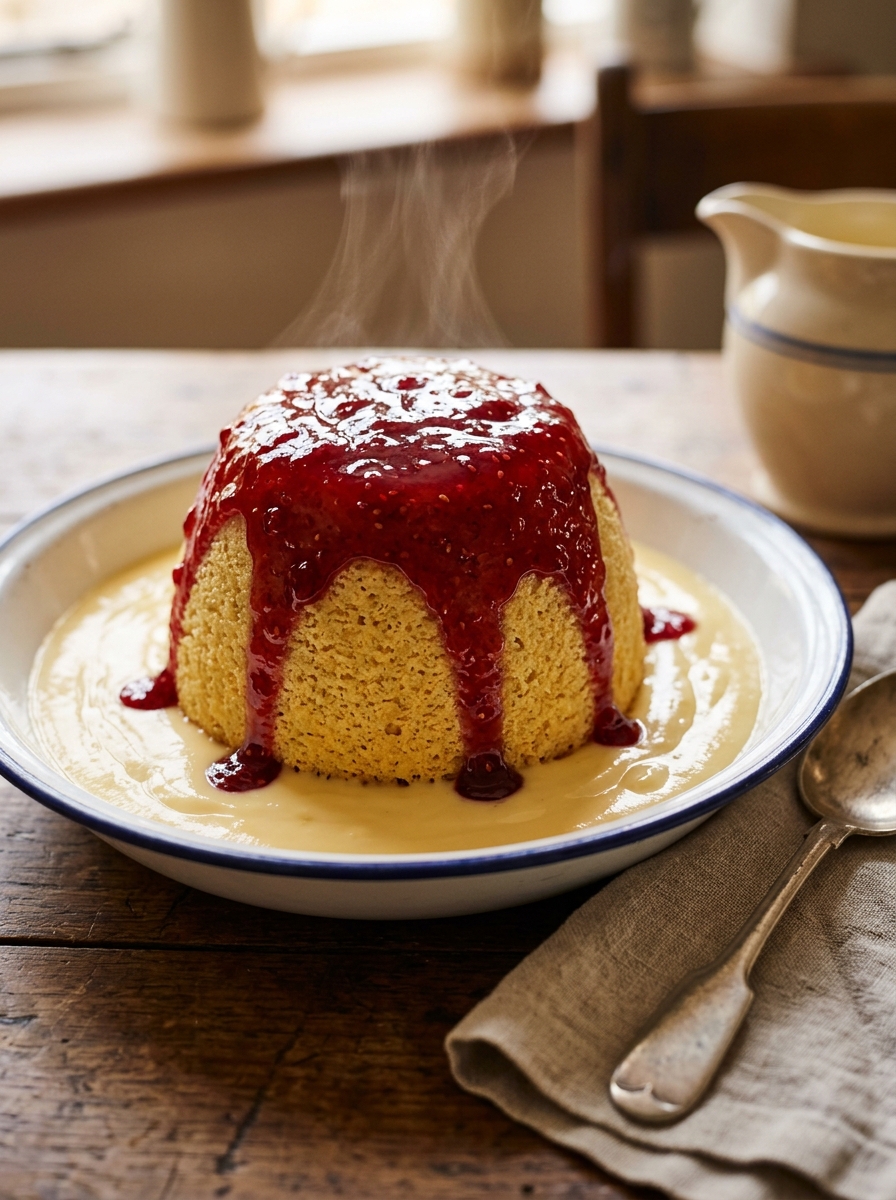
Remove the basin from the pan. Leave to rest for five minutes. Remove the string, foil, and parchment. Run a palette knife gently around the inside edge of the basin. Place a warm serving plate on top. Invert confidently in one movement. Lift the basin away.
The jam will now be on top — vivid, sticky, and glistening. Serve immediately with warm custard poured generously alongside.
My Top Tips For Best Mary Berry Jam Sponge Pudding
Use good quality jam — not economy jam. The jam is the feature of this pudding — the first thing you see when it is turned out and the first flavour you taste in every bite. Good quality raspberry jam with a vivid, intense flavour gives a result that is in a completely different category from a watery economy jam.
Pleat the parchment and foil cover. The pleat in the covering is not decorative — it is essential. The pudding expands during steaming and needs room to rise. A tight covering without a pleat prevents the rise and gives a dense, compressed sponge.
Check the water level every thirty minutes. The most common steamed pudding disaster is a saucepan that boils dry. The water evaporates during the long steam and the pan can go dry in under an hour. Check and top up with boiling water — never cold water, which drops the temperature — every thirty minutes.
Rest five minutes before turning out. A steamed pudding turned out immediately is slightly too fragile and can collapse or stick. Five minutes of resting gives the sponge time to firm slightly and the jam time to begin setting against the basin, giving a cleaner turn-out.
Serve immediately. A jam sponge pudding served immediately — the jam still vivid and glistening, the sponge still warm — is one of the finest things. Left to sit for more than ten minutes, the jam begins to cool and the sponge loses its specific light, yielding quality.
Serving Suggestions
With warm proper custard — the most specifically British and most satisfying pairing. With warm single cream. As a Sunday lunch pudding in autumn or winter.
How to Store Mary Berry Jam Sponge Pudding
Best eaten immediately. Leftover pudding can be covered and refrigerated for up to 2 days. Reheat individual portions in a microwave for 90 seconds, or the whole pudding in the basin covered with fresh parchment and foil, steamed for 30 minutes.
Mary Berry Jam Sponge Pudding Recipe
Ingredients
Method
- Butter a 1.2 litre pudding basin generously. Spoon jam into base — spread evenly.
- Beat butter and sugar 3–4 minutes. Add eggs one at a time. Add vanilla and lemon zest. Sift in flour and baking powder — add milk — fold gently.
- Spoon batter carefully over jam — to 2cm below the rim. Pleat parchment and foil together — place over basin, pleat on top. Tie securely with string.
- Place basin in large saucepan. Add boiling water to halfway up sides. Cover tightly. Steam over medium-low heat 1 hour 30 minutes – 1 hour 45 minutes. Check and top up water every 30 minutes.
- Rest 5 minutes. Remove covering. Run palette knife around edge. Invert onto warm plate. Lift basin. Serve immediately with warm custard.
Notes
Frequently Asked Questions
Can I use golden syrup instead of jam?
Yes — three tablespoons of golden syrup in the base gives a treacle sponge pudding. See the treacle sponge recipe elsewhere on this site for the full version.
Can I cook this in the oven instead of steaming?
Yes — bake in the buttered basin, covered tightly with foil, at 180°C / 160°C fan / Gas 4 for 40 to 45 minutes. The result is slightly less moist than steamed but very good.
Can I make this in a microwave?
Yes — cover the filled basin loosely with cling film and microwave on medium power for 6 to 8 minutes until risen and just set. Leave to stand for 3 minutes before turning out.
Can I use marmalade instead of jam?
Yes — marmalade gives a slightly more bitter, more complex topping that is particularly good with the vanilla sponge. Dark marmalade gives the most interesting result.















Leave a Reply