
 Anna Louise
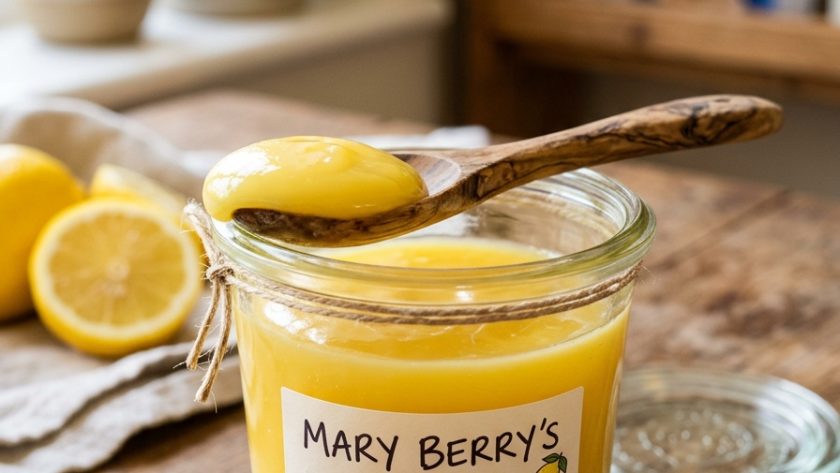
 Homemade lemon curd is one of those things that once you have made it, you cannot go back to the shop-bought version.
It takes fifteen minutes on the hob, uses four ingredients, and produces something so bright, so intensely lemony, and so silky smooth that the jar from the supermarket tastes thin and artificial by comparison.
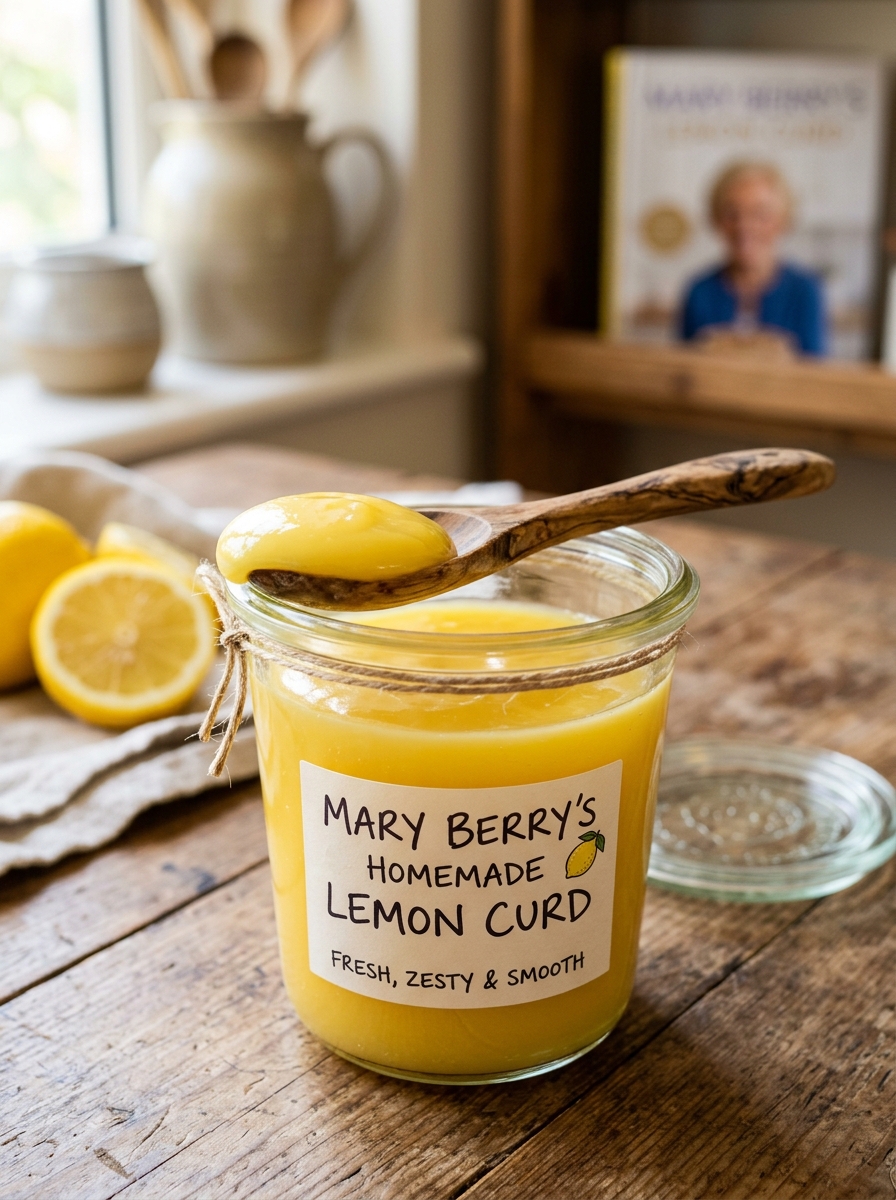
Mary Berry’s lemon curd recipe is the classic method — lemon juice and zest, eggs, butter, and sugar, cooked over a gentle heat until thickened to a glossy, spreadable curd.
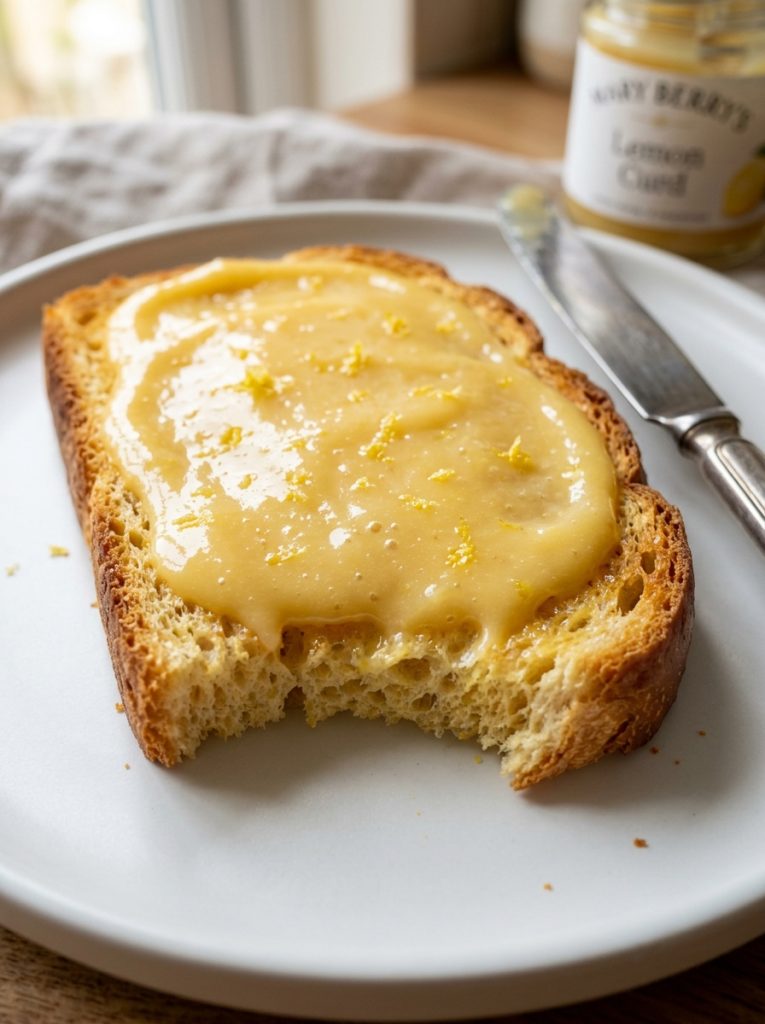
It is used in the lemon curd cake recipe, the lemon curd cheesecake, and the Easter pavlova on this site, and it is wonderful on toast, spooned into scones, dolloped over pancakes, and eaten directly from the jar with a spoon.
The only skill required is patience — the curd must be cooked over a low, gentle heat with constant stirring to prevent the eggs from scrambling. Follow the method carefully and you will have a jar of the finest lemon curd you have ever eaten in fifteen minutes.
What Makes This Lemon Curd So Good
Fresh lemon juice and zest — generous amounts. The zest provides the essential oils that give lemon curd its fragrance. The juice provides the sharpness. Both must be fresh — bottled lemon juice gives a flat, artificial-tasting curd.
Good quality unsalted butter. The butter gives the curd its silky richness and its characteristic glossy texture. Use the best butter you have — it makes a noticeable difference.
Low, gentle heat and constant stirring. This is the technique that prevents the eggs from scrambling. The curd must never boil — if it boils, the eggs cook unevenly and you end up with sweet scrambled eggs rather than silky curd. Low heat, constant stirring, patience.
Ingredients for Mary Berry Lemon Curd
- Finely grated zest of 4 unwaxed lemons
- Juice of 4 large lemons (approximately 150ml)
- 200g caster sugar
- 100g unsalted butter, cold and cubed
- 3 large eggs plus 2 large egg yolks, beaten together
Equipment
- A heatproof bowl that fits over a saucepan without touching the water
- 2 to 3 small sterilised jars
How to Make Mary Berry Lemon Curd — Step by Step
Step 1 — Sterilise the Jars
Wash jars in hot soapy water, rinse thoroughly, and place upside down in a 140°C oven for 15 minutes. Leave in the oven until needed.
Step 2 — Combine Everything in the Bowl
Place the lemon zest, lemon juice, caster sugar, cold cubed butter, and beaten eggs and yolks together in a large heatproof bowl. Do not mix at this stage.
Step 3 — Cook Over Simmering Water
Place the bowl over a saucepan of gently simmering water — the base of the bowl must not touch the water. This double boiler method ensures gentle, even heat that cooks the eggs slowly without scrambling.
Stir everything together with a wooden spoon or heatproof spatula. Cook over the simmering water for 10 to 15 minutes, stirring constantly, until the butter has melted and the curd has thickened significantly. The curd is ready when it coats the back of a spoon thickly and a line drawn through it with your finger holds its shape.
The temperature should reach approximately 82°C — if you have a thermometer, this is a reliable guide. Never let it boil.
Step 4 — Strain
Remove the bowl from the heat. Pour the curd through a fine sieve into a clean bowl or jug — this removes the lemon zest and any tiny pieces of cooked egg, giving a completely smooth, glossy curd.
Step 5 — Pot and Seal
Pour the strained curd immediately into the warm sterilised jars, filling to within 5mm of the top. Place a small disc of baking parchment directly on the surface of the curd before sealing — this prevents a skin forming. Seal with lids immediately. Label with the date.
Leave to cool at room temperature, then refrigerate.
My Top Tips For Mary Berry Lemon Curd
Use unwaxed lemons. The wax coating on regular lemons can give the curd a slightly waxy, artificial note. Unwaxed lemons — widely available in supermarkets — give a cleaner, more fragrant result.
Include extra egg yolks. The additional egg yolks in this recipe (three whole eggs plus two yolks) give the curd a richer colour and a slightly more stable, more glossy set than using whole eggs alone. The extra yolks are worth including.
Never let the curd boil. The water beneath the bowl should be at a gentle simmer — barely bubbling. If the water boils vigorously, the steam overheats the curd and the eggs scramble. Keep the heat gentle throughout.
Stir constantly. This is not an occasional stir. The curd should be stirred continuously throughout the 10 to 15 minutes of cooking, making sure the spatula reaches the sides and base of the bowl at every stroke.
Strain before potting. The sieve removes the lemon zest and any tiny particles of cooked egg, giving a completely smooth, professional-looking curd. Always strain.
The curd thickens further as it cools. It may look slightly runny when it comes off the heat — this is correct. Once cooled in the fridge it will be significantly firmer and perfectly spreadable.
How to Use Mary Berry Lemon Curd
On toast or crumpets with good butter. Spooned generously into warm scones alongside clotted cream. As a filling for the lemon curd cake. As the base layer in the Easter pavlova.
Stirred through whipped cream for a quick lemon fool. In the lemon curd cheesecake. As a tart filling. Eaten from the jar.
How to Store Mary Berry Lemon Curd
In the fridge: Store in sealed jars for up to 4 weeks. Always use a clean spoon.
In the freezer: Lemon curd freezes well for up to 3 months. Defrost overnight in the fridge and stir well before using.
Try These Recipes
- Mary Berry No Bake Strawberry Cheesecake
- Mary Berry No Bake Lemon Cheesecake
- Mary Berry Bakewell Tart
- Mary Berry Lemon Cheesecake
Mary Berry Lemon Curd Recipe
Ingredients
Method
- Sterilise jars in a 140°C oven for 15 minutes.
- Place lemon zest, lemon juice, caster sugar, cold cubed butter, and beaten eggs and yolks in a large heatproof bowl. Do not mix yet.
- Place bowl over a pan of gently simmering water — base must not touch the water. Stir everything together. Cook over simmering water for 10–15 minutes, stirring constantly, until the curd coats the back of a spoon thickly and a drawn line holds its shape. Never let it boil.
- Remove from heat. Strain through a fine sieve into a clean jug.
- Pour immediately into warm sterilised jars. Place a disc of baking parchment on the surface. Seal. Label. Cool then refrigerate.
Notes
Frequently Asked Questions
Why did my lemon curd scramble?
The heat was too high — the water was boiling rather than simmering, or the curd was cooking too quickly. If scrambling has started, remove from the heat immediately, strain through a fine sieve, and whisk vigorously — mild scrambling can sometimes be rescued. Prevent it by keeping the water at a gentle simmer throughout.
Can I make lemon curd in the microwave?
Yes — combine all ingredients in a microwave-safe bowl. Microwave on full power for 1 minute. Remove and stir well. Repeat in 30-second bursts, stirring after each, until the curd has thickened — usually 4 to 5 minutes total. Strain and pot as directed. The result is slightly less silky than the hob method but very good.
Can I use lime instead of lemon?
Yes — lime curd made with the same method and quantities is extraordinary. Use the zest of 5 limes and 150ml of lime juice. The colour will be slightly paler and the flavour more floral and slightly sweeter.
Why is my lemon curd too runny?
It was not cooked long enough or the heat was too low. Return to the double boiler and continue cooking, stirring constantly, until it coats the back of the spoon and a drawn line holds. It will also thicken further as it cools.
Do I need to strain the curd?
Technically no — the curd is safe without straining. But straining gives a completely smooth, glossy, professional curd that is significantly more pleasant in texture than an unstrained one. Always strain.
Can I double the recipe?
Yes — double all quantities and cook in a larger bowl. The cooking time increases to 18 to 20 minutes. The same rules apply — gentle heat and constant stirring.















Leave a Reply