
 Anna Louise
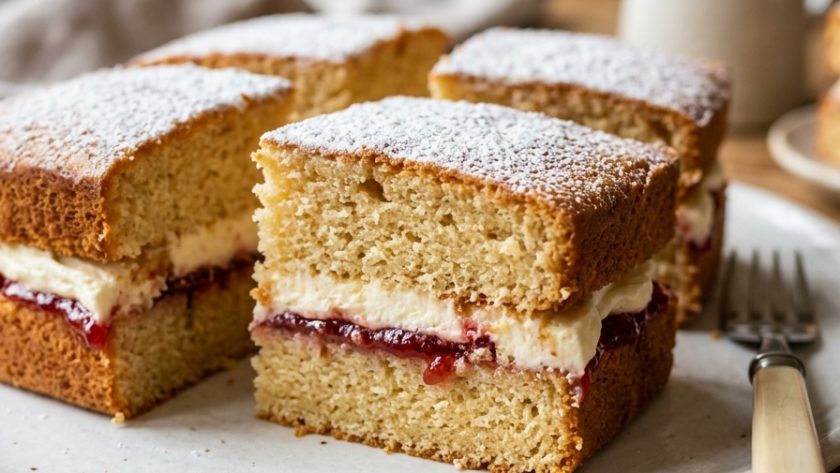
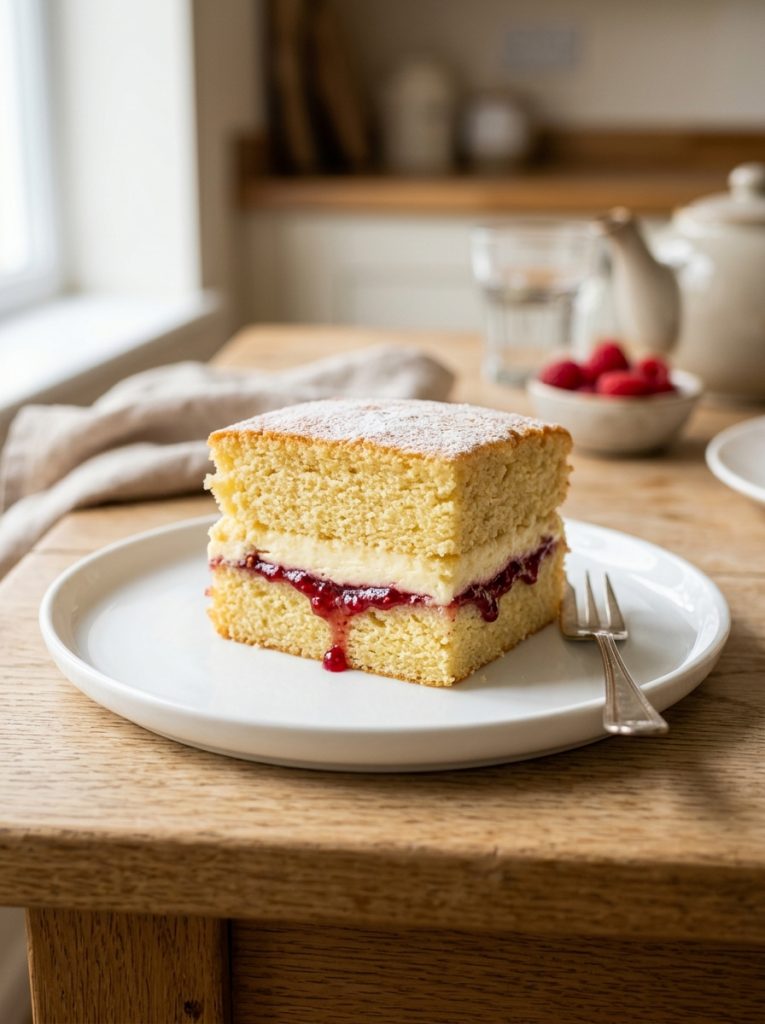
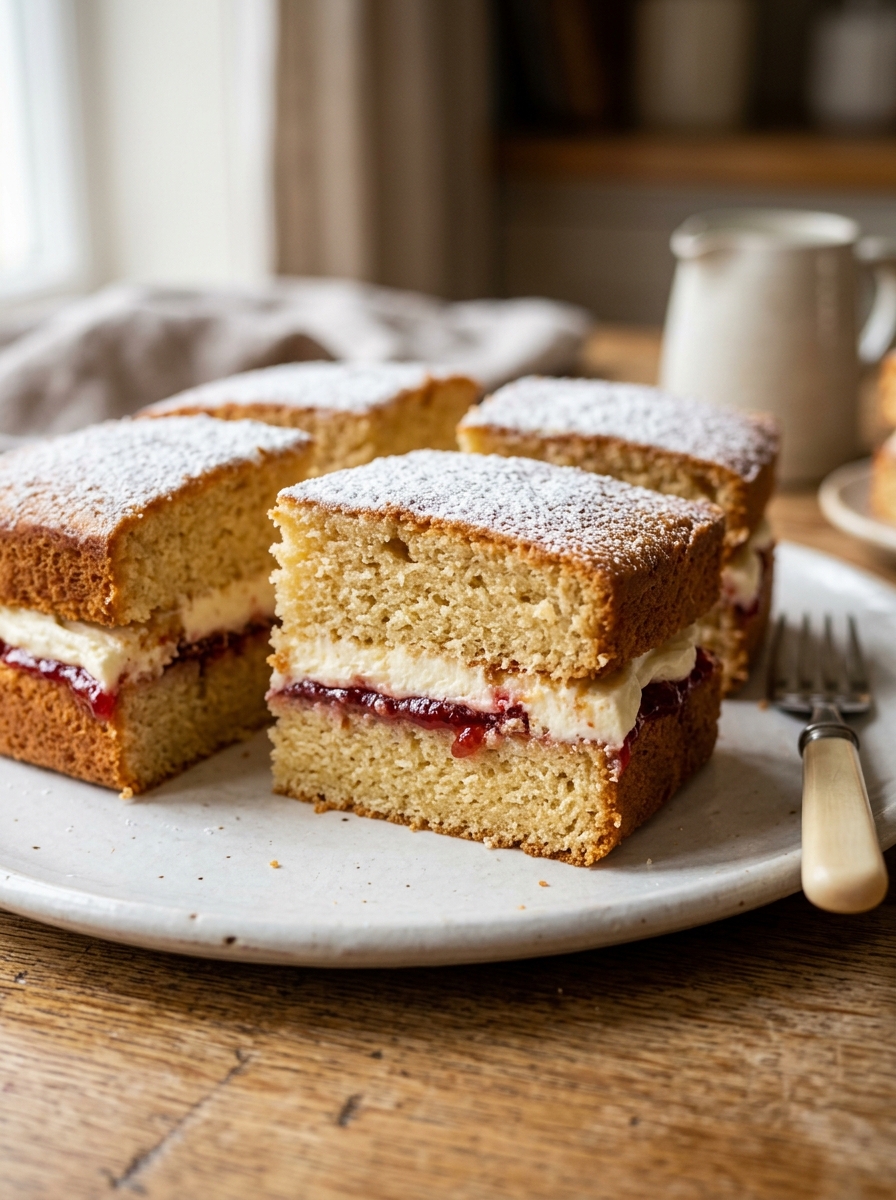
 The Victoria sponge traybake takes the most beloved British cake and puts it in the most practical format. The same light, buttery, perfectly risen sponge. The same combination of strawberry jam and cream.
The same gentle vanilla sweetness that has made Victoria sponge the nation’s favourite for over a century. In a 30x23cm traybake tin that feeds twenty-four people, requires no layering, no stacking, no careful alignment — just bake, cool, top, and cut.
Mary Berry’s Victoria sponge traybake recipe uses the same all-in-one method as her classic Victoria sponge — everything into one bowl, beaten together — with the quantities scaled for a traybake tin and the topping adapted for the flat surface of a tray rather than a round cake.
A layer of good strawberry jam, a generous covering of whipped cream, and a dusting of icing sugar — it looks completely beautiful and serves a crowd effortlessly.
This is the bake for a summer fête, a school event, a large family gathering, or any occasion where you need to feed a great many people something genuinely wonderful without spending all day in the kitchen.
Why Traybake Format Works So Well for Victoria Sponge
The traybake format solves the three practical problems of making Victoria sponge for a crowd.
No layering. A round Victoria sponge for twenty people requires multiple cakes or multiple layers — neither is quick or straightforward. A traybake accommodates the same quantity in one tin.
Even topping distribution. A flat traybake surface means every square gets the same ratio of sponge, jam, and cream. No slice is shorter on filling than another.
Easy cutting. A traybake cuts into neat squares in under a minute. A round layered cake cut for twenty people takes considerably longer and produces pieces of widely varying size.
Ingredients for Mary Berry Victoria Sponge Traybake
For the Victoria Sponge
- 350g unsalted butter, softened
- 350g caster sugar
- 6 large eggs, at room temperature
- 350g self-raising flour, sifted
- 3 tsp baking powder
- 6 tbsp whole milk
- 2 tsp vanilla extract
For the Topping
- 200g good quality strawberry jam
- 400ml double cream, cold
- 2 tbsp icing sugar, sifted
- 1 tsp vanilla extract
To Finish
- Icing sugar for dusting
- Fresh strawberries, halved (optional — for decoration and colour)
How to Make Mary Berry Victoria Sponge Traybake — Step by Step
Step 1 — Preheat and Prepare
Preheat your oven to 180°C / 160°C fan / Gas 4. Grease a 30x23cm traybake tin generously and line with baking parchment, leaving an overhang at the sides.
Step 2 — Make the Batter
Place the softened butter, caster sugar, eggs, sifted flour, baking powder, milk, and vanilla extract into a large mixing bowl. Beat with an electric hand whisk for two to three minutes until smooth, pale, and well combined. Scrape down the sides once during mixing.
The batter should be smooth and drop off the beaters in thick, even ribbons.
Step 3 — Bake
Pour the batter into the prepared tin and spread evenly with a palette knife — make sure the batter reaches the corners and is level across the entire surface.
Bake on the middle shelf for 30 to 35 minutes until the sponge is golden, risen, and springs back when pressed lightly in the centre. A skewer inserted into the middle should come out clean.
Leave to cool in the tin for fifteen minutes. Lift out using the parchment overhang and transfer to a wire rack. Cool completely — at least one hour — before adding the topping.
Step 4 — Spread the Jam
Once the sponge is completely cool, place it on a board or serving tray. Spread the strawberry jam evenly over the entire surface — be generous and make sure it reaches the edges. Use the back of a spoon or an offset palette knife for the most even coverage.
Step 5 — Make and Spread the Cream
Whip the cold double cream, icing sugar, and vanilla extract in a large, cold bowl to soft but stable peaks — the cream should hold its shape when the whisk is lifted but still look light and billowy rather than stiff.
Spread the whipped cream generously over the jam layer, covering it completely. For the most elegant result, spread in one direction with a palette knife, then make light peaks by pressing the knife gently against the surface and lifting.
Step 6 — Decorate and Cut
Dust generously with icing sugar. Arrange halved fresh strawberries in rows across the surface if using — one per square makes cutting straightforward and ensures every piece has decoration.
Refrigerate for thirty minutes to allow the cream to firm slightly before cutting. Cut into 20 to 24 squares with a sharp knife.
My Top Tips For Best Mary Berry Victoria Sponge Traybake
Cool the sponge completely before topping. Even slightly warm sponge melts the whipped cream on contact and makes the cream runny and difficult to spread. One hour on a wire rack is the minimum — refrigerate for fifteen minutes if you are in a hurry.
Be generous with the jam. The jam is the flavour that sits between the sponge and the cream and brings the whole thing together. A thin scraping disappoints. Use all 200g spread right to the edges.
Whip cream to soft but stable peaks. Soft peaks that still hold their shape are the right consistency for spreading on a traybake — they spread easily and look light and generous. Stiff peaks look heavy and are harder to spread. Underwhipped cream collapses and weeps.
Refrigerate before cutting. Thirty minutes in the fridge firms the cream enough to cut cleanly. Cutting immediately after spreading gives soft, ragged-edged squares with cream smearing.
Use strawberries in a grid pattern. One strawberry half per square, placed before cutting, tells you exactly where to cut and ensures every piece has decoration. It also makes the finished traybake look genuinely beautiful.
Lift the sponge from the tin before topping. Trying to top a sponge while it is still in the tin is awkward and makes spreading the jam and cream more difficult. Lift it out completely and top it on a board.
Serving Suggestions
At a summer garden party — this is the most natural setting for a Victoria sponge traybake. At a school fête or bake sale. As the centrepiece of an afternoon tea for a large group. At a birthday gathering where a showstopping individual cake is not needed but something beautiful is.
How to Store Mary Berry Victoria Sponge Traybake
In the fridge: Store covered for up to 2 days — the cream requires refrigeration. Bring to room temperature for twenty minutes before serving for the best flavour.
In the freezer: Freeze the unfilled sponge for up to 3 months. Add jam and cream fresh when serving.
Mary Berry Victoria Sponge Traybake Recipe
Ingredients
Method
- Preheat oven to 180°C / 160°C fan / Gas 4. Grease and line a 30x23cm traybake tin.
- Place butter, sugar, eggs, flour, baking powder, milk, and vanilla in a large bowl. Beat with electric whisk 2–3 minutes until smooth and pale. Scrape down halfway.
- Pour into tin. Spread evenly to the corners. Bake 30–35 minutes until golden, springy, and a skewer comes out clean.
- Cool in tin 15 minutes. Lift out. Cool completely on wire rack — at least 1 hour.
- Place cooled sponge on board. Spread jam generously over entire surface.
- Whip cold cream, icing sugar, and vanilla to soft but stable peaks. Spread generously over jam.
- Dust with icing sugar. Arrange strawberry halves in a grid if using. Refrigerate 30 minutes. Cut into 20–24 squares.
Notes
Frequently Asked Questions
Can I use buttercream instead of whipped cream?
Yes — vanilla buttercream gives a more stable topping that does not require refrigeration and holds for longer. Use the buttercream from the vanilla cupcakes recipe on this site. Spread over the jam as directed.
Can I use raspberry jam instead of strawberry?
Yes — raspberry jam gives a slightly sharper, more vibrant result that many people prefer. Any good quality fruit jam works — apricot, blackcurrant, or mixed berry are all wonderful alternatives.
Can I make this the night before?
Yes — bake the sponge the night before and store in an airtight container. Top with jam and cream on the day of serving, refrigerate for thirty minutes, then cut and serve.
Why is my traybake sponge denser than expected?
The all-in-one method requires butter that is genuinely soft — not slightly firm, not cold. If the butter was not at full room temperature, the sponge will be denser and less well-risen. Take butter out of the fridge at least an hour before baking.
Can I make individual Victoria sponge squares?
Yes — this recipe is already presented in square format. For individual cakes with a more formal presentation, use a round cutter to cut circles from the traybake sponge and assemble with jam and cream in individual portions.


Leave a Reply