
 Anna Louise
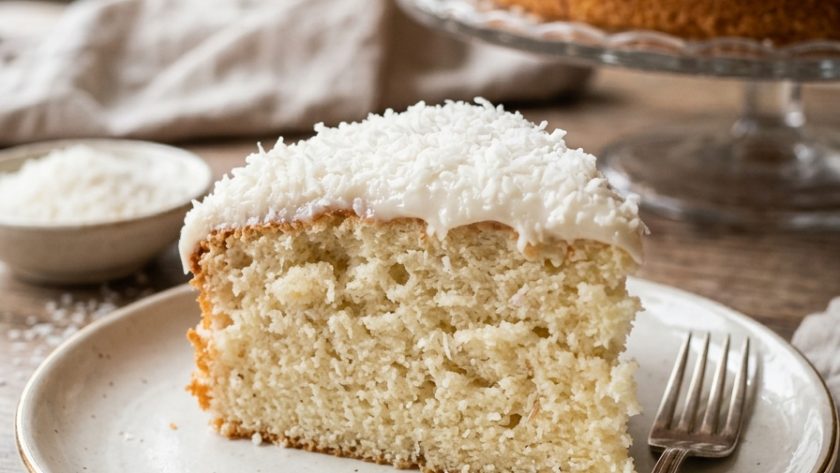
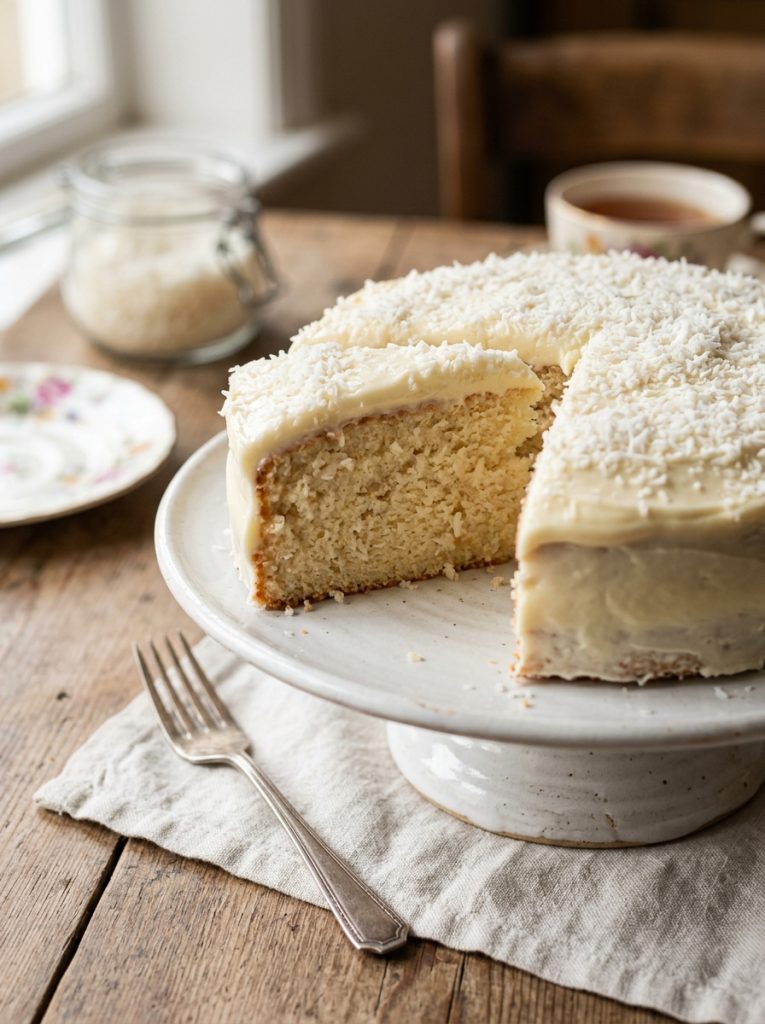
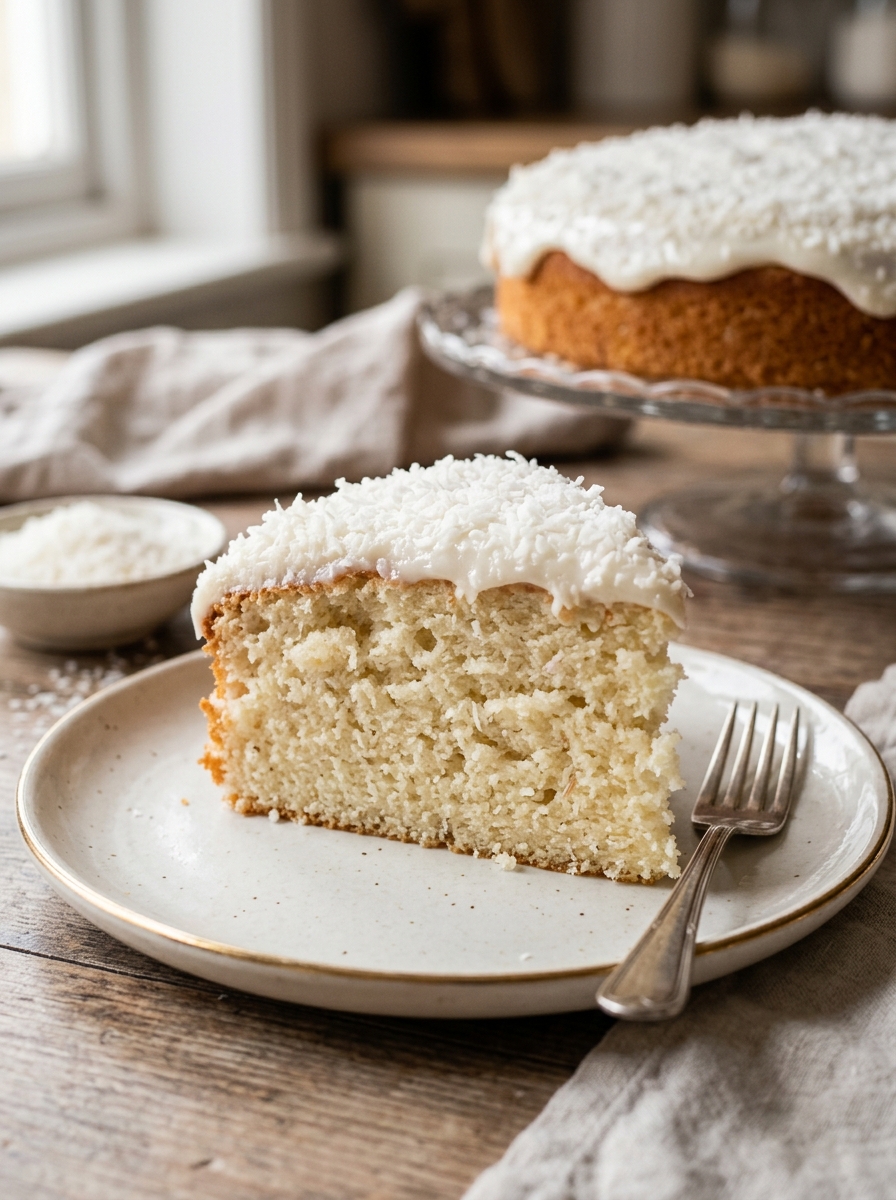
 A coconut cake done well is one of the most beautiful and fragrant cakes in British baking. Light, tender sponge layers fragrant with coconut, sandwiched and covered in a coconut buttercream, and finished with a generous coating of toasted desiccated coconut that gives a slightly crunchy, golden exterior — it looks genuinely spectacular and tastes even better.
Mary Berry’s coconut cake recipe uses desiccated coconut in the sponge for flavour and texture, and coconut cream in the buttercream for an intensely coconutty frosting that is noticeably different from a plain vanilla buttercream.
The toasted coconut pressed onto the outside is the finishing touch that transforms a beautiful cake into a showstopping one. This is the cake for celebrations that call for something a little different — impressive, fragrant, and completely impossible to resist.
What Makes This Coconut Cake Stand Out
Coconut in three forms. Desiccated coconut in the sponge for texture and flavour. Coconut cream in the buttercream for an intensely coconutty frosting. Toasted desiccated coconut on the outside for visual impact and a wonderful crunch. The three together give a cake that tastes genuinely, deeply of coconut at every level.
Toasting the coconut. Raw desiccated coconut on the outside of a cake looks pale and slightly dull. Toasted coconut — spread on a baking tray and baked at 180°C for five to eight minutes until golden — looks beautiful, smells wonderful, and adds a slight nuttiness that raw coconut cannot provide.
Coconut cream in the buttercream. Full-fat coconut cream replaces some of the milk in the buttercream, giving a richer, more intensely flavoured frosting than simply using vanilla buttercream and calling it coconut.
Ingredients for Mary Berry Coconut Cake
For the Coconut Sponge
- 225g unsalted butter, softened
- 225g caster sugar
- 4 large eggs, at room temperature
- 200g self-raising flour, sifted
- 75g desiccated coconut
- 1½ tsp baking powder
- 3 tbsp whole milk
- 1 tsp vanilla extract
- ½ tsp coconut extract (optional — intensifies the coconut flavour)
For the Coconut Buttercream
- 200g unsalted butter, softened
- 400g icing sugar, sifted
- 4 tbsp full-fat coconut cream (the thick part from the top of an unshaken tin)
- 1 tsp vanilla extract
- Pinch of fine salt
To Finish
- 100g desiccated coconut, toasted until golden
- Edible flowers or fresh raspberries (optional)
How to Make Mary Berry Coconut Cake — Step by Step
Step 1 — Toast the Coconut
Spread the desiccated coconut for the topping on a large baking tray. Place in a 180°C oven for five to eight minutes, stirring once halfway through, until evenly golden. Watch it carefully — it can go from pale to burnt very quickly. Remove and leave to cool completely on the tray.
Step 2 — Preheat and Prepare
Keep the oven at 180°C / 160°C fan / Gas 4. Grease two 20cm round sandwich tins and line the bases with baking parchment.
Step 3 — Make the Sponge
Beat the softened butter and caster sugar together with an electric hand whisk for four to five minutes until pale and genuinely fluffy. Add the vanilla extract and coconut extract if using.
Add the eggs one at a time, beating well after each. If the mixture looks like it might curdle, add a tablespoon of flour.
Sift the flour and baking powder into the bowl. Add the desiccated coconut and milk. Fold gently until just combined.
Step 4 — Bake
Divide equally between the two prepared tins — weigh them for even layers. Smooth the tops. Bake for 22 to 26 minutes until golden, risen, and a skewer comes out clean.
Cool in the tins for five minutes. Turn out onto a wire rack and cool completely.
Step 5 — Make the Coconut Buttercream
Beat the softened butter alone for four minutes until very pale and fluffy. Add the sifted icing sugar in two batches, beating well after each. Add the coconut cream, vanilla, and salt. Beat for two more minutes until smooth, glossy, and spreadable.
The coconut cream makes this buttercream slightly softer than a standard one — if it seems too soft, refrigerate for fifteen minutes before using.
Step 6 — Assemble
Place one sponge on your serving plate. Spread a generous layer of coconut buttercream over the top. Place the second sponge on top.
Spread the remaining buttercream over the top and sides of the cake — cover it completely. For the sides, use a palette knife to smooth the buttercream as evenly as possible.
Step 7 — Coat with Toasted Coconut
Working quickly before the buttercream sets, press handfuls of the cooled toasted coconut all over the top and sides of the cake — the buttercream acts as the glue. Gently press the coconut to adhere. The coconut should cover the cake completely.
Add edible flowers or fresh raspberries on top for colour and elegance if using.
Refrigerate for 30 minutes to firm up before slicing.
My Top Tips For Mary Berry Coconut Cake
Toast the coconut first — before anything else. It needs to cool completely before it goes on the cake. Making it the first step means it is ready and cool by the time the cake is assembled.
Use coconut cream not coconut milk in the buttercream. Coconut milk is too liquid and makes the buttercream runny. Use the thick cream from the top of an unshaken tin of full-fat coconut milk, or buy a separate tin of coconut cream.
Beat butter for four full minutes before adding icing sugar. The most important step for light, silky buttercream. Four minutes of beating butter alone creates the aerated base that gives the finished buttercream its lightness.
Work quickly when applying the toasted coconut. The buttercream sets as it cools and the coconut will not adhere as easily once it begins to firm. Apply the coconut within a few minutes of spreading the buttercream.
Refrigerate before slicing. Thirty minutes in the fridge after assembly firms the buttercream and makes the cake significantly easier to slice cleanly without the coconut falling off.
Serving Suggestions
At a birthday or celebration — it looks genuinely spectacular on a cake stand. At a summer party with fresh raspberries on top for colour. As an afternoon tea centrepiece. Sliced and served with a cup of strong tea.
How to Store Mary Berry Coconut Cake
In the fridge: Store covered for up to 4 days. The desiccated coconut on the outside stays crispy for the first two days and softens slightly after that.
In the freezer: Freeze unfrosted sponge layers for up to 3 months. Make the buttercream fresh when assembling.
Mary Berry Coconut Cake Recipe
Ingredients
Method
- Toast desiccated coconut at 180°C for 5–8 minutes until golden. Cool completely.
- Keep oven at 180°C / 160°C fan / Gas 4. Grease and line two 20cm tins.
- Beat butter and sugar 4–5 minutes. Add vanilla and coconut extract. Add eggs one at a time. Sift in flour and baking powder. Add coconut and milk — fold gently.
- Divide between tins — weigh for even layers. Bake 22–26 minutes until golden and skewer comes out clean. Cool completely.
- Beat butter alone 4 minutes. Add icing sugar in 2 batches. Add coconut cream, vanilla, and salt — beat 2 more minutes.
- Sandwich sponges with coconut buttercream. Cover top and sides with remaining buttercream. Press toasted coconut all over immediately. Refrigerate 30 minutes before slicing.
Notes
Frequently Asked Questions
Can I use coconut flour instead of desiccated coconut in the sponge?
No — coconut flour behaves very differently from desiccated coconut and requires a completely different recipe. Desiccated coconut adds texture and flavour without affecting the structure significantly. Coconut flour is very absorbent and would make the sponge dry and dense.
Can I use coconut oil instead of butter?
You can — refined coconut oil (not virgin, which tastes too strongly of coconut) gives a slightly different texture. The sponge will be slightly more moist and slightly less fluffy than with butter. It is a valid option for dairy-free baking.
Can I add jam between the layers?
Yes — a layer of good quality raspberry or apricot jam under the buttercream in the middle layer adds a fruity sharpness that balances the sweetness of the coconut beautifully.
Why is my buttercream too soft?
The coconut cream was added while still warm or the kitchen is very warm. Refrigerate the assembled cake for 30 minutes — the buttercream will firm up considerably.
Can I make this as a traybake?
Yes — pour the batter into a greased and lined 30x23cm traybake tin and bake for 30 to 35 minutes. Spread the buttercream over the cooled sponge and scatter toasted coconut on top. Cut into squares.


Leave a Reply