
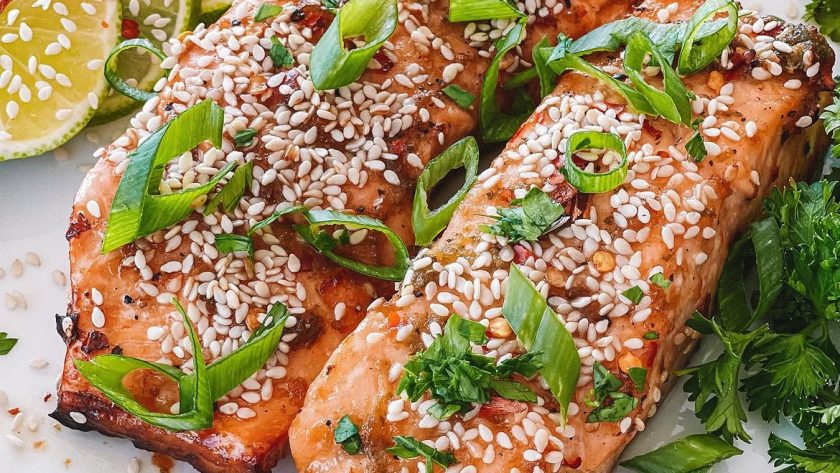
 Anna Louise
 A perfectly cooked piece of salmon is one of the most elegant and effortless things you can put on the table. Flaking at the touch of a fork, with a skin that is crisp and golden, a centre that is just barely translucent — it is quick enough for a weeknight and impressive enough for a dinner party.
Mary Berry’s salmon recipe keeps things exactly where they should be — simple. The salmon is seasoned, cooked in a hot pan, and finished with a squeeze of lemon and a few fresh herbs. No complicated sauce, no elaborate preparation. Just very good salmon, treated with the care it deserves.
This is the essential guide to cooking salmon — pan-fried, baked, and poached — with the key techniques that make the difference between salmon that is perfectly cooked and salmon that is dry, overcooked, and disappointing.
Three Ways to Cook Salmon Perfectly
Method 1 — Pan-Fried Salmon (The Best for Crispy Skin)
Pan-frying salmon at high heat for a short time gives you the finest result — crisp, golden skin, perfectly cooked flesh that is just slightly translucent in the very centre.
The technique: Dry the salmon thoroughly with kitchen paper before cooking — wet fish does not colour. Season generously. Heat the pan until very hot — a drop of water should evaporate immediately. Add a little oil. Place the salmon skin-side down and do not move it.
Cook for three to four minutes without touching until the skin is deeply golden and crisp and the flesh has turned opaque about two-thirds of the way up the fillet. Flip and cook for one to two minutes until just done. Rest for one minute before serving.
Method 2 — Baked Salmon (Best for Ease and Feeding a Crowd)
Baking salmon is the most hands-off method and scales easily for larger numbers. The risk of overcooking is lower because the gentle heat of the oven is more forgiving than a hot pan.
The technique: Preheat oven to 200°C / 180°C fan / Gas 6. Place salmon fillets on a baking tray lined with baking parchment. Season well, add a drizzle of olive oil and a squeeze of lemon, and bake for 12 to 15 minutes depending on thickness. The salmon is done when it flakes easily but still has a very slightly translucent centre.
Method 3 — Poached Salmon (Best for a Whole Side or for Salads)
Poaching salmon gives a very delicate, silky texture — particularly good for a whole side of salmon for a celebration, or for salmon that will be served cold in a salad.
The technique: Place salmon in a wide pan, cover with cold water (or a mixture of water and white wine), add a bay leaf, a slice of lemon, and some peppercorns. Bring very gently to barely simmering.
The water should not boil — just tremble. Poach for 6 to 8 minutes per 500g until just cooked through. For cold salmon, turn off the heat and leave in the water to cool completely.
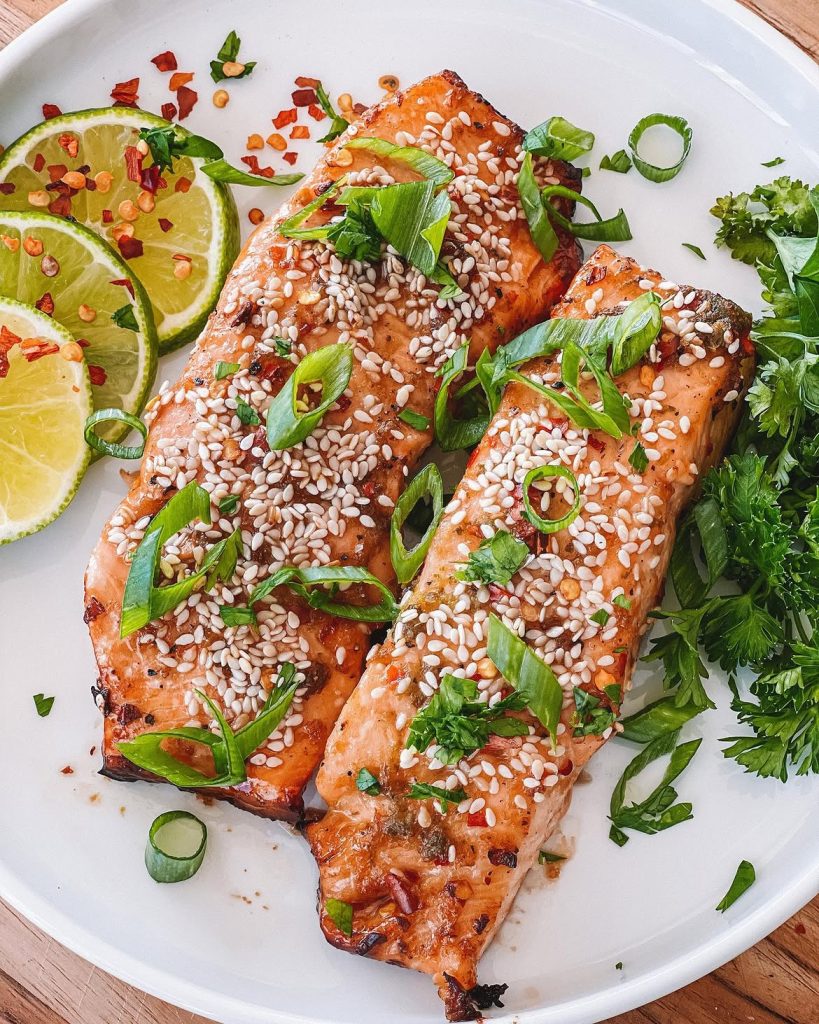
Ingredients for Mary Berry Pan-Fried Salmon
- 4 salmon fillets, skin on (about 150g each)
- 2 tbsp olive oil or sunflower oil
- Fine salt and freshly ground black pepper
- Juice of 1 lemon
- Fresh dill or flat-leaf parsley, chopped, to finish
Simple Lemon Butter Sauce (Optional)
- 50g unsalted butter
- Juice of 1 lemon
- 1 tbsp capers, rinsed (optional)
- 1 tbsp fresh dill or parsley, chopped
- Salt and pepper
How to Pan-Fry Mary Berry Salmon — Step by Step
Step 1 — Prepare the Salmon
Remove the salmon from the fridge 15 minutes before cooking — cold salmon straight from the fridge cooks unevenly, with the outside overcooked before the centre is done.
Pat the salmon completely dry with kitchen paper — on both sides, and especially the skin. Wet salmon does not colour or crisp. Season generously with salt and pepper on both sides.
Step 2 — Heat the Pan
Heat a large, heavy-based non-stick or stainless steel frying pan over a high heat for two minutes until very hot. Add the oil and swirl to coat. The oil should shimmer immediately.
Step 3 — Cook Skin-Side Down
Place the salmon fillets skin-side down in the hot pan. Press each fillet down gently with a spatula for the first 10 seconds — this prevents the skin from curling and ensures even contact with the pan.
Cook without moving for three to four minutes. Do not be tempted to lift or move the salmon — leaving it undisturbed is what gives you properly crisp skin. You will see the flesh changing colour from the bottom up — when it is opaque about two-thirds of the way up the fillet, it is time to flip.
Step 4 — Flip and Finish
Flip the salmon carefully and cook for one to two minutes on the flesh side. The salmon is done when it flakes easily when pressed gently with a fork and is just barely translucent in the very centre. Remove from the pan and rest for one minute.
Step 5 — Make the Lemon Butter Sauce (Optional)
In the same pan, reduce the heat to medium. Add the butter and let it melt and foam. Add the lemon juice, capers if using, and fresh herbs. Swirl the pan briefly and pour over the salmon immediately.
Step 6 — Serve
Squeeze a little fresh lemon over the salmon, scatter with fresh herbs, and serve immediately.
My Top Tips For Mary Berry Salmon
Dry the salmon thoroughly before cooking. This is the most important step for crispy skin. Any moisture on the surface will steam rather than sear, and the skin will never crisp no matter how hot the pan.
Take the salmon out of the fridge 15 minutes before cooking. Room temperature salmon cooks more evenly than cold salmon. This small step prevents the outside overcooking before the inside is done.
Do not move the salmon. Once it is in the pan, leave it. Moving it tears the skin and breaks the crust before it has had time to set. Leave it completely undisturbed for the full three to four minutes.
Cook two-thirds of the way through on the skin side. The salmon should be visibly opaque two-thirds of the way up the fillet when you flip it. Flip too early and the skin is not crisp; flip too late and the flesh is dry.
Do not overcook. Slightly translucent in the very centre is perfect — it will finish cooking from residual heat during the one-minute rest. Fully opaque all the way through means it is overcooked.
Season generously. Salmon needs more seasoning than you think. Be generous with both salt and pepper on both sides before it goes in the pan.
Serving Suggestions
With new potatoes and green beans for a simple, classic dinner. With dauphinoise potatoes for something more indulgent. With a simple salad of cucumber, dill, and crème fraîche.
On top of a green salad with a lemon vinaigrette for a lighter lunch. With crushed peas and mint for a fresh, seasonal combination.
How to Store Mary Berry Salmon
Cooked salmon: Store in the fridge for up to 2 days. Eat cold in salads or flaked into pasta — reheating cooked salmon often makes it dry.
Raw salmon: Store in the fridge and use by the use-by date — usually within 2 days of purchase.
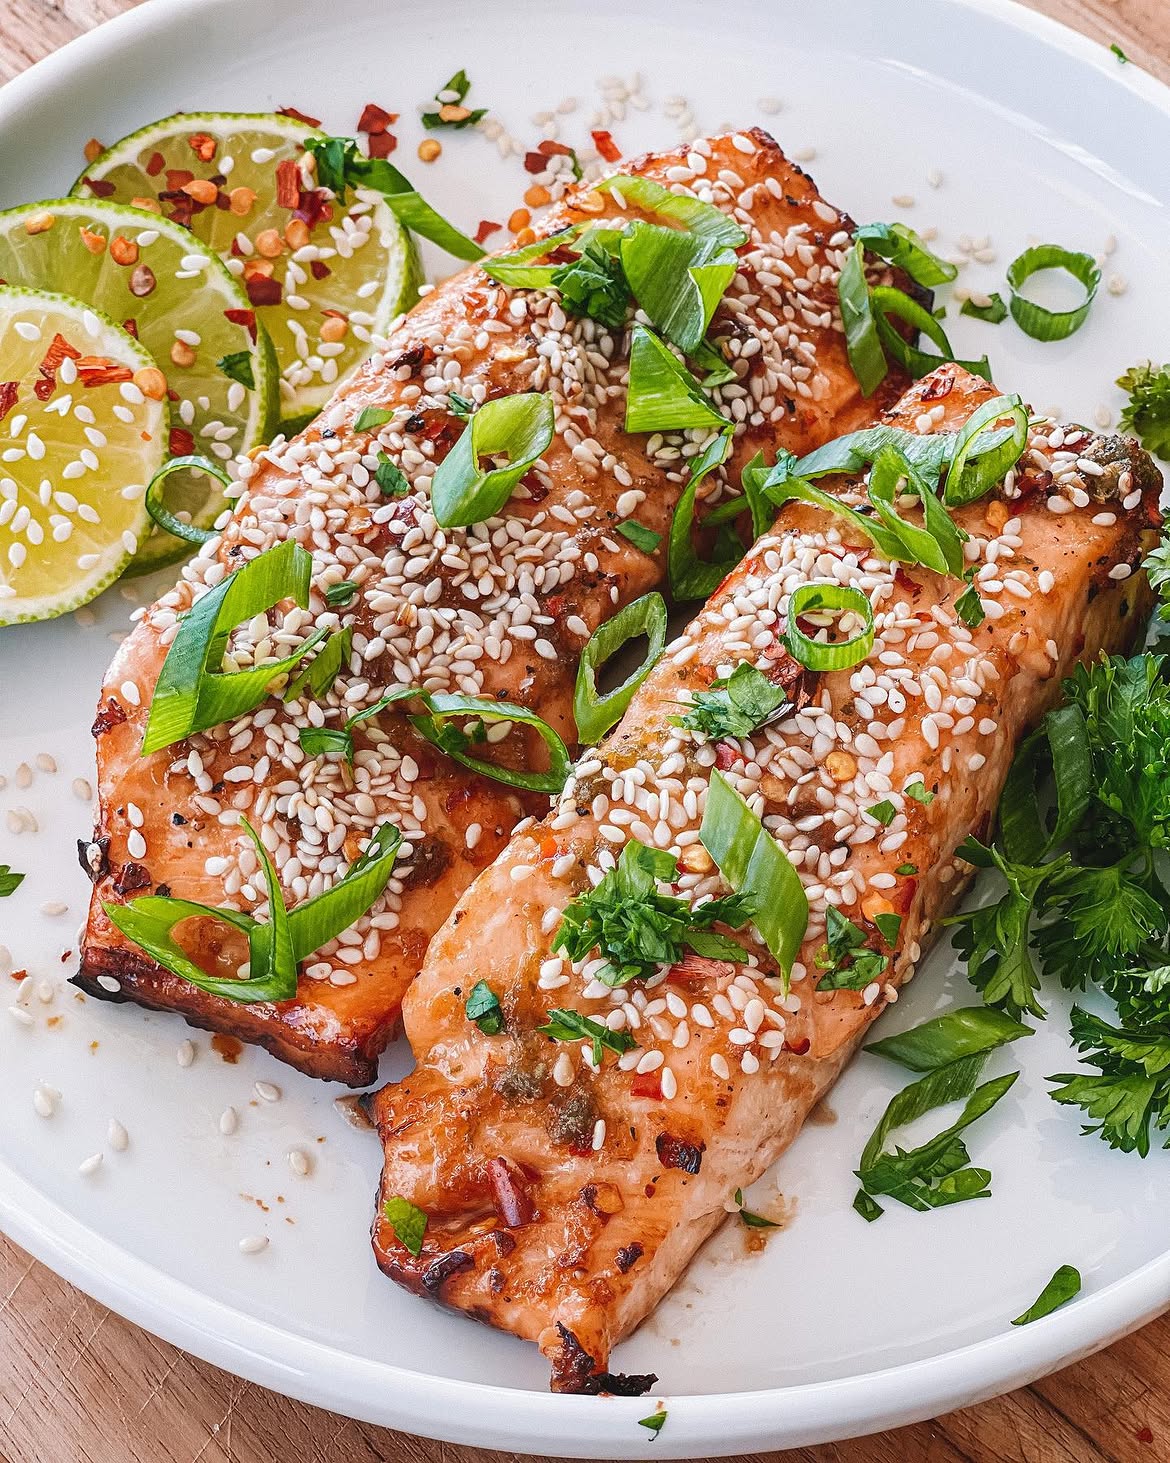
Mary Berry Salmon Recipe
Ingredients
Method
- Remove salmon from fridge 15 minutes before cooking. Pat completely dry with kitchen paper. Season generously on both sides.
- Heat a large heavy-based pan over high heat for 2 minutes. Add oil — it should shimmer immediately.
- Place salmon skin-side down. Press down gently for 10 seconds. Cook without moving for 3–4 minutes until skin is deeply golden and flesh is opaque two-thirds of the way up.
- Flip. Cook 1–2 minutes until just done — slightly translucent in the very centre. Remove and rest 1 minute.
- Optional sauce: reduce heat. Add butter to the same pan. Melt and foam. Add lemon juice, capers, and herbs. Swirl and pour over salmon.
- Squeeze fresh lemon over salmon. Scatter herbs. Serve immediately.
Notes
Frequently Asked Questions
How do I know when salmon is cooked?
Press the thickest part gently with a fork — it should flake into clean layers. The flesh should be opaque on the outside with a very slight translucency remaining in the very centre for a perfectly moist result. If it is opaque all the way through, it is done — just be careful not to go beyond this point.
Should I remove the skin before cooking?
For pan-frying, always cook skin-side down first and leave the skin on — the skin protects the delicate flesh during the initial high-heat cooking. Remove it on the plate if you do not want to eat it. For poaching, the skin can be removed before or after cooking.
Can I cook salmon from frozen?
Yes — baking works best from frozen. Place frozen fillets in a 200°C oven and bake for 20 to 25 minutes. Do not pan-fry from frozen as the outside will overcook before the inside defrosts.
What is the best type of salmon to buy?
Scottish or Norwegian farmed salmon is widely available and good quality. Wild salmon — Pacific or Atlantic — has a more intense flavour and firmer texture but is significantly more expensive. Either works in this recipe.
How do I stop salmon sticking to the pan?
Make sure the pan is very hot before adding the oil, the oil is hot before adding the salmon, and the salmon is dry. A properly preheated, oiled pan with dry salmon should not stick.
Can I cook salmon in an air fryer?
Yes — preheat the air fryer to 200°C, place seasoned salmon skin-side down in the basket, and cook for 8 to 10 minutes depending on thickness. The skin will not be as crisp as pan-frying but the flesh cooks well.




Leave a Reply