
 Anna Louise
 Some recipes are proof that simplicity is its own kind of genius. Shortbread is one of them.
Three ingredients. Just three. Butter, flour, and sugar — and nothing else. No eggs, no leavening agents, no vanilla, no extras. Just those three things, combined in the right proportions, handled correctly, and baked at the right temperature.
And from those three humble ingredients comes something that is genuinely, completely wonderful — one of the most perfect biscuits ever invented.
Mary Berry’s shortbread recipe is the version I have made more times than any other biscuit on this site, and it is the one I will keep making for the rest of my baking life.
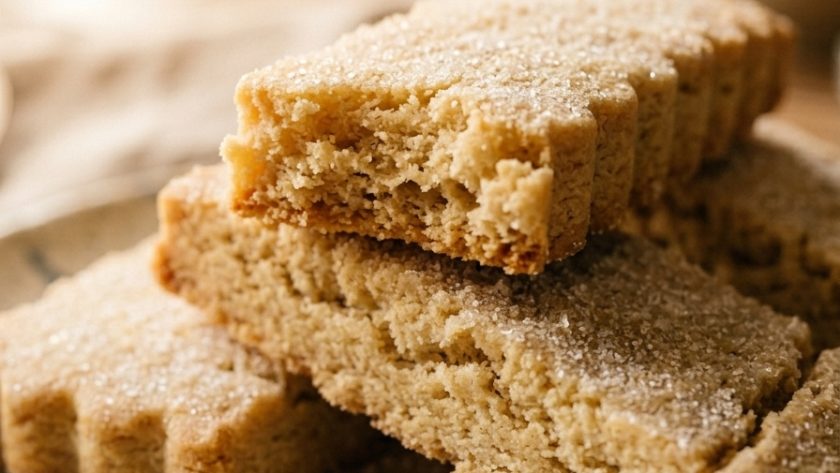
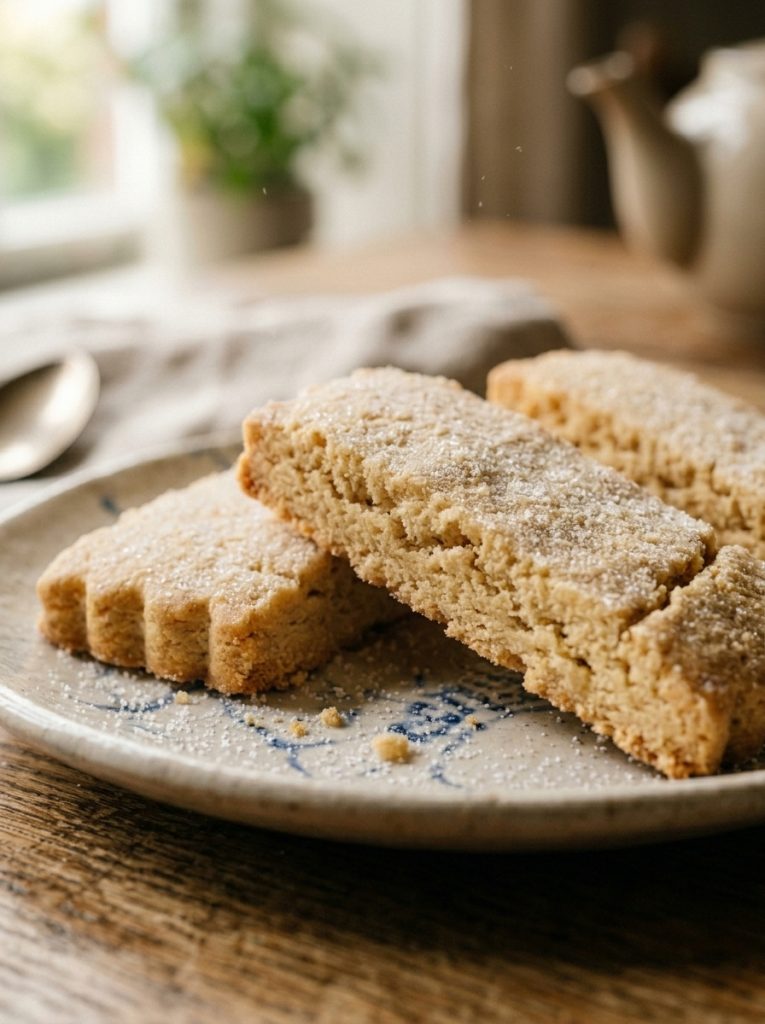
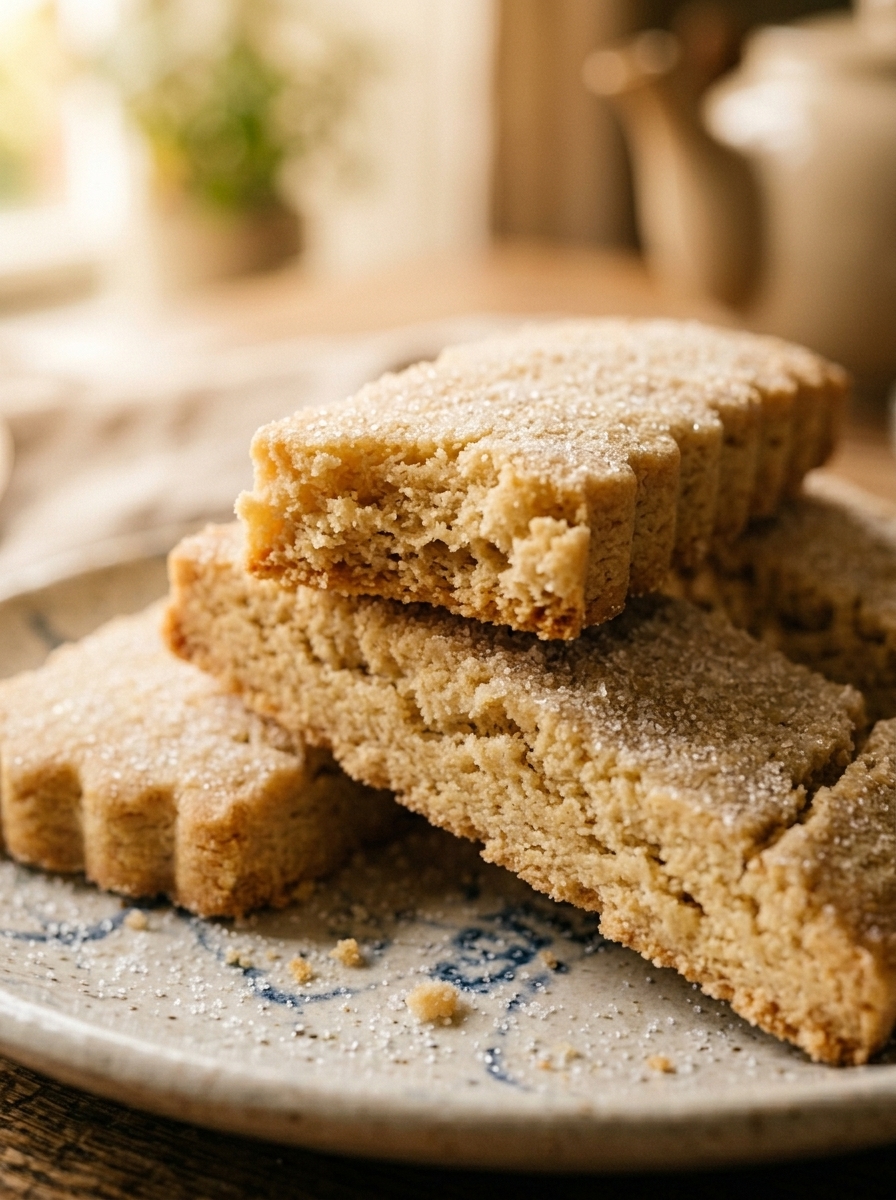
It is buttery and rich, perfectly crisp with a texture that is slightly sandy rather than snappy — the way proper shortbread should be — and it melts in the mouth in a way that feels almost extravagant for something so simple.
It is the biscuit I make for Christmas tins. For afternoon tea. For gifts. For absolutely no reason at all except that the ingredients are always in my kitchen and shortbread makes everything better.
If you have been searching for the perfect Mary Berry shortbread recipe, this is the one. Let me show you exactly how to make it.
The Secret to Perfect Shortbread
Before we talk about ingredients and method, I want to address the question I get asked most often about shortbread, which is: why does mine turn out too hard, or too crumbly, or lacking in flavour?
The answer almost always comes down to one of three things.
The butter. Shortbread lives or dies on the quality and temperature of the butter. It must be unsalted — salted butter throws off the flavour balance — and it must be good quality. This is genuinely one of those recipes where the quality of your butter makes a direct, unmistakeable difference to the finished result because there is nothing else in the recipe to hide behind. Use the best butter you can.
The handling. Overworking the dough develops gluten in the flour, which makes the shortbread tough and hard rather than crumbly and tender. The less you handle it once the flour goes in, the better. Mix until it just comes together and stop. If it needs pressing into a tin rather than rolling, press rather than rolling — it is gentler on the dough.
The baking temperature. Shortbread bakes at a lower temperature than most biscuits — 160°C / 140°C fan. This slow, gentle bake dries the shortbread out gradually rather than browning it quickly, giving you that characteristic pale golden colour and the tender, slightly sandy texture that distinguishes great shortbread from merely adequate shortbread.
These three things — quality butter, gentle handling, low and slow baking — are all you need to know to make perfect shortbread every time.
Ingredients for Mary Berry Shortbread
Three ingredients. That is all. Buy the best of each one.
For the Shortbread
- 250g unsalted butter, at cool room temperature (not fridge-cold, not soft)
- 125g caster sugar (or use half caster and half icing sugar for an even more melt-in-the-mouth texture)
- 350g plain flour, sifted
Optional Additions (All Wonderful)
- 1 tsp vanilla extract — adds a subtle warmth
- Zest of 1 unwaxed lemon or orange — adds brightness
- 50g ground rice or rice flour replacing 50g of the plain flour — gives an even crispier, more traditional texture
- 1 tsp ground ginger or cinnamon — wonderful at Christmas
To Finish
- 2 tbsp caster sugar, for sprinkling over the top before baking
- Optional: a light dusting of icing sugar once cooled
How to Make Mary Berry Shortbread — Step by Step
Step 1 — Prepare Your Tin and Oven
Preheat your oven to 160°C / 140°C fan / Gas 3. Lightly grease a 30x20cm rectangular baking tin and line with baking parchment, leaving some overhang at the sides for easy removal. Alternatively, use a round 23cm tin if you want to make the traditional round shortbread with crimped edges.
Step 2 — Cream the Butter and Sugar
Place the butter and caster sugar in a large mixing bowl. Beat together with an electric hand whisk for three to four minutes until pale, light, and fluffy. This is the stage where you are incorporating air into the dough — it makes the shortbread lighter and more tender. The mixture will look almost white when it is ready.
Step 3 — Add the Flour
Sift the plain flour into the bowl. Now put down the electric whisk and switch to your hands or a wooden spoon. Mix gently until the dough starts to come together, then use your hands to press and bring it together into a smooth ball.
This is the critical step. Handle the dough as little and as gently as possible — just enough to bring it together. The moment it holds together as a ball, stop. Overworking it from this point will make the shortbread tough.
Step 4 — Press Into the Tin
Tip the dough into the prepared tin. Using your fingers and the heel of your hand, press it out evenly to fill the tin. Work gently and methodically, pressing from the centre outwards. You want an even thickness throughout — about 1cm is ideal for a classic shortbread.
If you are making round shortbread, press the dough into your round tin in the same way, then use your fingers to crimp the edges — press your finger and thumb together around the edge to create the traditional fluted border. This is not just decorative — the crimped edge is a classic shortbread signature.
Step 5 — Mark and Prick
Using a sharp knife, score the shortbread into fingers or squares — cut all the way through about halfway, then gently score the remaining half. These pre-cut lines will make it much easier to break the shortbread cleanly after baking without it crumbling.
Use a fork to prick the surface of the shortbread all over at regular intervals. This allows steam to escape during baking, which prevents the shortbread from puffing up and helps it bake evenly throughout.
Sprinkle the caster sugar evenly over the surface.
Step 6 — Chill Before Baking
Place the tin in the fridge for 20 to 30 minutes before baking. This is a step that many shortbread recipes skip and it is one that makes a genuine difference. Chilling the dough relaxes any gluten that may have developed during mixing and firms the butter back up. The result is a shortbread that holds its shape better during baking and has a cleaner, more defined texture.
Step 7 — Bake Low and Slow
Bake on the middle shelf for 30 to 35 minutes until the shortbread is pale golden — not brown. It should be the colour of pale sand, not biscuit. If it is browning too quickly, reduce the temperature by 10°C and continue baking. The shortbread is done when it feels firm and dry to the touch and the edges are just beginning to colour very slightly.
Do not be tempted to take it out too early — undercooked shortbread is soft and doughy rather than crisp and tender. It needs the full baking time to dry out properly.
Step 8 — Cool in the Tin
Leave the shortbread to cool in the tin completely before attempting to remove it. This is essential — shortbread is very fragile when warm and will crumble if you try to move it. Once completely cool, use the parchment overhang to lift it from the tin and break along the pre-scored lines.
My Top Tips for the Best Mary Berry Shortbread
Use the best butter you can afford. I say this in every recipe but nowhere does it matter more than shortbread. With only three ingredients, the butter is everything — its flavour, its fat content, its quality.
A good quality unsalted British butter — Anchor, Kerrygold, or a supermarket own-brand premium — makes shortbread that is noticeably, unmistakeably better than shortbread made with cheaper alternatives.
Get the butter temperature right. Not cold from the fridge — cold butter does not cream properly and you will end up with a crumbly, uneven dough. Not soft and greasy — overly soft butter makes the dough too sticky to handle and the shortbread will spread and lose its shape in the oven. Cool room temperature — the butter should yield when you press your finger into it but hold its shape. About 18 to 20°C is ideal.
Replace some of the plain flour with ground rice or rice flour. This is the traditional Scottish shortbread technique and it makes a genuinely significant difference to the texture. Substituting 50g of the plain flour with 50g of ground rice or rice flour gives you a slightly crunchier, more granular texture that is extraordinarily good. It is my preferred way to make shortbread.
Do not skip the chilling step. Twenty to thirty minutes in the fridge before baking makes the shortbread sharper in shape, more even in texture, and better in every measurable way. It takes no effort and produces a noticeably better result. Do not skip it.
Score deeply before baking. The pre-scored lines are not just decorative — they determine how cleanly the shortbread breaks after baking. Score through at least halfway and the biscuits will snap cleanly along the lines. Score too shallowly and you will end up with irregular pieces and crumbled edges.
Watch the colour carefully. Pale gold is the goal. Shortbread should not be brown — even light brown means it has been in the oven a little too long and the flavour will be slightly bitter. The moment the edges begin to colour very faintly and the surface feels dry and firm to the touch, it is done. Take it out.
Serving Suggestions
Shortbread needs nothing alongside it — it is entirely self-sufficient and completely wonderful on its own. A cup of good tea is the traditional accompaniment and nothing I have ever encountered improves on it. For a more indulgent version, serve alongside vanilla ice cream and a warm berry compote. At Christmas, shortbread in a tin tied with ribbon is one of the most appreciated and genuinely personal gifts you can give.
How to Store Mary Berry Shortbread
At room temperature: Store in an airtight tin — not a plastic container, which can make the shortbread go slightly soft — for up to 2 weeks. Shortbread keeps exceptionally well and actually becomes slightly more tender and flavourful after a day or two.
In the freezer: Shortbread freezes beautifully, either as raw dough or as baked biscuits. Freeze baked shortbread in an airtight container for up to 3 months.
Defrost at room temperature for an hour. Freeze raw dough wrapped in cling film for up to 3 months — bake from frozen, adding 5 minutes to the baking time.
Mary Berry Shortbread
Ingredients
Method
- Preheat oven to 160°C / 140°C fan / Gas 3. Lightly grease and line a 30x20cm tin with baking parchment.
- Beat butter and caster sugar together for 3–4 minutes until pale and fluffy.
- Sift in flour. Mix gently with hands or wooden spoon until dough just comes together. Handle as little as possible.
- Press dough evenly into prepared tin to about 1cm thickness. Use the heel of your hand to level it.
- Score into fingers or squares with a sharp knife. Prick all over with a fork. Sprinkle with caster sugar.
- Chill in the fridge for 20–30 minutes.
- Bake for 30–35 minutes until pale golden and firm to the touch. Do not allow to brown.
- Cool completely in the tin before removing. Break along pre-scored lines.
Notes
Frequently Asked Questions About Mary Berry Shortbread
Why is my shortbread too hard?
Almost always caused by overworking the dough after the flour goes in. Developing the gluten in the flour — which happens the more you mix and handle the dough — makes the shortbread tough and hard rather than crumbly and tender. Mix only until it just comes together and stop immediately.
Why is my shortbread too crumbly and falling apart?
Usually because the butter was too cold and did not cream properly into the sugar, or because the dough was not worked quite enough to bring it together. The dough should hold together when pressed — if it is very crumbly, add half a teaspoon of cold water and press gently until it coheres.
Can I add chocolate to Mary Berry’s shortbread?
Yes — shortbread dipped in or drizzled with dark or milk chocolate is absolutely wonderful. Dip the cooled fingers halfway into melted chocolate, place on baking parchment, and leave to set. A sprinkle of sea salt flakes on the chocolate before it sets is extraordinarily good.
Can I use salted butter for shortbread?
Technically yes, but I would not recommend it. Salted butter makes it very difficult to control the saltiness of the finished shortbread — and while a little salt is good, too much overwhelms the delicate buttery flavour. Use unsalted and add a pinch of fine sea salt yourself if you want a slightly salted version — that way you are in complete control.
Can I flavour Mary Berry’s shortbread?
Absolutely — the basic recipe is a wonderful canvas for additions. Lemon or orange zest, ground ginger, cinnamon, lavender, rosemary, vanilla, cardamom — all work beautifully. Add flavourings at the creaming stage so they are evenly distributed throughout the dough.
How do I get perfectly even shortbread thickness?
Use two wooden spoons or chopsticks as guides — lay them on either side of the dough and roll or press to their height. This ensures perfectly even thickness across the entire piece, which means every biscuit bakes in exactly the same time. It sounds like an unnecessary step but it makes the finished shortbread look considerably more professional




Leave a Reply