
 Anna Louise
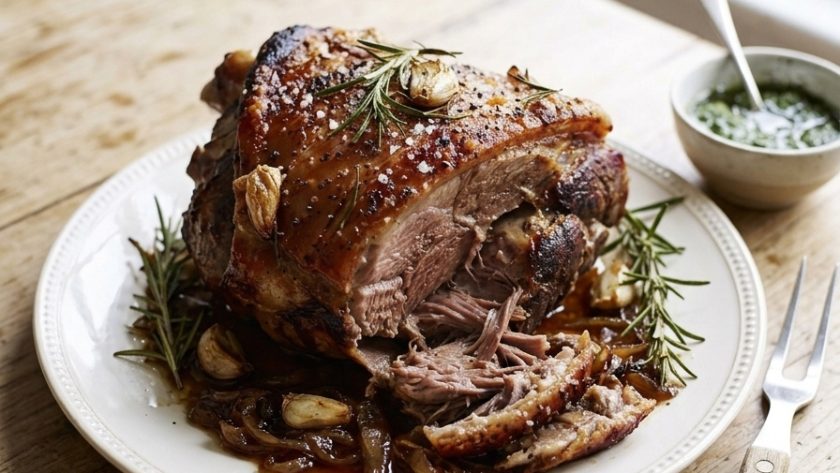
 Slow roast lamb shoulder is one of the most spectacular things you can cook without requiring any real skill. A whole lamb shoulder, seasoned simply with garlic, rosemary, and lemon, placed in the oven at a low temperature and left alone for four to five hours.
What comes out is something that falls from the bone at the touch of a spoon, has a rich, golden crust on the outside, and meat so tender and deeply flavoured that it stops conversation at the table.
Mary Berry’s slow roast lamb shoulder recipe requires almost nothing of you once the lamb is in the oven. The preparation is twenty minutes. The cooking is five hours.
And the result is the best lamb you will ever eat — better than any rack, better than any chop, better than any other cut cooked any other way.
This is the centrepiece for a proper Sunday lunch. It serves six to eight people generously, looks magnificent on the table, and requires almost zero effort on the day of serving.
Why Shoulder, Not Leg
Leg of lamb roasted at high heat is wonderful — golden on the outside, pink and juicy in the centre. But shoulder cooked low and slow is something different and, for many people, something better.
Shoulder has more fat and connective tissue. The fat bastes the meat continuously during the long, slow cook. The connective tissue — collagen — converts to gelatin over hours of low heat, giving the meat an extraordinary richness and a silkiness that leg cannot match.
Shoulder is more forgiving. Leg must be pulled at exactly the right moment or it becomes dry. Shoulder cooked long and slow can go another hour past the point where leg would be ruined and it simply becomes more tender.
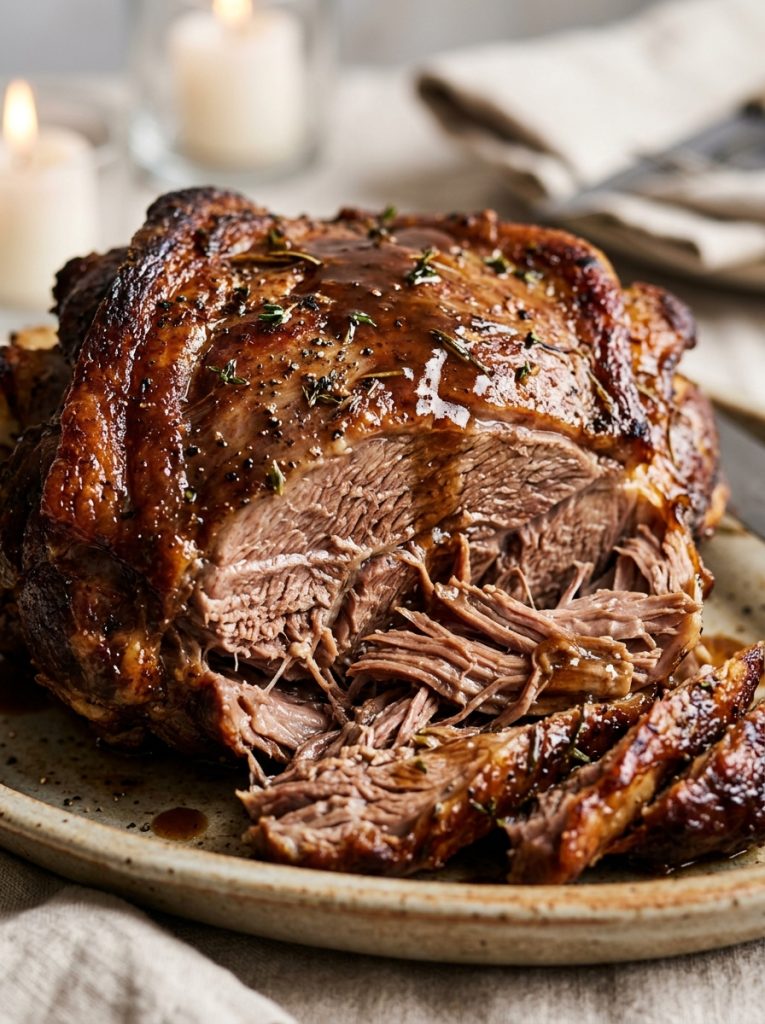
Shoulder can be pulled rather than carved. After five hours, the meat pulls apart into large, tender, glistening chunks with two forks — no carving required. It is magnificent.
Ingredients for Mary Berry Slow Roast Lamb Shoulder
- 2kg bone-in lamb shoulder
- 6 garlic cloves, halved lengthways
- 6 sprigs of fresh rosemary, broken into smaller sprigs
- Zest of 1 unwaxed lemon
- 3 tbsp olive oil
- 1 tsp fine salt
- Freshly ground black pepper
- 200ml dry white wine or lamb stock
- 200ml water
To Serve
- Roast potatoes or dauphinoise potatoes
- Minty peas or green beans
- Mint sauce or redcurrant jelly
- Gravy made from the pan juices
How to Make Mary Berry Slow Roast Lamb Shoulder — Step by Step
Step 1 — Score and Stud
Remove the lamb from the fridge at least one hour before cooking — room temperature meat roasts more evenly. Using a sharp knife, make 12 deep cuts all over the surface of the lamb — both top and sides. Push a half garlic clove and a small sprig of rosemary into each cut. These aromatics will perfume the meat from the inside as it cooks.
Step 2 — Season
Mix the olive oil, lemon zest, salt, and pepper in a small bowl. Rub this mixture all over the surface of the lamb, getting into every cut and crevice. Leave at room temperature for at least 30 minutes after seasoning — or marinate overnight in the fridge for even more flavour.
Step 3 — Prepare the Roasting Tin
Preheat your oven to 220°C / 200°C fan / Gas 7. Place the lamb shoulder in a large roasting tin. Pour the wine and water around the lamb — not over it. The liquid provides moisture during the long cook and forms the base of the gravy.
Step 4 — Initial High Heat Blast
Roast at 220°C for 20 minutes uncovered to develop colour and begin rendering the fat cap on the surface. The lamb should be developing a golden crust at this point.
Step 5 — Slow Roast
Reduce the oven temperature to 160°C / 140°C fan / Gas 3. Cover the roasting tin tightly with two layers of foil — crimped firmly around the edges to trap the steam. Return to the oven and roast for 4 to 5 hours until the meat is completely tender and falling from the bone.
Check every hour and add a splash of water if the liquid in the pan has evaporated.
Step 6 — Rest Uncovered for Colour
Remove the foil for the final 30 minutes of cooking. This allows the surface to crisp and colour further. The lamb should look golden and slightly crisped on the outside by the time it comes out.
Step 7 — Rest
Remove the lamb from the oven and cover loosely with foil. Rest for at least 20 minutes — 30 minutes is better. Resting is essential — it allows the juices to redistribute through the meat and gives a noticeably more tender, more juicy result.
Step 8 — Make the Gravy and Pull
While the lamb rests, strain the pan juices into a small saucepan. Skim off the excess fat. Bring to a simmer and reduce slightly for a more concentrated gravy. Season to taste.
Pull the lamb apart using two forks — it should require almost no effort. Arrange on a warm platter and pour some of the gravy over the top. Serve the rest alongside.
My Top Tips For Mary Berry Slow Roast Lamb Shoulder
Bring the lamb to room temperature before roasting. One hour out of the fridge before it goes in the oven gives more even cooking. Cold lamb goes into a hot oven and the outside overcooks before the inside reaches temperature.
The foil seal must be tight. The foil traps all the steam from the wine and water in the pan and creates a self-basting environment around the lamb. Any gaps in the foil mean the steam escapes and the lamb can become dry. Crimp firmly.
Rest for at least 20 minutes. This is not optional. Resting allows the juices to redistribute through the meat. Carved or pulled immediately after coming out of the oven, the juices run out onto the board and the meat is drier. Rest, always.
Add water during cooking if needed. Check every hour and top up with a splash of water if the pan liquid has completely evaporated. There should always be some liquid in the base of the tin — both to prevent burning and to form the gravy.
Pull rather than carve. After five hours, the lamb is too tender to carve cleanly. Two forks pulling the meat into large chunks at the table is the right approach — and the most impressive-looking presentation.
Serving Suggestions
With roast potatoes and minty peas — the classic Sunday lunch. With dauphinoise potatoes for something more indulgent. With flatbreads and a yoghurt and cucumber sauce for a more casual, sharing approach. With a simple green salad for a lighter spring lunch.
How to Store Mary Berry Slow Roast Lamb Shoulder
In the fridge: Store pulled lamb in the pan juices for up to 3 days. Reheat gently with a splash of stock in a covered pan or in a 160°C oven for 20 minutes.
In the freezer: Freeze pulled lamb with its juices for up to 3 months. Defrost overnight and reheat gently.
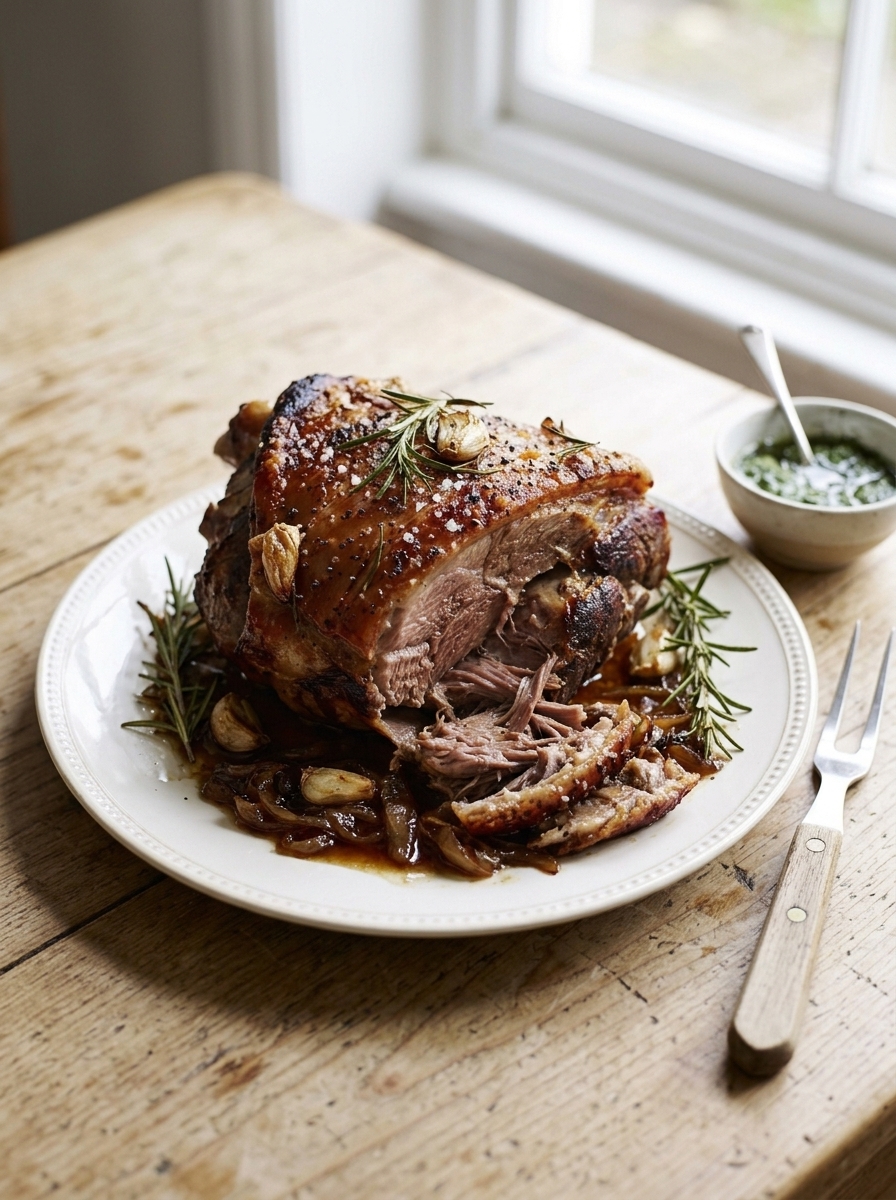
Mary Berry Slow Roast Lamb Shoulder Recipe
Ingredients
Method
- Remove lamb from fridge 1 hour before cooking. Make 12 deep cuts all over. Push half a garlic clove and rosemary sprig into each cut.
- Mix olive oil, lemon zest, salt, and pepper. Rub all over the lamb. Leave 30 minutes at room temperature.
- Preheat oven to 220°C / 200°C fan / Gas 7. Place lamb in a large roasting tin. Pour wine and water around — not over — the lamb.
- Roast uncovered at 220°C for 20 minutes until beginning to colour.
- Reduce oven to 160°C / 140°C fan / Gas 3. Cover tightly with two layers of foil, crimped firmly. Roast 4 to 4.5 hours, checking every hour and adding water if needed.
- Remove foil for final 30 minutes to crisp the surface.
- Rest covered loosely with foil for 20–30 minutes.
- Strain pan juices. Skim fat. Reduce briefly. Season. Pull lamb apart with two forks. Serve with gravy.
Notes
Frequently Asked Questions
Can I cook a smaller shoulder for fewer people?
Yes — a 1.2 to 1.5kg shoulder feeds four people. Reduce the slow roasting time to 3 to 3.5 hours and check for tenderness.
Can I cook this overnight at a very low temperature?
Yes — 120°C for 8 to 10 hours overnight produces extraordinarily tender results. Season, cover tightly with foil, and put it in before bed. It will be ready by morning.
Can I marinate the lamb the night before?
Yes — and it produces a more deeply flavoured result. Score, stud, and season as directed. Refrigerate uncovered overnight. Remove one hour before roasting.
Why is my lamb not falling off the bone after the cooking time?
Every shoulder is different in size and fat content. If the meat is still clinging to the bone, re-cover with foil and continue roasting for 30 to 45 minutes. The test is whether a fork meets any resistance — it should slide through the meat with no effort.
Can I add vegetables to the roasting tin?
Yes — roughly chopped onion, carrot, and celery placed under the lamb add flavour to the pan juices and give a richer, more complex gravy base.
What can I do with leftovers?
Pulled slow roast lamb makes extraordinary sandwiches, excellent tacos with salsa and guacamole, a wonderful shepherd’s pie filling, and a deeply flavoured lamb ragu for pasta.


Leave a Reply